6 Basic Steps to Plant a Vineyard Row
The smell of damp, disturbed earth mixed with the sharp scent of crushed dormant wood signals the start of the viticultural season. Success in the vineyard depends on the turgor pressure of the young vine; a healthy specimen feels rigid and resilient, not brittle. To achieve high brix levels and balanced acidity, you must master the steps to plant a vineyard row with surgical precision. This process requires more than digging holes; it demands an understanding of soil physics and plant physiology. You are establishing a perennial system that should produce for thirty years. Every measurement must be exact. Every amendment must be calculated. The transition from a bare-root cutting to a productive trellis system starts with the foundational chemistry of the site. If the soil structure is compromised or the drainage is insufficient, the vine will succumb to root rot or nutrient lockout before the first harvest.
Materials:
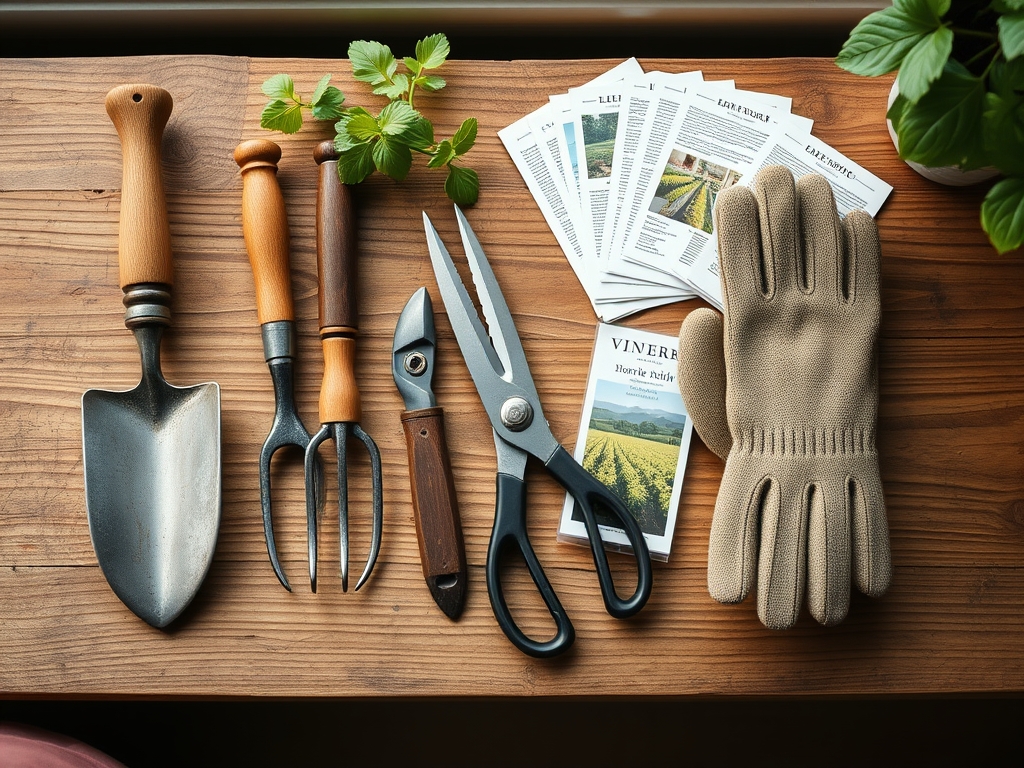
Grapevines thrive in **friable loam** with a high percentage of coarse sand or gravel to ensure rapid drainage. The ideal substrate has a **Cation Exchange Capacity (CEC) between 10 and 20 meq/100g**, allowing the soil to hold and release essential nutrients. Before planting, conduct a professional soil test to determine the **pH, which should sit between 6.0 and 6.8** for Vitis vinifera.
Your nutritional baseline requires specific NPK ratios. Apply a 10-10-10 balanced fertilizer only if the soil test shows a deficiency; otherwise, focus on organic matter to build the rhizosphere. You will need 3/8-inch diameter dormant bare-root vines, pressure-treated 4×4 end posts, and 12.5-gauge high-tensile wire. Ensure you have a soil moisture meter and a hori-hori knife for precise root trimming. If the soil is heavy clay, incorporate gypsum at a rate of 40 pounds per 1,000 square feet to improve flocculation and air porosity.
Timing:
The window for planting is dictated by the local frost-date and the plant's Biological Clock. In Hardiness Zones 5 through 8, the optimal time is early spring, typically between March and May, once the soil temperature reaches a consistent 45 degrees Fahrenheit. Planting during dormancy allows the root system to establish before the atmospheric temperature triggers the transition from vegetative to reproductive stages.
Vines require a minimum of 160 frost-free days to mature the fruit and harden off the canes for winter. If you plant too late, the young shoots will not achieve lignification, leading to winter kill. Monitor the photoperiod; as days lengthen, the increase in light intensity drives the production of auxins, which are hormones that signal the roots to expand. You must have the vines in the ground before the buds reach the "wool stage" of development to prevent transplant shock.
Phases:
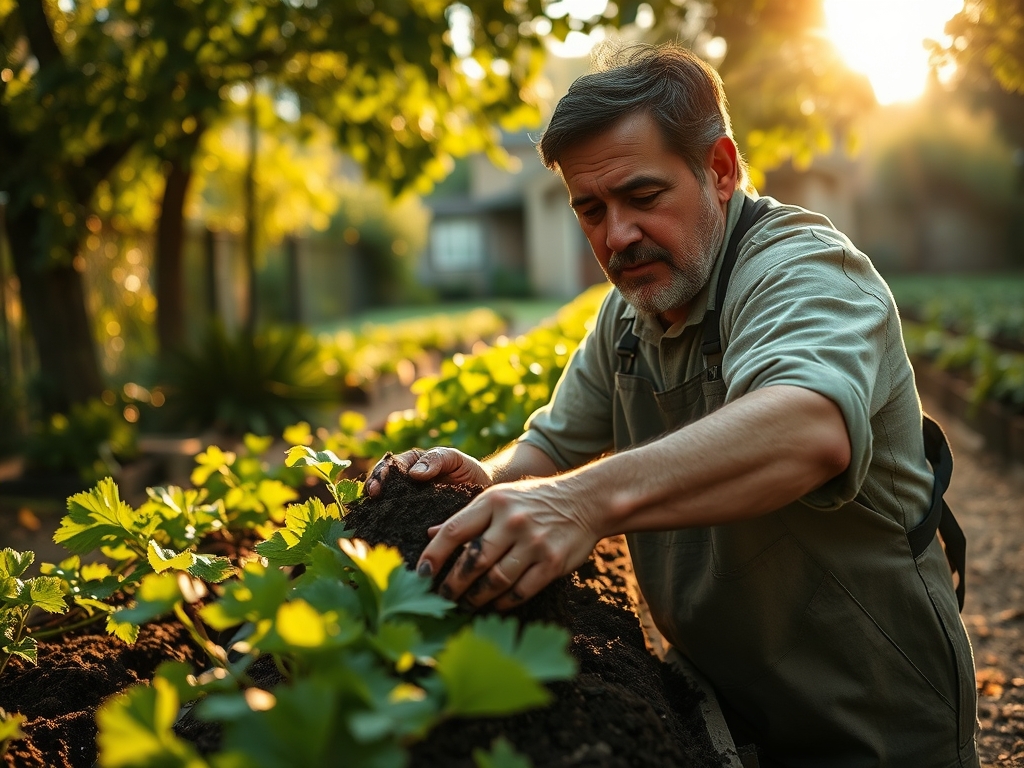
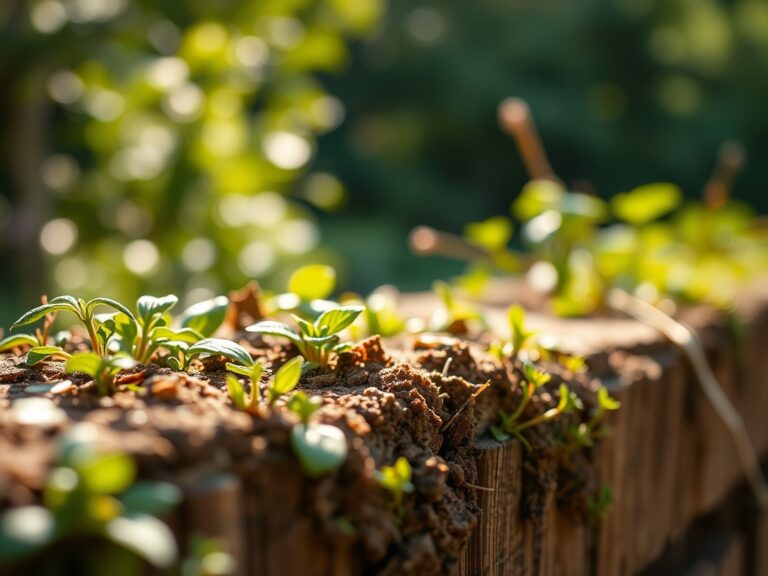
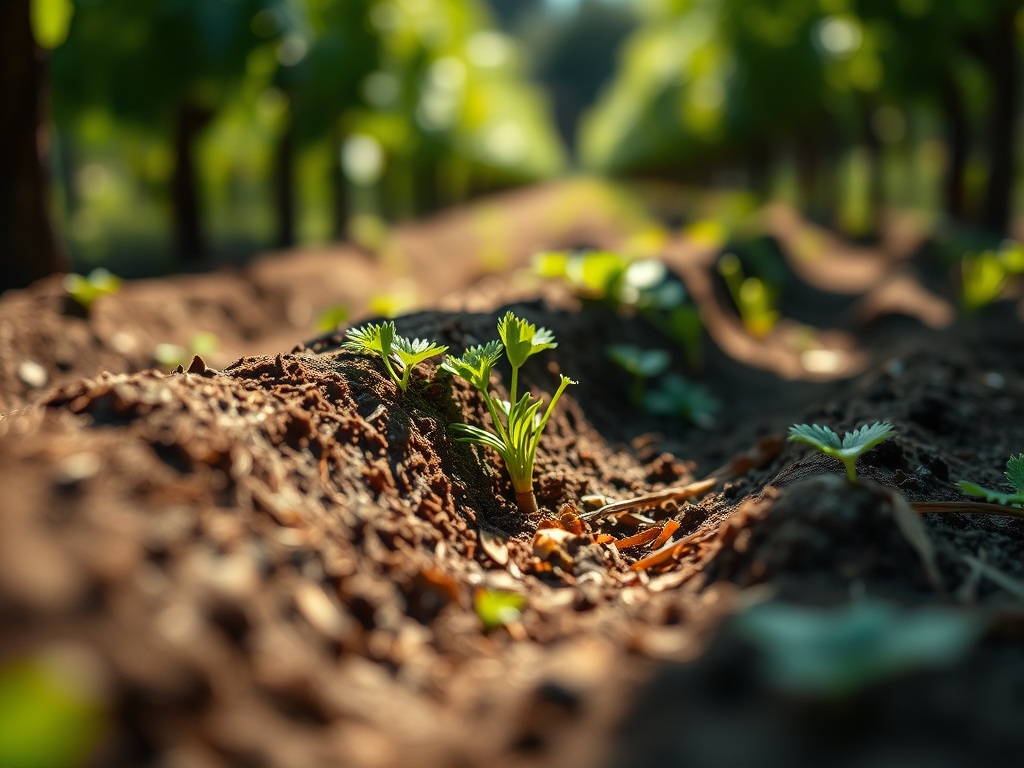
Sowing and Site Preparation
Clear a strip 4 feet wide for the row. Use a subsoiler to break the hardpan at a depth of 18 to 24 inches. This ensures that the primary taproot can descend without obstruction. Space your vines 6 to 8 feet apart within the row, with rows spaced 9 to 10 feet apart to allow for airflow and machinery access.
Pro-Tip: Proper site preparation facilitates mycorrhizal symbiosis. These beneficial fungi attach to the root hairs, effectively increasing the surface area for water and phosphorus absorption by up to 100 times.
Transplanting
Dig a hole 12 inches deep and 12 inches wide. Trim the roots of the bare-root vine to 6 inches in length using sharp bypass pruners to stimulate new growth. Place the vine in the hole, spreading the roots in a radial pattern. Ensure the graft union is 2 to 4 inches above the soil line to prevent the scion from developing its own roots.
Pro-Tip: Use the hori-hori knife to scarify the sides of the planting hole. This prevents "pot-binding" in heavy soils, where roots circle the hole instead of penetrating the surrounding earth, a phenomenon caused by thigmotropism.
Establishing
Backfill the hole with native soil, tamping firmly to eliminate air pockets. Immediately apply 2 to 3 gallons of water to settle the earth. Install a grow tube over the vine to protect it from wind and herbivory. This tube creates a greenhouse effect that accelerates early vegetative growth.
Pro-Tip: Growth tubes manipulate auxin suppression. By shading the lower trunk and focusing light on the terminal bud, the plant prioritizes vertical growth over lateral branching, allowing you to establish a straight trunk quickly.
The Clinic:
Physiological disorders often stem from environmental stress or chemical imbalances rather than pathogens.
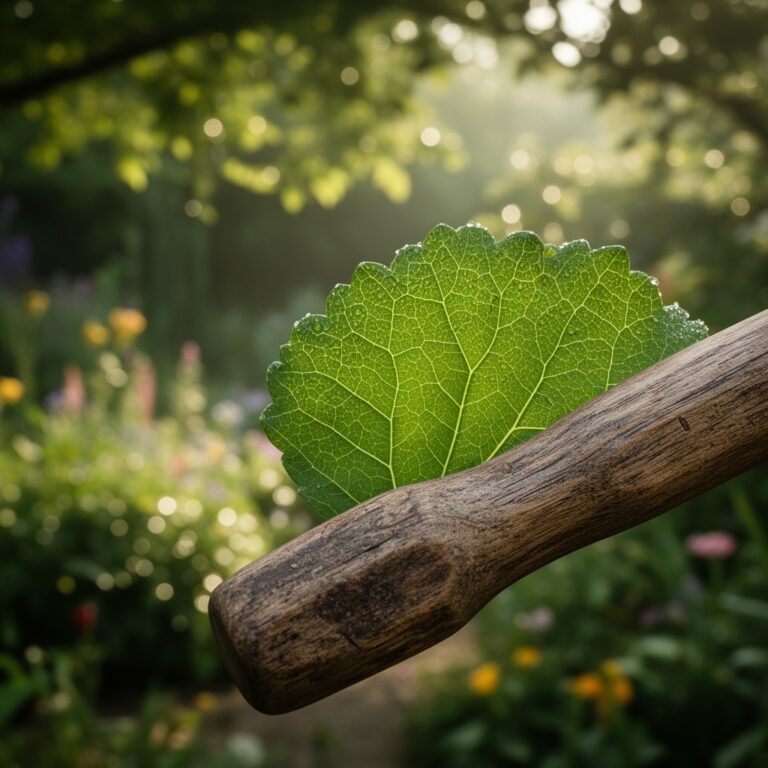
- Symptom: Interveinal chlorosis on older leaves (yellowing between green veins).
- Solution: This indicates Magnesium deficiency. Apply Epsom salts (magnesium sulfate) at a rate of 1 tablespoon per gallon of water as a soil drench.
- Symptom: Stunted growth and pale green or yellow new foliage.
- Solution: This is Nitrogen chlorosis. Apply a high-nitrogen fertilizer like blood meal or a 20-0-0 liquid feed to restore chlorophyll production.
- Symptom: Marginal leaf burn or scorching on the edges of the foliage.
- Solution: This typically signals Potassium deficiency or salt toxicity. Flush the soil with clean water and adjust the NPK balance to include more potash.
- Symptom: Drooping shoot tips and loss of leaf turgor despite wet soil.
- Solution: This is Anoxia, or root suffocation. Improve drainage immediately by digging diversion trenches or installing French drains to lower the water table.
Maintenance:
Precision irrigation is mandatory for the first three years. Provide 1.5 inches of water per week at the drip line using a dedicated drip irrigation system. Use a soil moisture meter to ensure the root zone stays between 10% and 20% volumetric water content.
Weed control is critical; weeds compete for nitrogen and water. Maintain a 3-foot weed-free strip under the vines using mechanical cultivation or mulch. In the second year, use bypass pruners during dormancy to remove all but the strongest cane, which will become the permanent trunk. Monitor for senescence in the late fall; when leaves turn yellow and drop naturally, the vine is moving nutrients into the roots for winter storage. Do not prune until the vine is fully dormant and the sap has stopped flowing.
The Yield:
Do not allow the vine to produce fruit in the first two years. Pinch off all flower clusters to redirect energy into root and trunk development. In the third or fourth year, harvest occurs when the Brix levels reach 22 to 25 for red varieties or 18 to 22 for whites. Use a refractometer to measure sugar content accurately.
Harvest during the coolest part of the day, typically between 4:00 AM and 8:00 AM, to maintain low fruit temperatures. This preserves the volatile aromatics and prevents premature fermentation. Use sharp shears to cut the clusters, handling them by the stem to avoid bruising the skins. Place the fruit in shallow bins to prevent crushing and move them to a cold storage environment at 35 degrees Fahrenheit immediately to maintain "day-one" freshness.
FAQ:
How deep should I plant a grapevine?
Dig a hole 12 inches deep and 12 inches wide. Ensure the roots are spread out and the graft union remains 2 to 4 inches above the soil line to prevent the scion from rooting into the ground.
What is the best fertilizer for new vines?
Use a balanced 10-10-10 NPK fertilizer only if a soil test confirms a deficiency. Focus on building organic matter to support the rhizosphere and improve the Cation Exchange Capacity for long-term nutrient availability.
How much water do young vines need?
Young vines require approximately 1.5 inches of water per week delivered at the drip line. Use a soil moisture meter to ensure the water reaches a depth of 12 inches where the primary root mass resides.
When should I prune my new vineyard row?
Prune during the dormant season, typically January or February, before the sap begins to flow. Use bypass pruners to remove weak growth and establish a single, strong trunk to maximize future yields and structural integrity.