7 Vital Steps to Install a Patio Drain
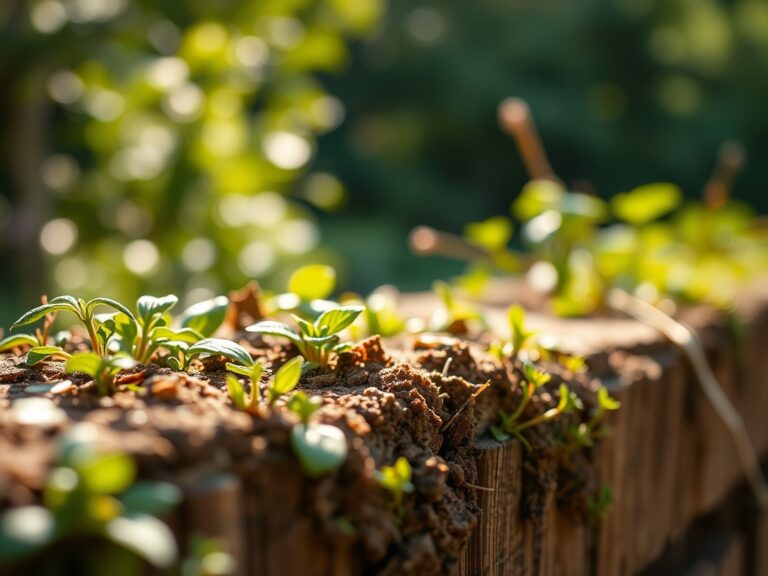
The smell of anaerobic decomposition in waterlogged soil is the first sign of a failing landscape. When stagnant water sits against a foundation or saturates the rhizosphere, oxygen is displaced; this leads to root rot and the loss of cellular turgor pressure in your prize specimens. Learning the steps to install a patio drain is the only way to manage hydraulic pressure and protect the structural integrity of your hardscape. You must calculate the slope at a minimum of two percent to ensure gravity overcomes the surface tension of the runoff.
A successful drainage installation prevents the buildup of hydrostatic pressure that causes pavers to heave and soil to sour. By redirecting excess precipitation away from the root zones of sensitive perennials, you maintain the delicate balance of soil gases necessary for aerobic respiration. This process requires precision engineering and a deep understanding of local topography. Proper execution ensures that your patio remains a stable platform rather than a collection point for sediment and pathogens.
Materials:
The substrate surrounding your drain pipe must be a friable loam with high porosity to facilitate rapid percolation. Avoid heavy clays that collapse and seal the drainage perforations. For the backfill, use 3/4 inch washed crushed stone to create a high-void space environment.
If you are planting adjacent to the drain, the soil chemistry must be optimized. Aim for a Cation Exchange Capacity (CEC) of 15 to 25 to ensure nutrient retention. The ideal NPK ratio for establishing groundcover near the drain is 10-20-10 to prioritize root development over excessive foliar growth. Maintain a soil pH between 6.2 and 6.8 to maximize the bioavailability of micronutrients like iron and manganese. Use a geotextile fabric with a flow rate of 100 gallons per minute per square foot to prevent silt from infiltrating the gravel bed.
Timing:
Installation should occur when the soil moisture is below field capacity to prevent compaction. In Hardiness Zones 5 through 7, the ideal window is late spring after the final frost or early autumn before the ground freezes. Avoid excavation during the "Biological Clock" transition from vegetative growth to senescence in your surrounding flora; disturbing the root systems during peak flowering can induce systemic shock.
Monitor the 10 day forecast for a dry window. Excavating saturated soil destroys its structure; it collapses the macropores required for gas exchange. If you are working near deciduous trees, perform the installation during their dormant phase to minimize the impact of root pruning.
Phases:
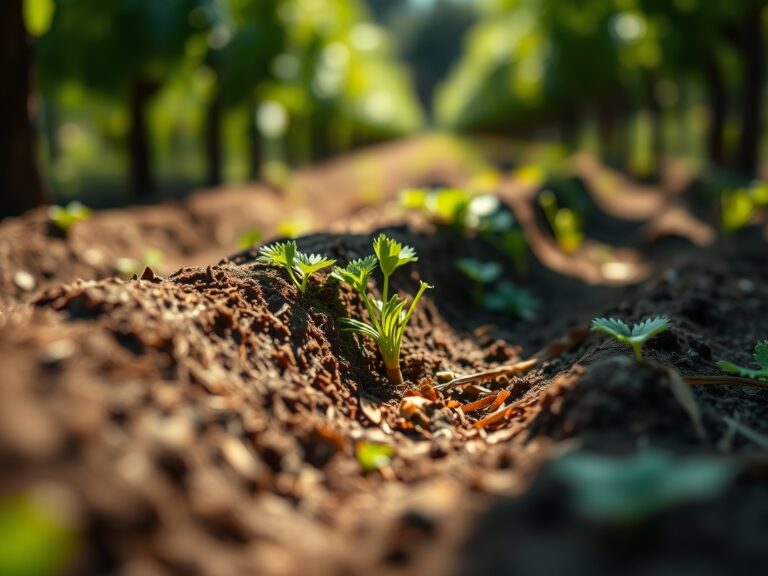
Sowing the Infrastructure
Begin by excavating a trench 12 inches deep and 8 inches wide. Use a transit level to confirm a 1/4 inch drop per linear foot. Line the trench with non-woven geotextile. This fabric acts as a biological filter; it prevents fine particles from clogging the system while allowing water to pass through freely.
Pro-Tip: Proper grading utilizes gravity to prevent water stagnation. This is vital because stagnant water creates a hypoxic environment that triggers the production of ethylene in roots, leading to premature senescence.
Transplanting the Pipe
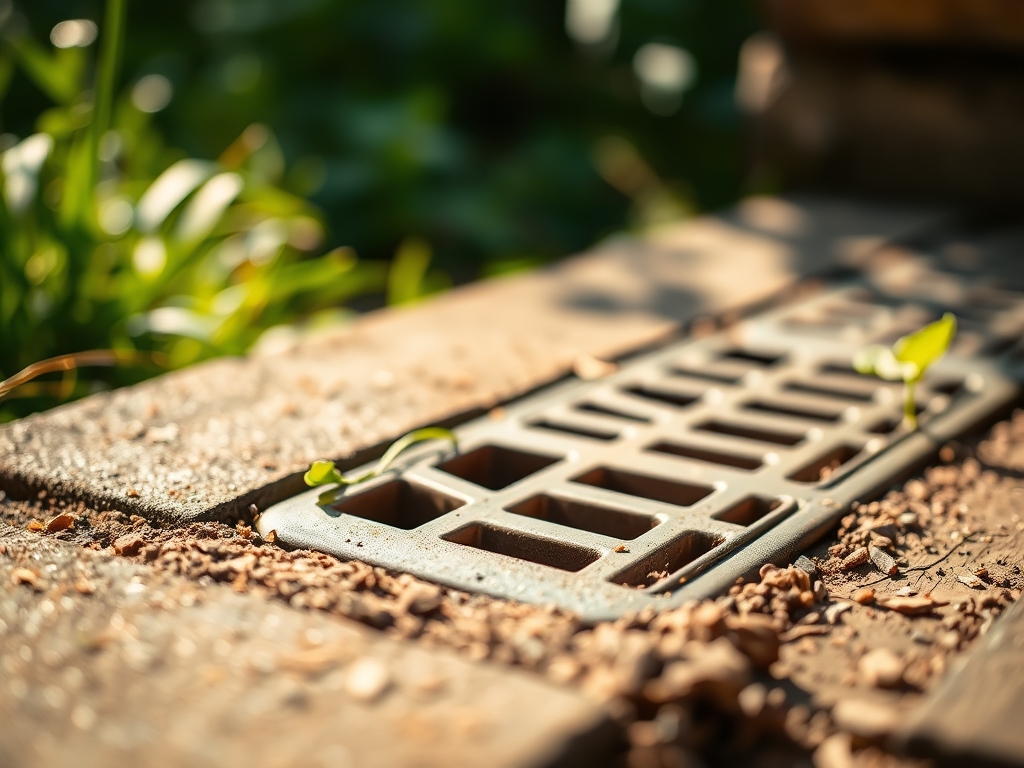
Lay a 4 inch perforated PVC or corrugated pipe with the holes facing downward. This seems counterintuitive, but it allows the water table to rise into the pipe from below, which prevents the intake of surface debris. Surround the pipe with 6 inches of washed stone.
Pro-Tip: Orienting the perforations downward utilizes the principle of hydraulic head. This ensures that the water level in the soil must reach the pipe depth before entering, which maintains a consistent moisture gradient in the surrounding rhizosphere.
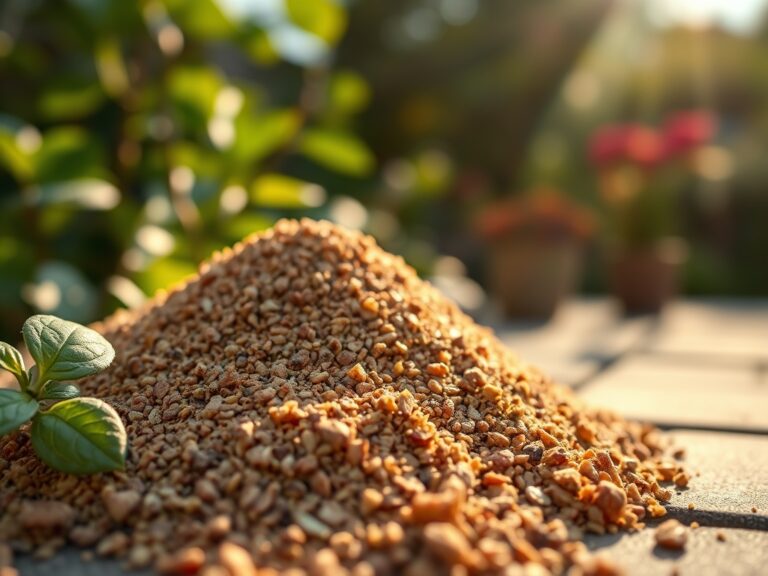
Establishing the Surface
Backfill the remainder of the trench with a mix of decorative gravel or permeable pavers. If you are covering the drain with turf, ensure the top 4 inches consists of a sandy loam to facilitate drainage. Compact the edges firmly to prevent settling, but keep the center over the pipe relatively loose.
Pro-Tip: Maintaining soil porosity above the drain is essential for gas exchange. Mycorrhizal symbiosis thrives in well-aerated soils; these fungal networks extend the reach of plant roots to capture phosphorus and water more efficiently.
The Clinic:
Physiological disorders often arise when drainage is poorly executed. Observe the root structure in the step-by-step photos to identify healthy versus compromised systems.
Symptom: Interveinal chlorosis (yellowing leaves with green veins).
Solution: This often indicates a lack of iron availability due to high soil pH or waterlogged conditions. Improve drainage and apply a chelated iron supplement.
Symptom: Marginal leaf burn or necrosis.
Solution: This suggests salt accumulation in the soil. Proper drainage allows for "leaching," where excess salts are washed out of the root zone rather than concentrating around the root hairs.
Symptom: Sudden wilting despite wet soil (Damping off).
Solution: This is a fungal pathogen attack facilitated by excessive moisture. Increase the drainage rate by adding more aggregate to the trench.
Fix-It for Nitrogen Chlorosis: If plants near the new drain show stunted growth and pale green leaves, the leaching process may have removed mobile nitrogen. Apply a slow-release 15-5-5 fertilizer to restore the N-P-K balance without causing a surge in soft, pest-susceptible growth.
Maintenance:
A patio drain is a mechanical system that requires seasonal calibration. Use a soil moisture meter to check the hydration levels at the drip line of adjacent plants. Most established landscape plants require 1.5 inches of water per week. If the meter reads "Wet" for more than 48 hours after a rain event, the drain may be obstructed.
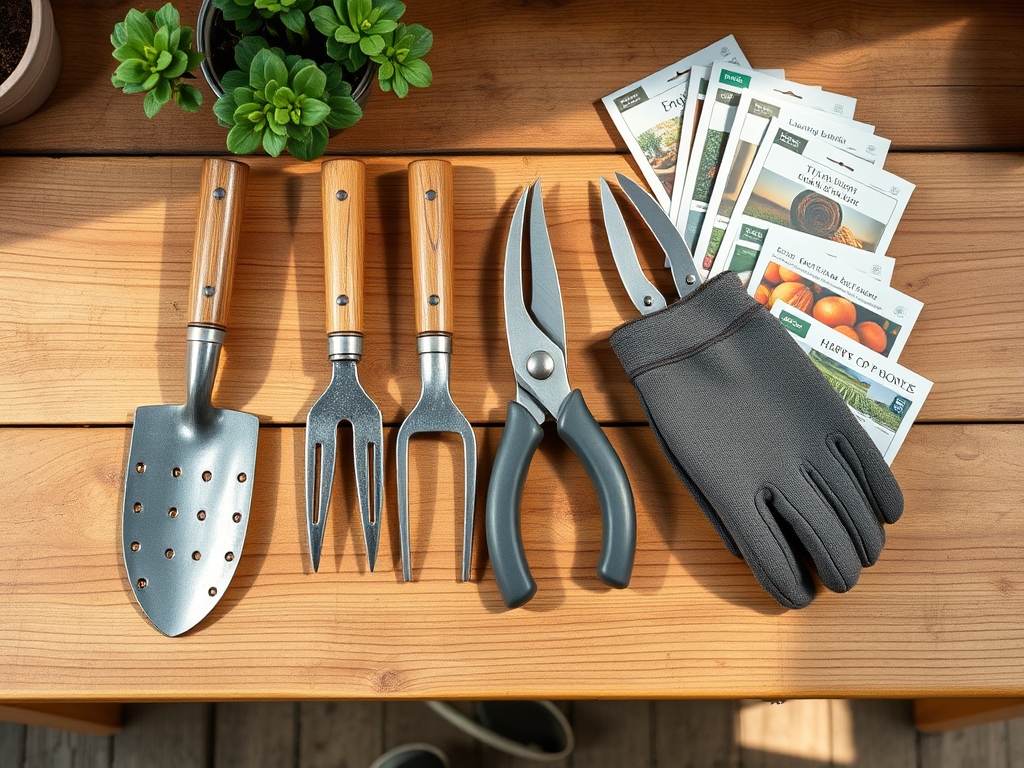
Every spring, use a high-pressure hose to flush the lines. Use a hori-hori knife to remove any invasive root systems that have attempted to enter the pipe perforations. If you notice roots encroaching, use bypass pruners to clean-cut the lateral roots. Avoid using chemical root killers that can leach into the groundwater and damage non-target species.
The Yield:
While a drain does not produce a harvest in the traditional sense, the "yield" is the longevity of your landscape. Plants grown in well-drained soil exhibit higher levels of secondary metabolites; this makes them more resistant to herbivory and environmental stress. To maintain "day-one" freshness of the surrounding garden, ensure the mulch layer is kept at a 2 inch depth to prevent surface crusting, which can deflect water away from the drain intake.
FAQ:
What is the best slope for a patio drain?
A minimum slope of 1 percent is required, though 2 percent (a 1/4 inch drop per foot) is the industry standard. This ensures gravity effectively moves water through the pipe to the discharge point without sediment buildup.
Can I use a French drain for my patio?
Yes, a French drain is ideal for subsurface water management. It consists of a perforated pipe buried in a gravel-filled trench, which allows water to seep in from the surrounding soil and be redirected away from the patio foundation.
How do I prevent the drain from clogging?
Wrap the perforated pipe in a non-woven geotextile sleeve. This fabric filters out fine silt and clay particles while allowing water to pass. Using washed 3/4 inch stone instead of bank-run gravel also reduces the risk of internal clogging.
What pipe material is most durable?
Schedule 40 PVC is the most durable option for patio drains. It resists crushing under the weight of pavers and furniture. While corrugated plastic is cheaper and more flexible, it is prone to catching debris in its internal ridges.