9 Modern Ways How to Build a Gabion Wall
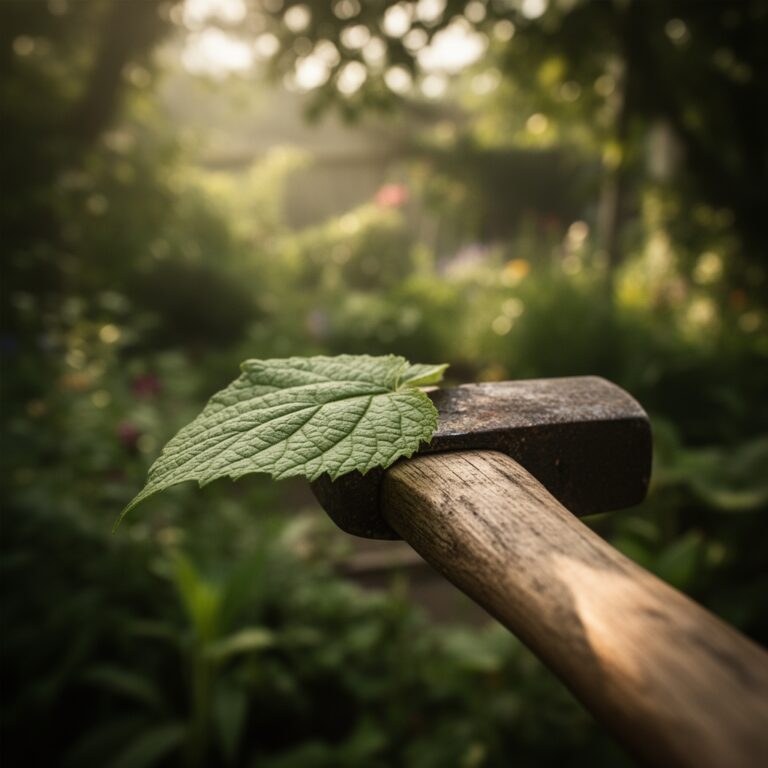
The smell of damp earth and the tactile turgor of a healthy leaf define the success of any structural landscape project. When you learn how to build a gabion wall, you are not merely stacking stone; you are creating a porous, gravity-based retaining system that interacts directly with the local rhizosphere. These wire-mesh cages, filled with inorganic aggregate, provide superior drainage and prevent the hydrostatic pressure buildup that often causes solid masonry to fail. Proper installation requires a firm understanding of soil mechanics and site preparation to ensure the structure remains stable against the freeze-thaw cycles of the surrounding environment.
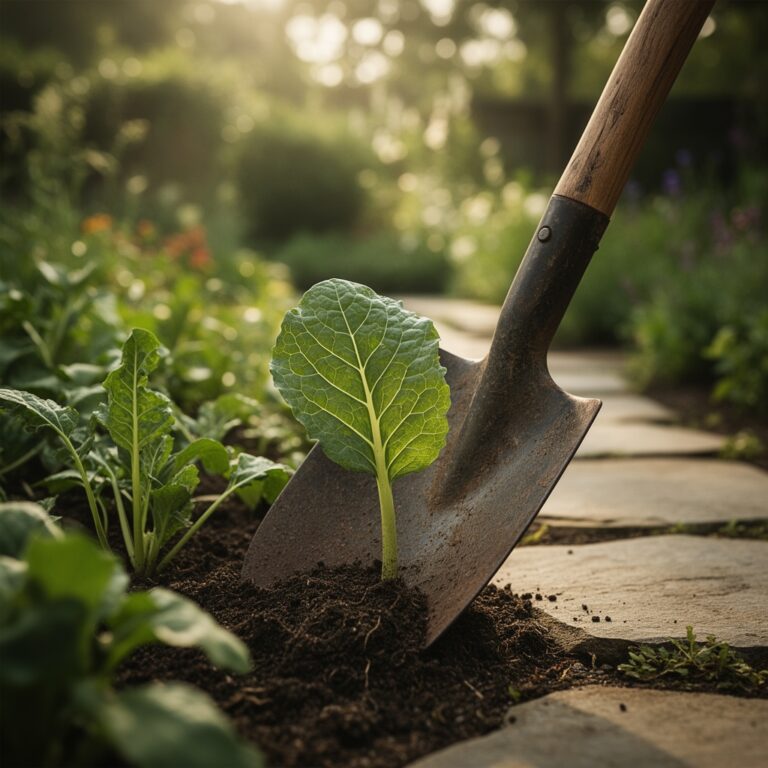
A gabion wall serves as a functional interface between the built environment and the biological world. By utilizing a high-void ratio within the rock fill, these structures allow for gas exchange and moisture regulation at the soil boundary. This promotes the health of nearby plantings by preventing anaerobic conditions in the root zone. Success depends on the precision of the foundation and the quality of the wire coating. Understanding the mechanical load and the biological impact of the wall ensures a permanent, high-performance feature in any professional landscape or agricultural setting.
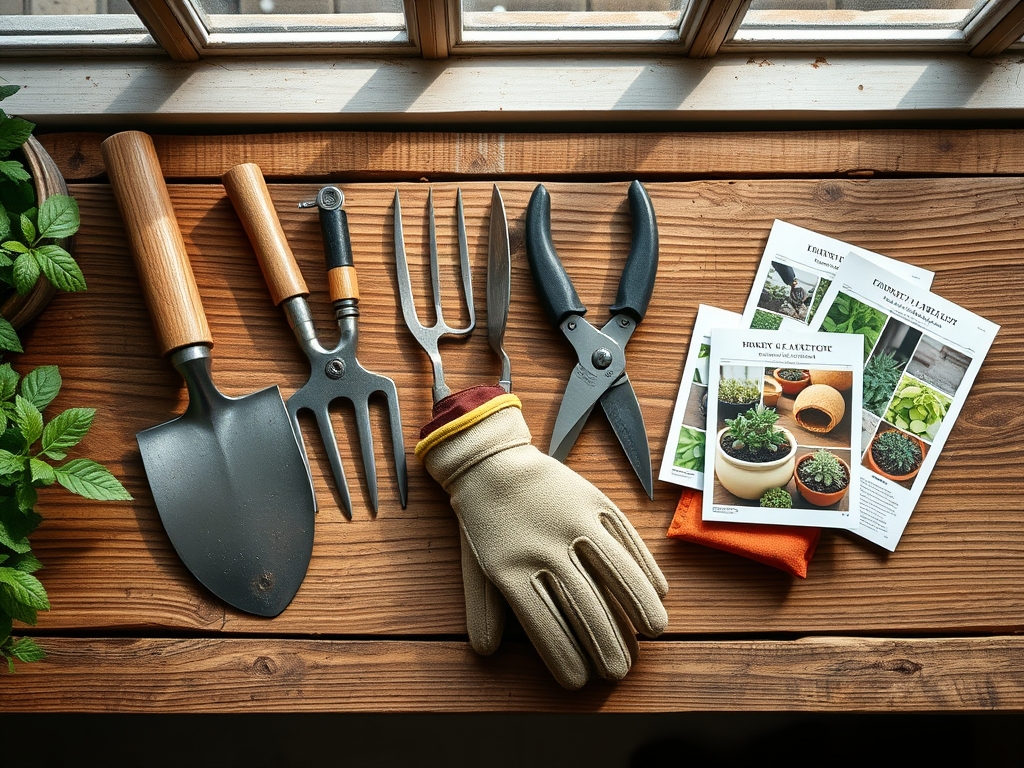
Materials:
The success of a gabion structure depends on the substrate it supports. For walls intended to be integrated with vegetation, the backfill soil must be a friable loam with a pH between 6.0 and 7.0. This acidity level ensures optimal nutrient availability. The Cation Exchange Capacity (CEC) should ideally range between 15 and 25 meq/100g to facilitate the retention of essential minerals.
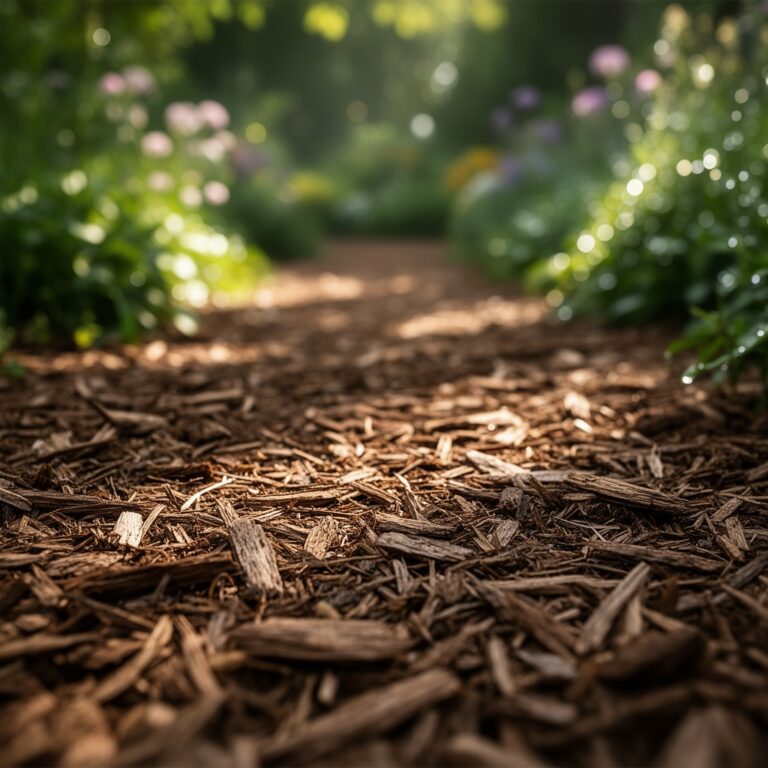
When planting into or behind the wall, incorporate an organic fertilizer with a balanced NPK ratio of 10-10-10 for general establishment. If the goal is to promote deep root penetration for slope stabilization, shift to a 5-10-10 ratio to prioritize phosphorus for root development over nitrogen-driven vegetative growth. The aggregate inside the cages must be non-degradable, typically 4 to 8 inch crushed granite or basalt, which provides the necessary mass and interlocking friction.
Timing:
Construction should align with the dormant season or early spring, specifically within Hardiness Zones 4 through 8. In these regions, the ground must be workable and not saturated with seasonal snowmelt. The ideal window for excavation is after the final frost date when soil moisture levels have stabilized below the field capacity.
The biological clock of the surrounding flora dictates the schedule. If you are planting into the gabion interstices, aim for the transition from the vegetative to the reproductive stage of the selected species. For many perennials, this occurs as the photoperiod increases in late spring. Establishing the wall before this surge in growth allows the root systems to exploit the newly created microclimate provided by the thermal mass of the stones.
Phases:

Sowing and Base Preparation
Excavate a trench to a depth of at least 6 to 12 inches, depending on the wall height. Compact the subsoil to a 95 percent Proctor density to prevent settling. Lay a geotextile fabric to separate the soil from the aggregate. This prevents the migration of fines into the stone voids, which would otherwise compromise drainage.
Pro-Tip: Proper compaction prevents the shearing of delicate root hairs in nearby plants. Maintaining soil structure preserves the mycorrhizal symbiosis necessary for nutrient uptake, as excessive soil disturbance can collapse the fungal networks that assist in water absorption.
Transplanting and Assembly
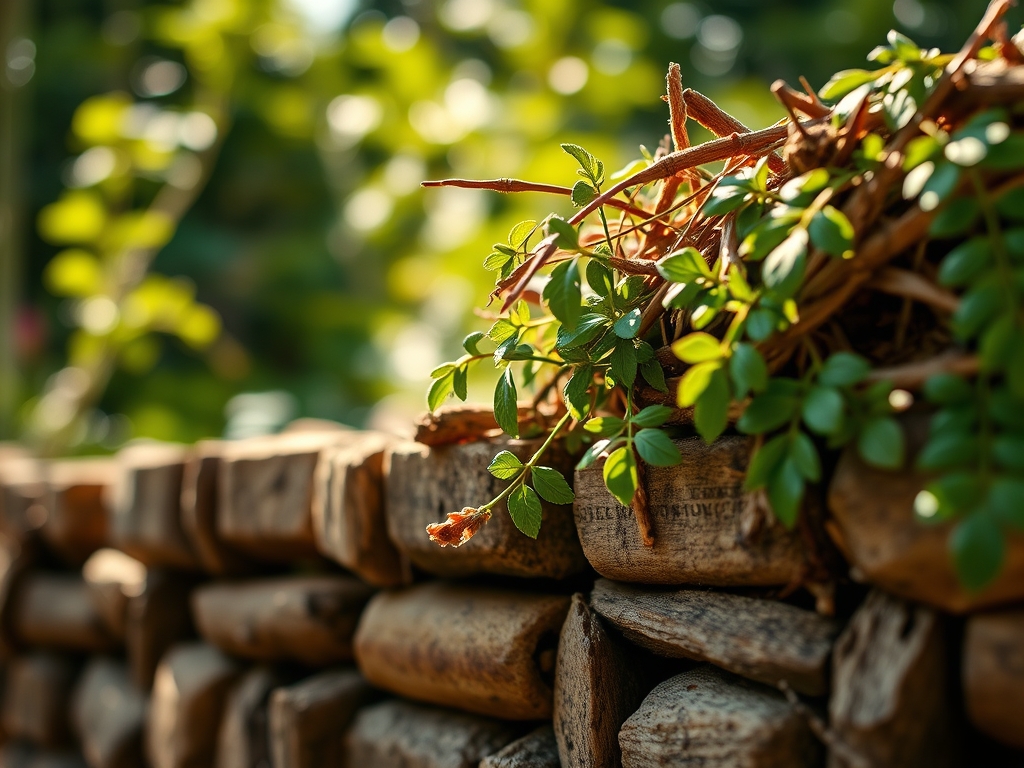
Assemble the galvanized or PVC-coated wire baskets using helical binders or C-rings. Place the cages on the prepared base and level them precisely. When filling, place the stones by hand on the outward-facing side to ensure a tight fit and aesthetic finish. Use internal tie wires every 12 inches of vertical height to prevent the cages from bulging under the lateral pressure of the fill.
Pro-Tip: If incorporating live stakes or "joint planting," insert the cuttings through the mesh before the final layer of stone. This utilizes auxin suppression in the buried portion of the stem to stimulate adventitious root growth, effectively anchoring the wall into the hillside.
Establishing and Backfilling
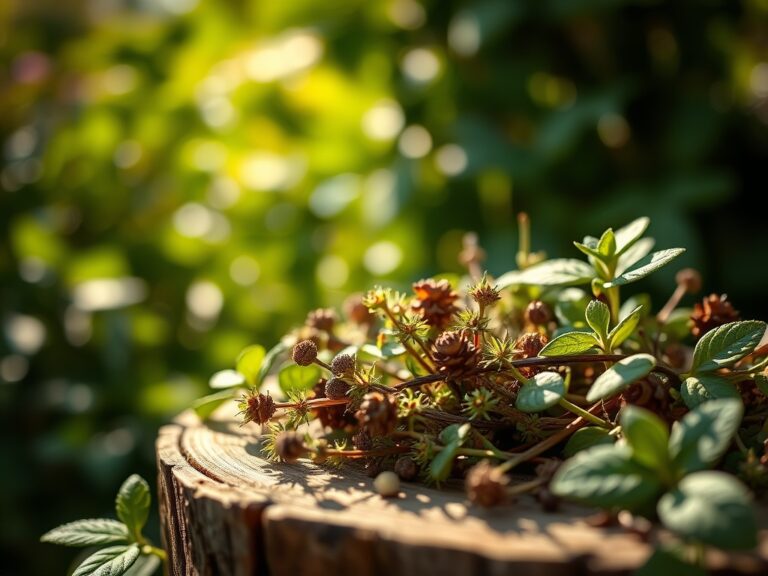
Once the cages are filled and closed, backfill the area behind the wall with the specified friable loam. Layer the soil in 6 inch lifts, compacting each layer manually. If the design includes a "living wall" component, seed the crevices with a mix of sedums or lithophytes that thrive in high-drainage environments.
Pro-Tip: Orient the wall to maximize or minimize solar gain based on the species' needs. This manages phototropism, ensuring that the plants grow outward toward the light rather than becoming leggy and weak within the stone structure.
The Clinic:
Physiological disorders in plants near gabion walls often stem from the unique microclimate created by the stone mass.
- Symptom: Leaf Scorch. This occurs when the thermal mass of the stone reflects infrared radiation, increasing the transpiration rate beyond the plant's capacity to maintain turgor pressure.
- Solution: Increase irrigation frequency or select heat-tolerant succulents for the immediate face of the wall.
- Symptom: Nitrogen Chlorosis. Yellowing of older leaves suggests the high-drainage environment is leaching mobile nutrients.
- Fix-It: Apply a slow-release nitrogen fertilizer or top-dress with 2 inches of well-rotted compost to improve the Cation Exchange Capacity.
- Symptom: Root Rot (Anaerobic Stress). If the geotextile is clogged, water will pool at the base.
- Solution: Ensure the base layer of aggregate is at least 4 inches thick and clear of fine sediment to maintain oxygen levels in the rhizosphere.
Maintenance:
A gabion wall is low-maintenance but requires monitoring of the surrounding soil health. Use a soil moisture meter to ensure the backfill maintains a consistent hydration level; generally, plants will require 1.5 inches of water per week delivered at the drip line during the first growing season.
Inspect the wire cages annually for signs of corrosion or structural shifting. Use a hori-hori knife to remove invasive woody weeds that may wedge between stones and compromise the mesh. For any ornamental plants growing within the wall, use bypass pruners to remove dead tissue, preventing senescence from attracting pathogens to the structural core.
The Yield:
For walls integrated with edible herbs or alpine strawberries, harvest when the fruit or foliage reaches peak aromatic concentration. This is typically in the early morning when turgor is highest and essential oils are concentrated. Use sharp snips to make clean cuts at the node to encourage secondary branching. To maintain "day-one" freshness, immediately place harvested material in a cool, shaded environment to slow the metabolic rate and preserve cellular structure.
FAQ:
How deep should the foundation be for a gabion wall?
For walls under three feet, a foundation of 6 to 12 inches is standard. Use compacted crushed stone or a leveling pad of concrete if the soil has low bearing capacity or high clay content.
What is the best stone for how to build a gabion wall?
Use hard, angular stones like granite, basalt, or quartzite. The stones must be larger than the mesh opening, typically 4 to 8 inches, to ensure they remain contained and provide structural interlocking.
Do gabion walls need a drainage pipe?
Because gabion walls are naturally porous, they usually do not require a traditional weep hole. However, in high-clay soils, a perforated drain pipe at the base of the backfill helps manage extreme runoff.
How long does a galvanized gabion wall last?
A wall constructed with Class 3 galvanized steel or PVC-coated wire can last 40 to 100 years. The longevity depends on the environmental salinity and the acidity of the surrounding soil and groundwater.