8 Technical Steps to Install a Window Well
The scent of damp, anaerobic subsoil signals a failure in moisture management that no horticulturalist can ignore. When hydrostatic pressure builds against a foundation, it threatens the turgor of nearby root systems and the structural integrity of the masonry. Mastering the steps to install a window well requires more than simple excavation; it demands an understanding of soil mechanics and drainage physics. You are not just digging a hole. You are creating a controlled environment where the rhizosphere remains aerated and the foundation stays dry. Proper installation ensures that heavy rains do not saturate the soil to the point of liquefaction, which can lead to localized subsidence. By following precise engineering protocols, you manage the transition between the native soil and the engineered drainage layer. This process preserves the surrounding landscape while providing essential light and ventilation to subterranean spaces.
Materials:
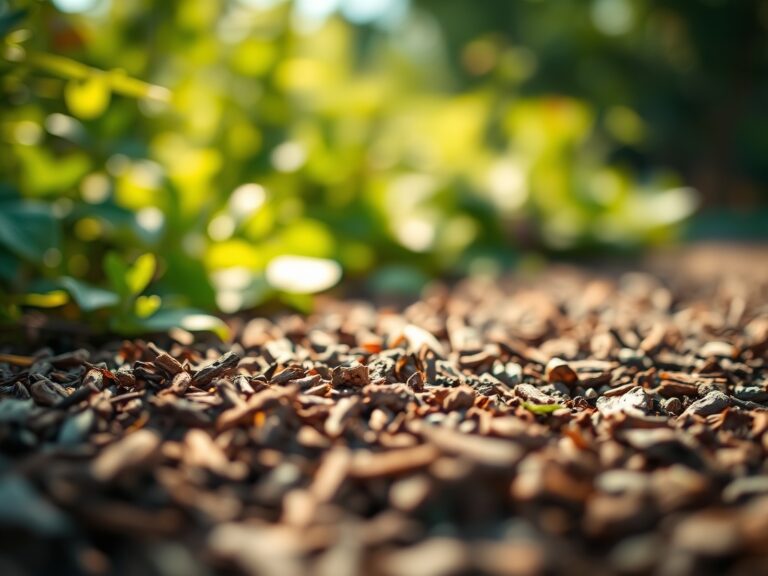
The success of this installation depends on the interaction between the backfill and the native soil. If your site features heavy clay with a low Cation Exchange Capacity (CEC), drainage will be sluggish. You require a **3/4 inch washed angular stone** for the drainage bed to maintain a high void ratio. Avoid rounded pea gravel as it shifts under pressure. For the surrounding perimeter, aim for a **friable loam** with a pH between **6.0 and 7.0**. If the soil is overly acidic, incorporate dolomitic lime at a rate of **5 pounds per 100 square feet**. The nutrient profile should be balanced with a slow release **10-10-10 NPK ratio** to support immediate root recolonization of any disturbed ornamental plants. You will also need a heavy gauge galvanized steel or composite well, 3/8 inch masonry anchors, and high grade silicone sealant to prevent moisture migration at the flange interface.
Timing:
Installation must occur when the soil is workable and not saturated. In Hardiness Zones 4 through 7, the ideal window is late spring or early autumn. You must avoid the "Biological Clock" of major root growth if you are working near established perennials. Perform the excavation when plants are in a state of quiescence or early vegetative growth rather than during the high stress reproductive stages of mid summer. Soil temperature should be at least 50 degrees Fahrenheit to ensure that any replacement sod or seed can initiate germination. Working in frozen ground is impossible and damages the soil structure by creating massive clods that prevent proper compaction during the backfilling phase.
Phases:

Sowing the Foundation
Begin by excavating a semi circle 12 inches wider than the window well unit. Dig down to a depth of 8 to 12 inches below the window sill. This extra depth is critical for the drainage reservoir. If you encounter large roots, use a sharp hori-hori knife to make clean cuts.
Pro-Tip: Clean root cuts prevent the jagged tearing that leads to fungal pathogens. Sharp cuts allow the plant to form a protective callus quickly through a process known as compartmentalization of decay.
Transplanting the Structure
Position the well against the foundation. Ensure it is level and centered. Drill into the masonry and secure the flanges with anchors spaced every 12 inches. Apply a bead of sealant along the edge to ensure no water seeps behind the metal.
Pro-Tip: Maintaining a tight seal prevents the "chimney effect" where moisture evaporates behind the well and condenses on the cold foundation wall. This minimizes the risk of anaerobic bacterial growth in the microgap.
Establishing the Drainage
Fill the bottom of the well with 12 inches of washed stone. This connects the well to the footing drain or provides a sump area for water to collect before it infiltrates the subsoil. Backfill the exterior of the well in 6 inch lifts, tamping each layer to prevent future settling.
Pro-Tip: Tamping the soil eliminates large air pockets that can lead to root desiccation in nearby plants. It also ensures that the bulk density of the soil is sufficient to support the weight of the well against lateral earth pressure.
The Clinic:
Physiological disorders in the landscape surrounding the well often manifest after the soil profile has been disturbed.
- Symptom: Interveinal Chlorosis. This is often a sign of Nitrogen deficiency caused by the leaching of nutrients during heavy rains or soil disturbance.
- Solution: Apply a water soluble 20-20-20 NPK fertilizer to provide an immediate boost to the nitrogen cycle.
- Symptom: Leaf Wilting despite wet soil. This indicates root rot (Phytophthora) caused by poor drainage.
- Solution: Increase the depth of the gravel drainage bed and ensure the soil is not mounded against the plant stems.
- Symptom: Stunted growth. This may be due to soil compaction from heavy foot traffic during installation.
- Solution: Use a garden fork to aerate the soil to a depth of 8 inches without overturning the layers.
Fix-It: For Nitrogen chlorosis, supplement with blood meal or a high Nitrogen liquid feed to restore the green pigment and increase photosynthetic efficiency.
Maintenance:
Once the well is installed, the surrounding vegetation requires specific care to recover from the stress of excavation. Monitor the area with a soil moisture meter. Plants will need roughly 1.5 inches of water per week at the drip line for the first month. Use bypass pruners to remove any branches that were damaged during the construction process. This prevents the plant from wasting energy on senescence and redirects it toward new growth. Keep the interior of the well clear of leaf litter and organic debris. If organic matter accumulates in the gravel bed, it will decompose and clog the drainage voids, leading to standing water and potential window failure.
The Yield:
While a window well does not produce a harvest in the traditional sense, the "yield" is the preservation of your home's structural health and the longevity of your foundation plantings. By managing the hydrostatic head of the soil, you ensure that the surrounding garden thrives without the threat of root drowning. Proper installation results in a "day-one" freshness for your landscape where the transition between the hardscape and the greenscape is seamless and functional.
FAQ:
How deep should the gravel bed be?
The gravel bed should extend at least 12 inches below the window sill. This provides a sufficient reservoir to hold water during heavy rain events before it infiltrates the lower soil strata.
Do I need a drain pipe?
If your soil has a high clay content and low permeability, you should tie the well into the house foundation weeping tile. In well draining sandy soils, a deep gravel pit is usually sufficient.
What is the best backfill material?
Use the native soil if it is a friable loam. If the soil is heavy clay, mix it with 30 percent coarse sand to improve the infiltration rate and reduce the pressure against the well walls.
How do I prevent weeds in the well?
Install a permeable landscape fabric between the soil and the gravel bed. This prevents soil fines from migrating into the gravel while allowing water to pass through, maintaining the integrity of the drainage system.