6 Best Landscape Adhesive for Stone
The scent of wet slate and the mineral tang of damp earth signal the start of a structural installation. In high-performance masonry, the mechanical bond between stone and substrate is the primary failure point. Achieving structural stability requires the best landscape adhesive for stone to bridge the gap between irregular surfaces. Without a high-tensile chemical bond, freeze-thaw cycles exert hydraulic pressure that displaces caps and treads. We prioritize polyurethane-based formulations that maintain flexibility while providing a shear strength exceeding 500 PSI. This ensures the hardscape remains a permanent fixture within the garden's architecture.
Materials:
Successful stone installation begins with the soil substrate. A **friable loam** with a Cation Exchange Capacity (CEC) of **15 to 25 meq/100g** provides the necessary stability for heavy stone footings. The surrounding soil pH should be maintained between **6.0 and 7.0** to prevent acidic runoff from etching limestone or marble components. We balance the rhizosphere with an NPK ratio of **5-10-10** for nearby plantings; lower nitrogen levels prevent excessive vegetative growth that could encroach upon and loosen the stone joints. High phosphorus levels encourage the root density required to anchor the soil around the stone base.
Timing:
Hardscape projects are dictated by the frost-free window in Hardiness Zones 3 through 9. Installation must occur when ambient temperatures remain between 40 and 90 degrees Fahrenheit for a 24-hour period. This window ensures the chemical cross-linking within the adhesive reaches full cure before the first frost. Biological timing is equally critical. We schedule stone work during the plant's dormancy phase or late senescence to avoid damaging active root systems. Working during the transition from vegetative to reproductive stages risks disrupting the plant's hydraulic turgor pressure; therefore, late autumn or early spring is the professional standard for heavy masonry integration.
Phases:
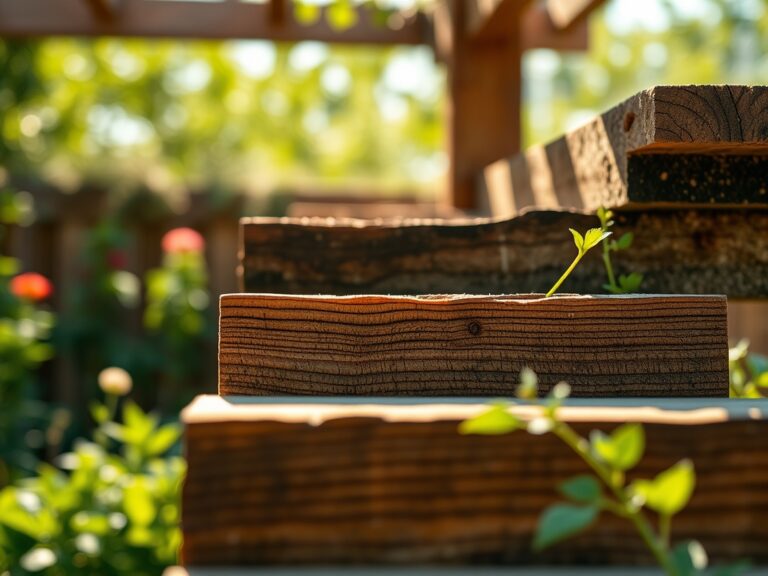
Sowing and Site Preparation
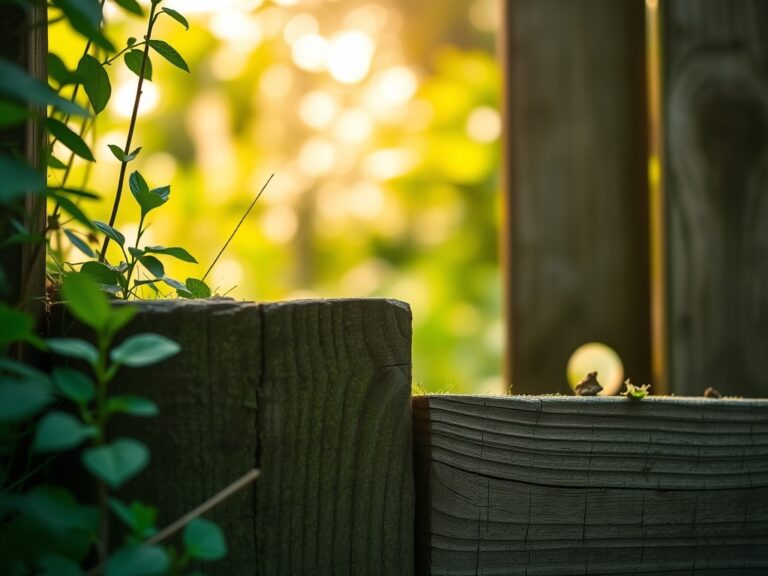
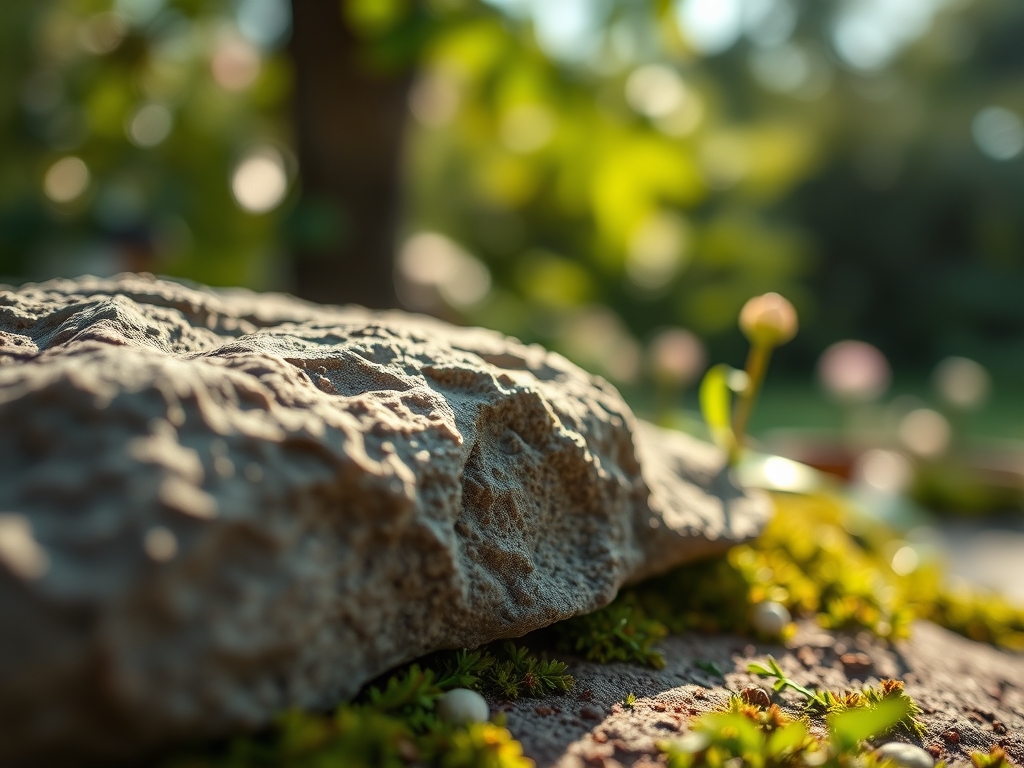
Before applying the best landscape adhesive for stone, the surface must be free of organic debris and biofilms. Use a wire brush to expose the mineral pores of the rock. If the stone is being integrated into a "living wall," ensure the planting pockets are filled with a mix of 70% inorganic grit and 30% organic matter.
Pro-Tip: Maintain a dry surface to prevent hydrostatic interference. Water molecules on the stone surface act as a barrier to polyurethane bonding; ensuring a dry substrate allows the adhesive to penetrate the microscopic fissures of the stone for a superior mechanical lock.
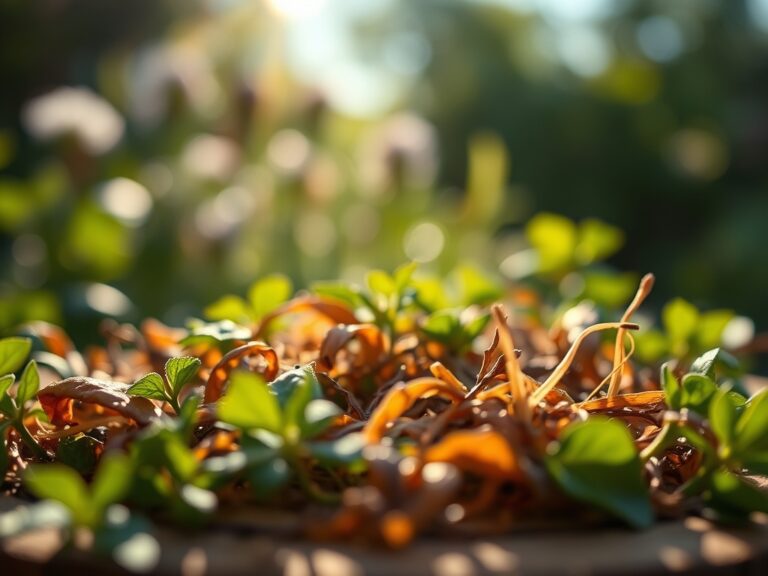
Transplanting and Placement
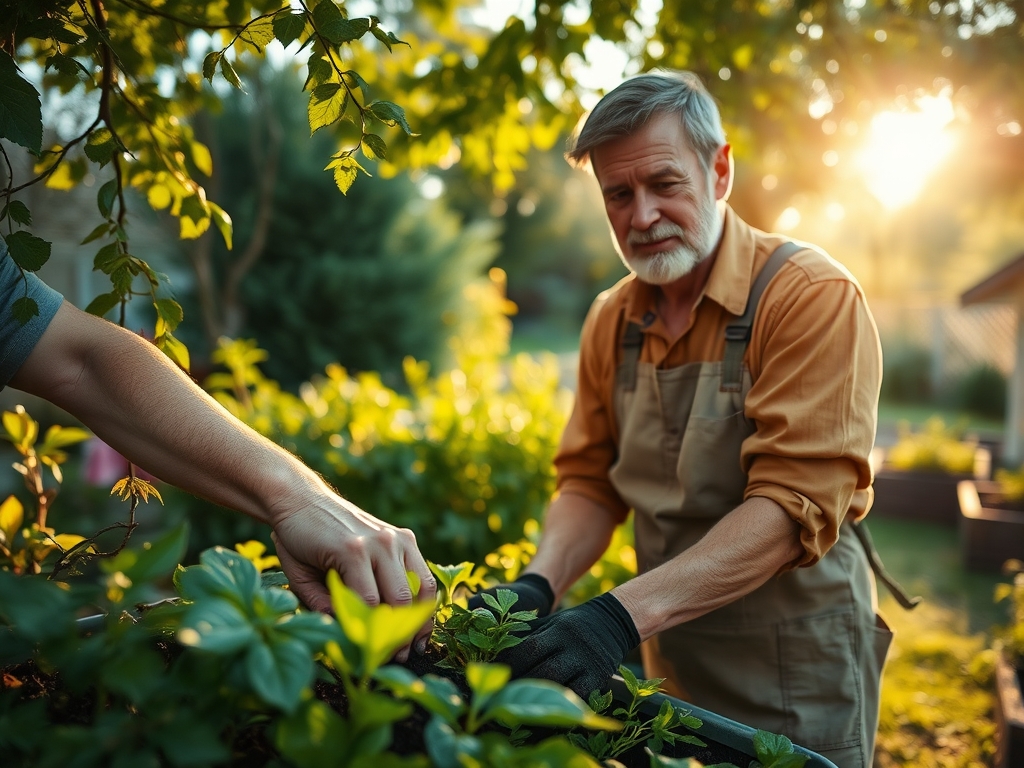
When placing heavy capstones, apply the adhesive in 1/4-inch beads spaced 2 inches apart. This pattern allows for gas escape during the curing process. If the stone is adjacent to root zones, avoid compacting the soil beyond 85% Proctor density to ensure oxygen reaches the rhizosphere.
Pro-Tip: Utilize auxin suppression techniques by pruning back aggressive lateral roots that might exert physical pressure on the stone. By removing these "pioneer roots," you redirect the plant's energy into deeper vertical anchoring, protecting the integrity of the adhesive bond.
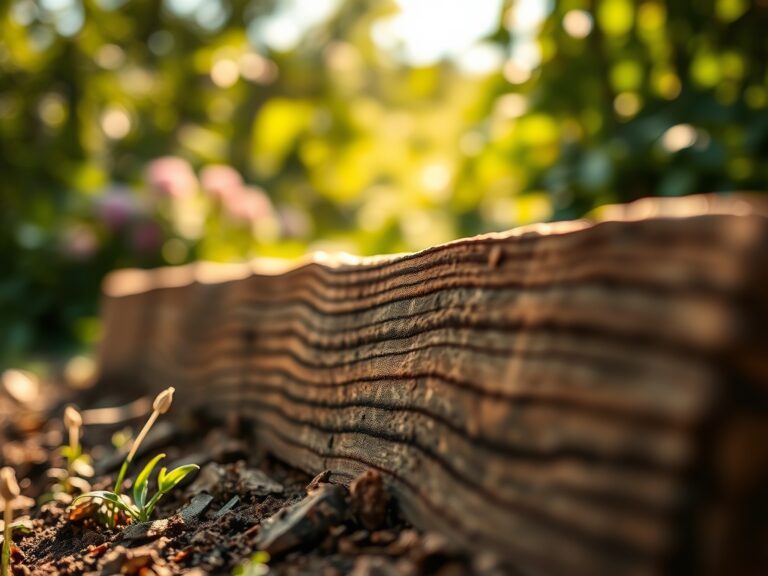
Establishing the Bond
Once the stone is set, it must remain undisturbed for 24 to 48 hours. During this period, avoid irrigation that could lead to runoff and chemical leaching. The goal is to allow the adhesive to reach a Shore A Hardness of 50 or greater.
Pro-Tip: Encourage mycorrhizal symbiosis in the surrounding soil by inoculating with Glomus intraradices. This fungal network stabilizes the soil structure around the stone, reducing the likelihood of "settling" which can shear the adhesive bond over time.
The Clinic:
Physiological disorders in the landscape often manifest near hardscape interfaces.
Symptom: Leaf chlorosis in plants adjacent to new stone.
Solution: Check for alkaline leaching. New mortar or stone dust can spike soil pH above 8.0, locking out iron and manganese. Apply elemental sulfur to lower pH to the 6.5 range.
Symptom: Adhesive failure or "peeling" from the stone surface.
Solution: This is often caused by efflorescence. White salt deposits on the stone indicate moisture moving through the material. Seal the stone back with a silane-siloxane penetrant before reapplying adhesive.
Symptom: Nitrogen chlorosis (yellowing of older leaves).
Fix-It: Apply a water-soluble fertilizer with a 20-0-0 ratio at a rate of 0.5 pounds of actual nitrogen per 1,000 square feet. This restores chlorophyll production and turgor pressure.
Maintenance:
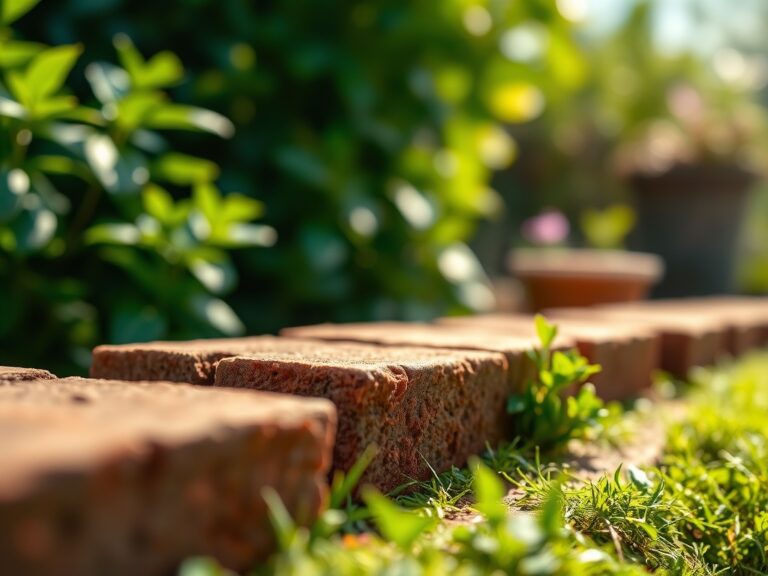
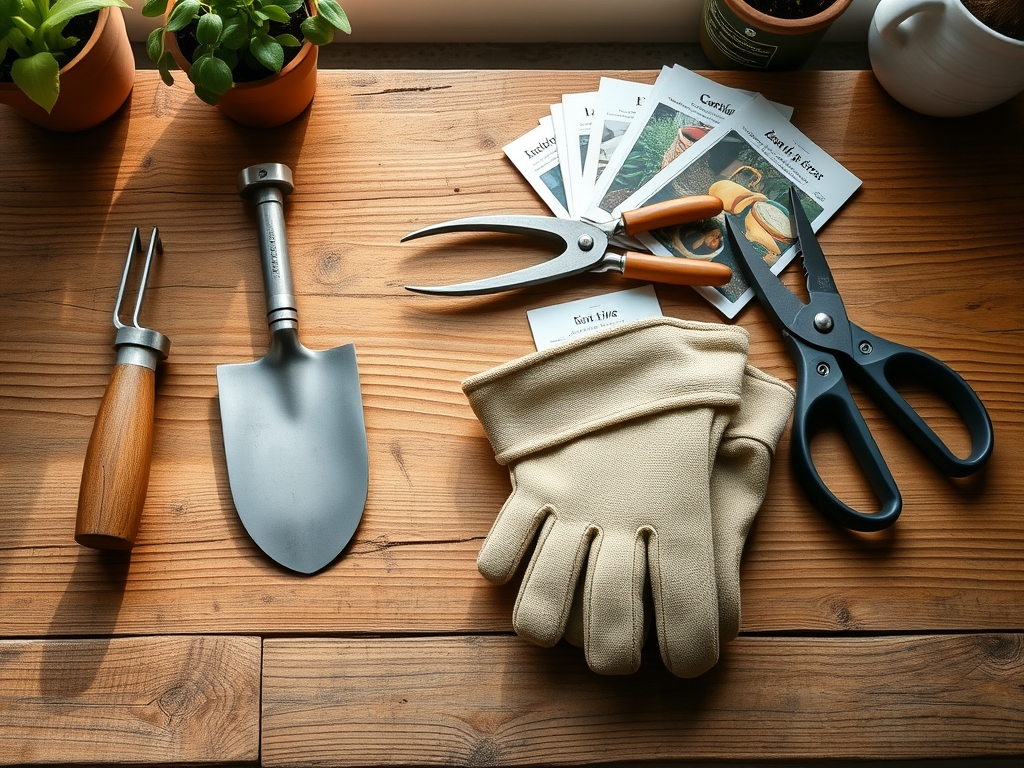
Precision maintenance extends the life of both the stone and the surrounding flora. Deliver 1.5 inches of water per week at the drip line using a targeted soaker hose. Use a soil moisture meter to verify that the root zone at a 6-inch depth remains consistently moist but not saturated. For pruning near the stone, use bypass pruners for clean cuts that heal quickly; avoid anvil-style pruners which crush plant tissue. A hori-hori knife is the ideal tool for weeding tight gaps between stones without disturbing the adhesive bond or the underlying soil structure.
The Yield:
For landscapes incorporating edible stone-crop or herbs like Rosmarinus officinalis, harvest during the morning hours when turgor pressure is at its peak. Use sharp shears to remove no more than one-third of the plant's biomass. To maintain "day-one" freshness, immediately submerge the stems in 40-degree Fahrenheit water to slow the metabolic rate and prevent rapid senescence. Store in a high-humidity environment to maintain cellular structure.
FAQ:
What is the best temperature for applying landscape adhesive?
Apply adhesive when ambient temperatures are between 40 and 90 degrees Fahrenheit. Temperatures below 40 degrees slow the chemical cure; temperatures above 90 degrees can cause the solvent to flash off too quickly, weakening the bond.
Can I apply landscape adhesive to wet stone?
Most polyurethane adhesives require a dry surface. Moisture creates a barrier that prevents the adhesive from penetrating the stone's pores. For wet environments, specifically select a "wet-surface" rated adhesive containing silane-modified polymers for proper adhesion.
How long does landscape adhesive take to cure?
Initial "tack" occurs within 15 to 30 minutes. However, a full structural cure requires 24 to 48 hours depending on humidity. High humidity actually accelerates the cure of polyurethane adhesives by reacting with the moisture in the air.
Will landscape adhesive harm my garden plants?
Once cured, professional-grade landscape adhesives are chemically inert. During application, avoid direct contact with foliage or root systems. Ensure the area is well-ventilated to prevent the accumulation of volatile organic compounds (VOCs) near sensitive plant tissues.