7 Fast-Growing Steps to Prepare a Custom Indoor Trellis
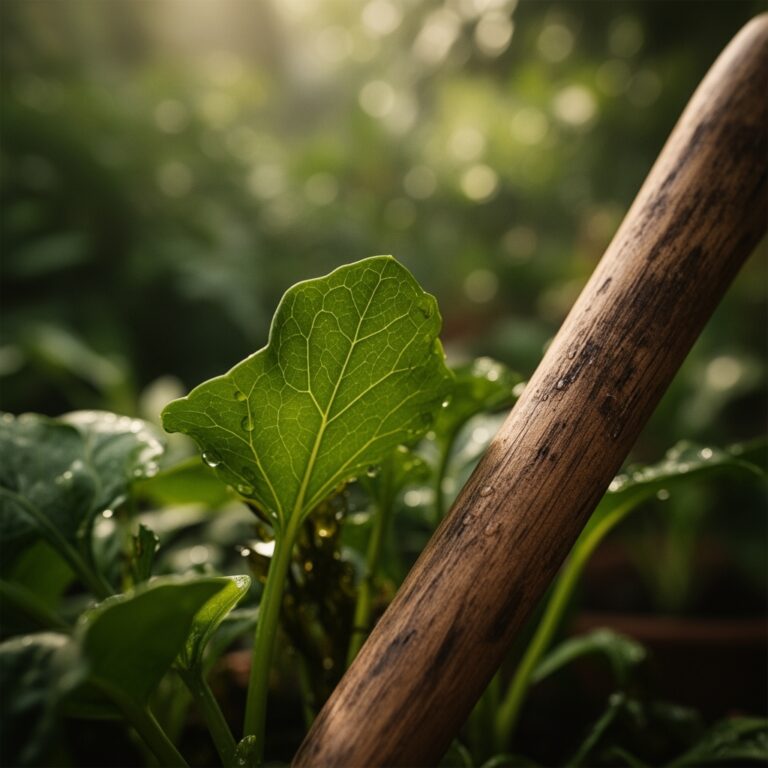
The scent of damp, pasteurized peat moss signals the start of a controlled indoor ecosystem. When a leaf achieves full turgor pressure, its cells are distended with water; it stands rigid against the pull of gravity. To maintain this structural integrity while maximizing vertical space, you must understand how to prepare a DIY plant trellis using engineering principles and botanical science. This process transforms a sprawling vine into a vertical powerhouse of photosynthesis.
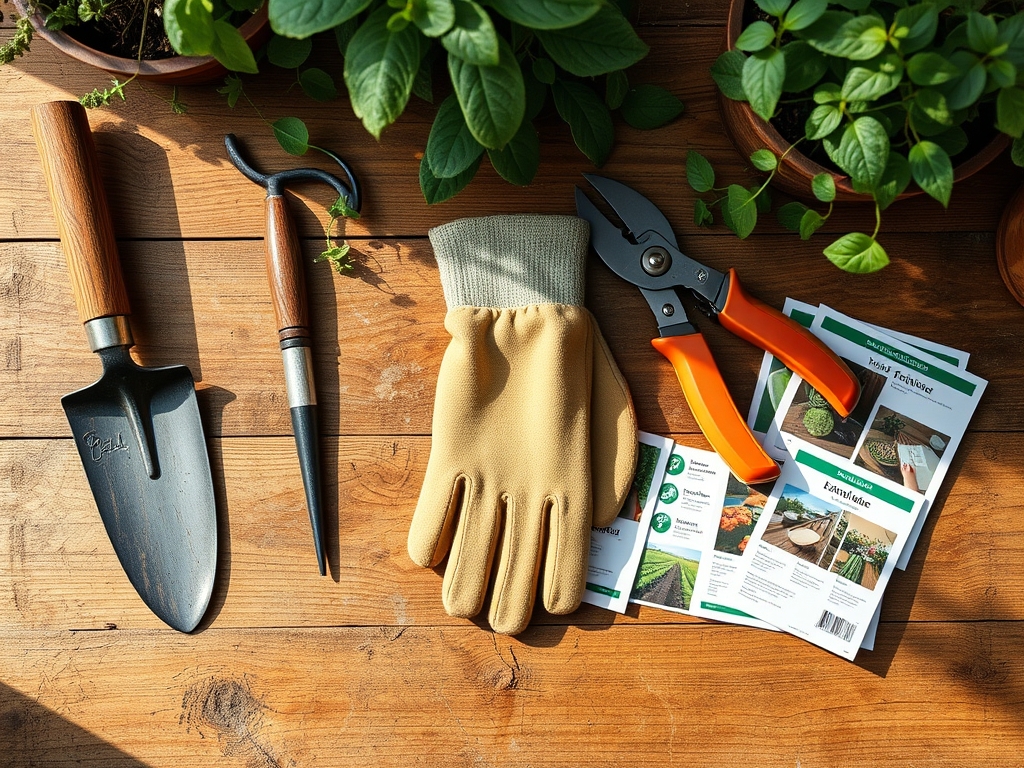
Materials:
The foundation of a successful vertical system begins in the rhizosphere. You require a substrate with high Cation Exchange Capacity (CEC) to ensure nutrients remain available to the roots. The ideal medium is a friable loam consisting of 40 percent compost, 40 percent peat or coco coir, and 20 percent perlite for aeration.
Maintain a soil pH between 6.0 and 6.8 for optimal nutrient bioavailability. For the initial growth phase, utilize a fertilizer with an NPK ratio of 10-5-5 to promote vigorous leaf and stem development. The physical trellis structure should consist of rot-resistant materials like cedar, bamboo, or powder-coated steel. Avoid galvanized wire if you are growing sensitive species, as zinc leaching can occur in acidic environments. Use 16-gauge floral wire or soft jute twine for securing stems without constricting vascular tissue.
Timing:
Indoor cultivation bypasses traditional Hardiness Zones; however, the internal environment should mimic the conditions of Zones 9 through 11 for tropical climbers. Align your trellis installation with the vegetative stage of the biological clock. This transition occurs after the first three sets of true leaves appear but before the plant initiates senescence or reproductive flowering.
Photoperiod management is critical during this window. Most climbing species require 12 to 16 hours of light to maintain the auxin production necessary for upward growth. If you are preparing a trellis for an edible climber, ensure the structure is in place at least 14 days before the anticipated flowering date to avoid disturbing the root system during the high-demand reproductive phase.
Phases:
Sowing and Germination
Place seeds at a depth exactly three times their diameter. Maintain a constant soil temperature of 70 to 75 degrees Fahrenheit using a heat mat. This thermal consistency accelerates metabolic enzymes and ensures uniform emergence.
Pro-Tip: Utilize mycorrhizal inoculants during sowing. This symbiotic fungus extends the root reach by 10 to 100 times, increasing the uptake of immobile phosphorus through a biological network.
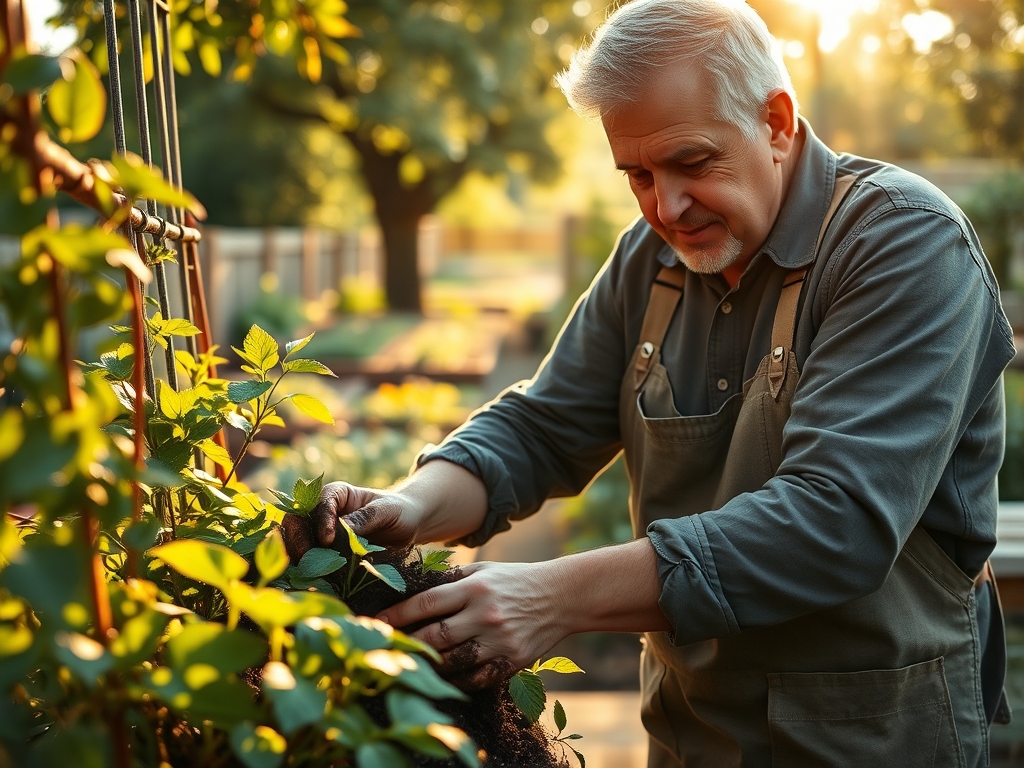
Transplanting and Anchoring
Move seedlings into their permanent containers once the root ball is cohesive but not pot-bound. Insert the trellis stakes at the outer edge of the pot to avoid shearing the primary taproot. Secure the main leader to the trellis using a loose figure-eight knot.
Pro-Tip: Practice apical dominance suppression by pinching the terminal bud. This redirects auxins to lateral buds, creating a bushier plant that fills the trellis width rather than just its height.
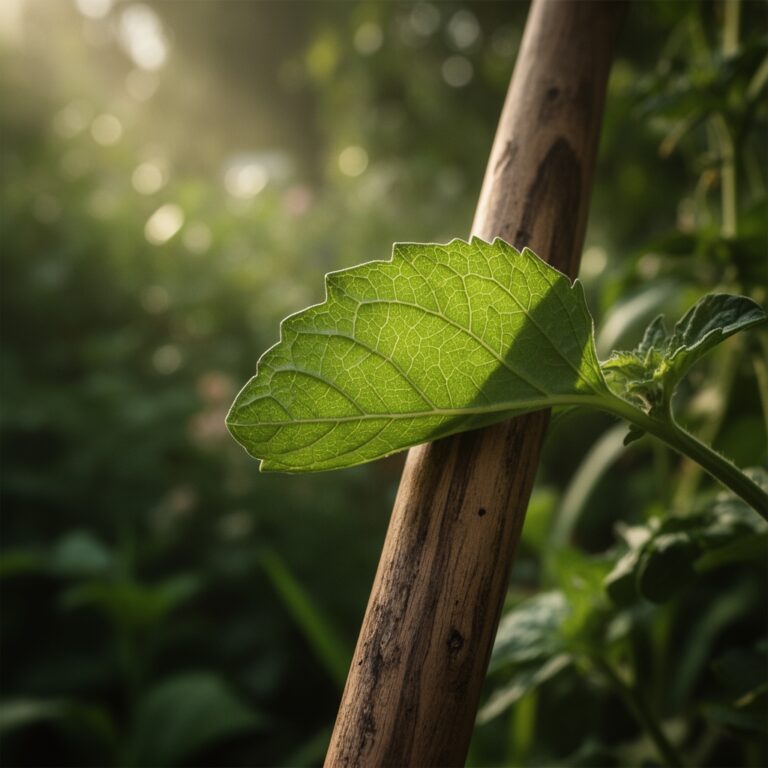
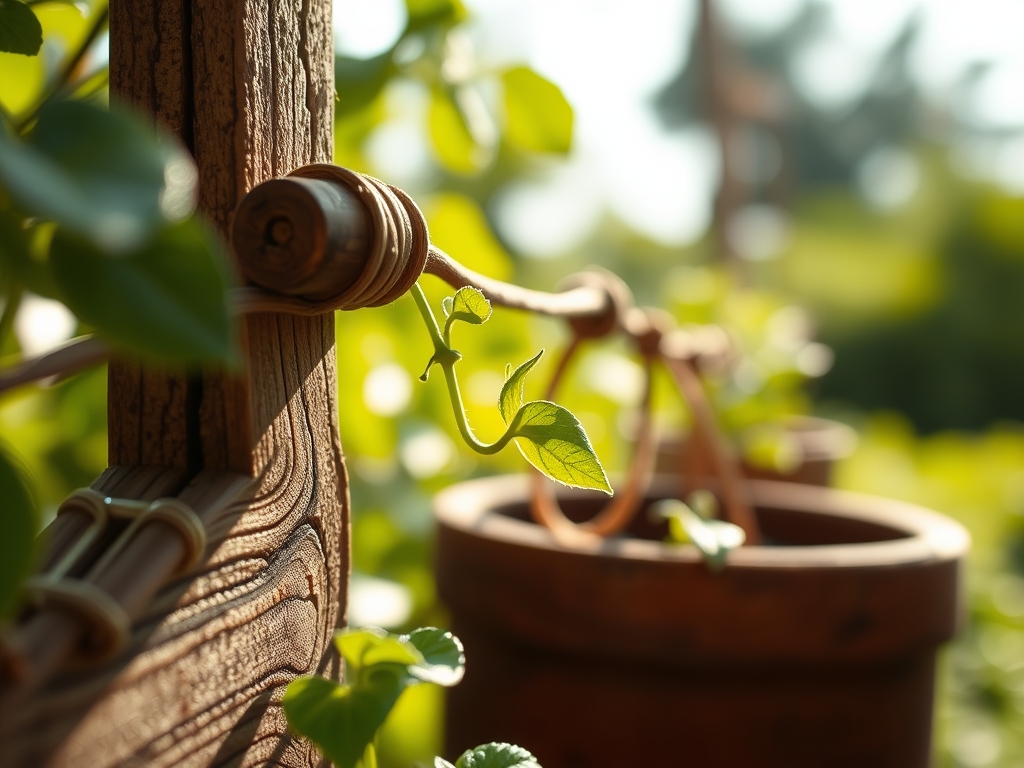
Establishing Verticality
As the plant grows, manually guide new tendrils toward the support structure. Monitor the internodal distance; if the space between leaves exceeds three inches, increase light intensity to prevent etiolation.
Pro-Tip: Leverage phototropism by rotating the container 90 degrees every three days. This ensures even distribution of growth hormones and prevents the plant from leaning excessively toward the primary light source.
The Clinic:
Physiological disorders often manifest through foliage changes. Use this diagnostic guide to maintain health.
Symptom: Interveinal chlorosis on older leaves.
Solution: This indicates Magnesium deficiency. Apply a foliar spray of 1 tablespoon Epsom salts per gallon of water to restore chlorophyll production.
Symptom: Leaf tip burn or marginal necrosis.
Solution: This is often caused by salt accumulation from synthetic fertilizers. Flush the substrate with three volumes of distilled water to reset the EC (Electrical Conductivity) levels.
Symptom: Wilting despite moist soil.
Solution: This suggests root rot or Pythium. Improve drainage by adding coarse perlite and reduce watering frequency to allow the top 2 inches of soil to dry.
Fix-It for Nitrogen Chlorosis: If the entire plant turns pale green, the NPK balance is skewed. Supplement with a high-nitrogen liquid feed (20-10-10) at half strength to rapidly restore nitrogen levels in the leaf tissue.
Maintenance:
Precision is the difference between a surviving plant and a thriving one. Deliver exactly 1.5 inches of water per week, measured by a soil moisture meter inserted 4 inches into the root zone. Do not water on a schedule; water based on the volumetric water content of the soil.
Use a hori-hori knife to remove weeds or spent organic matter from the soil surface. For pruning, utilize sharp bypass pruners to make clean cuts at a 45-degree angle just above a node. This angle prevents water from pooling on the wound, which reduces the risk of fungal infection. Sterilize your tools with 70 percent isopropyl alcohol between plants to prevent the transmission of pathogens.
The Yield:
For flowering climbers, harvest when 70 percent of the blooms are open. For edible vines like peas or beans, harvest when the fruit is firm and the sugar content is at its peak. Use the "snap test" for legumes; if the pod bends without breaking, it has passed its prime.
Post-harvest handling is vital for day-one freshness. Immediately submerge the cut stems in 100-degree Fahrenheit water to break air bubbles in the xylem, then transfer them to a cool environment. This thermal shock improves water uptake and extends the shelf life of the harvest by maintaining cellular turgor.
FAQ:
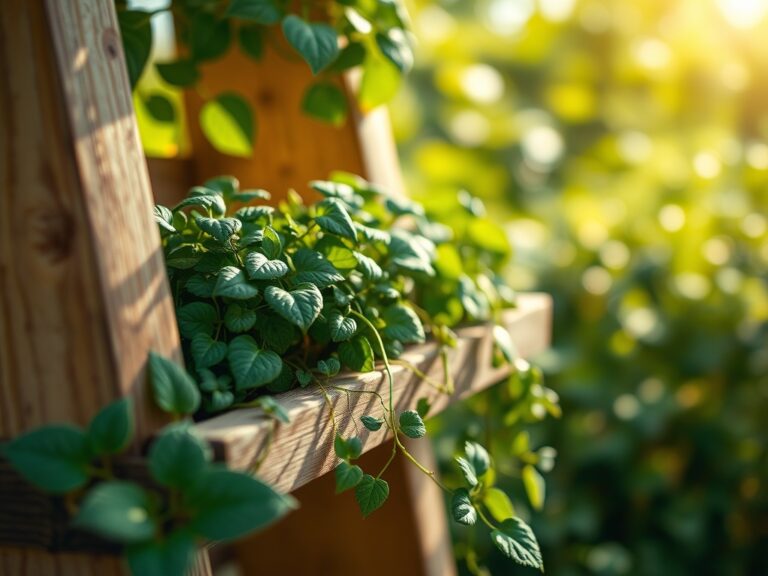
What is the best material for a DIY trellis?
Cedar and bamboo are superior for their natural rot resistance. For heavy vines, use 16-gauge cattle panels or powder-coated steel. These materials withstand high humidity levels and provide the necessary grip for adventitious roots or twining petioles.
How do I prevent my trellis from tipping?
Ensure the container base is at least one-third the height of the trellis. Use heavy substrates like calcined clay at the bottom of the pot to lower the center of gravity and provide structural counterweight against the plant's biomass.
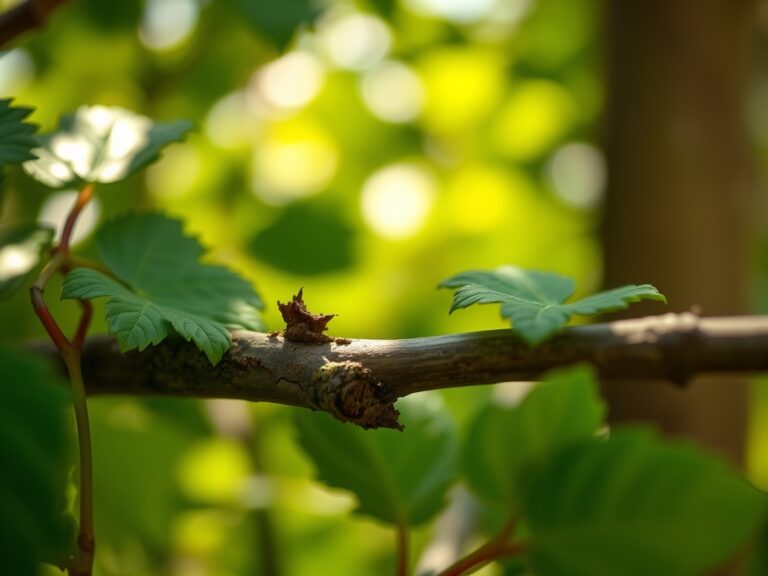
When should I start training vines to the trellis?
Begin training when the primary leader reaches 6 inches in length. Early intervention prevents the stem from hardening in a prostrate position. Use soft ties to guide the plant without restricting the expansion of the vascular cambium.
Can I reuse a trellis for different plants?
Yes, but you must sterilize the structure first. Scrub the trellis with a 10 percent bleach solution to eliminate dormant fungal spores, bacteria, or pests. This prevents cross-contamination between different botanical species and ensures a sterile growing environment.