8 Vining Steps to Prepare a Vining Ivy Plant Shelf
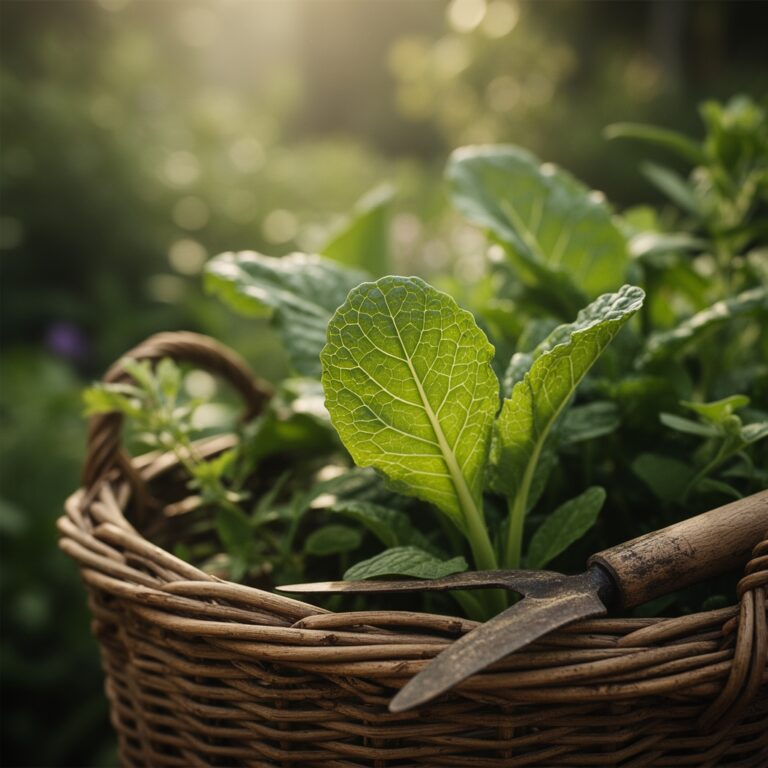
The smell of damp peat moss and the high turgor pressure of a thick Hedera helix leaf indicate a plant ready for vertical expansion. Success requires more than a simple ledge; it demands a calibrated environment that mimics the forest floor while managing structural load. Learning how to prepare a plant shelf for ivy involves calculating weight limits, light saturation, and humidity pockets to ensure long term vine health. You must evaluate the shelf material for moisture resistance and ensure the wall anchors can support the increasing biomass of a maturing root system. Ivy creates a significant downward force as its foliage density increases; therefore, structural integrity is as vital as soil chemistry.
Materials:
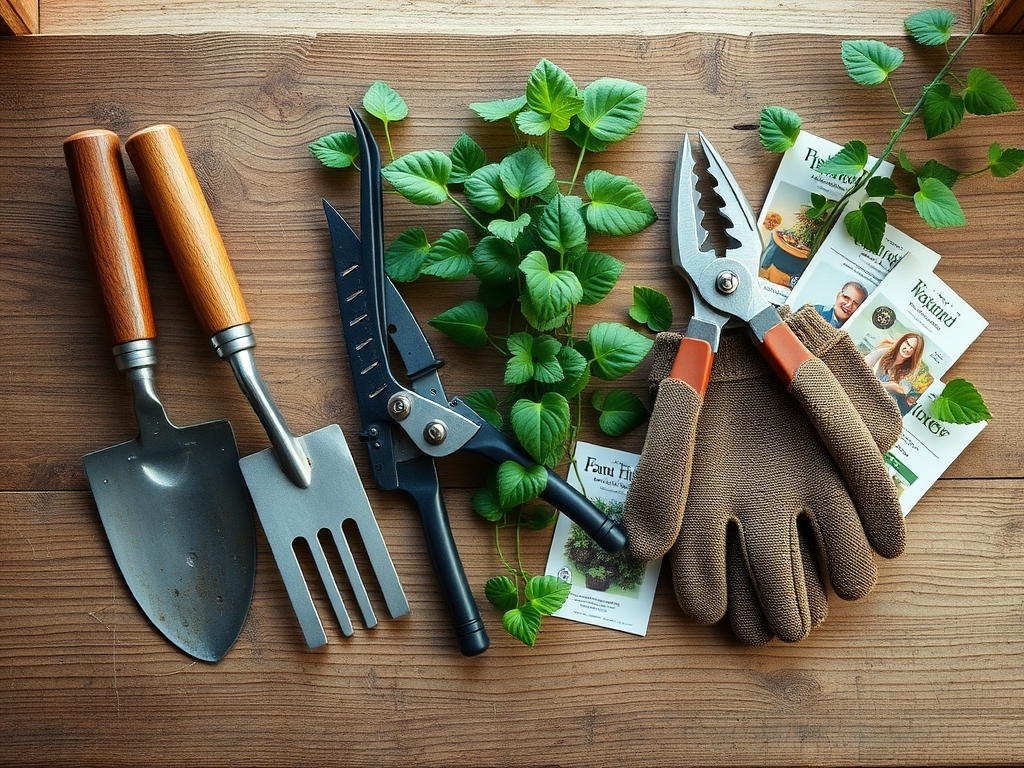
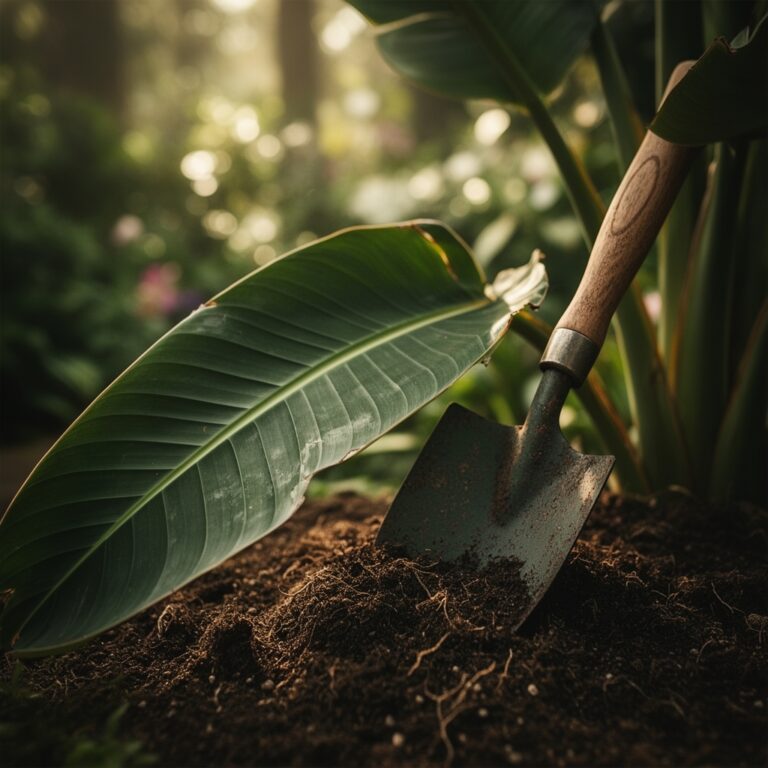
The substrate must be a **friable loam** with high porosity to prevent anaerobic conditions. Aim for a soil pH between **6.0 and 6.5** to maximize nutrient bioavailability. For the initial potting mix, use a **10-10-10 NPK ratio** to provide a balanced start for both root development and leaf expansion. The Cation Exchange Capacity (CEC) should be high; include expanded perlite or coarse sand to maintain an air filled porosity of **20 percent**. Avoid heavy clay which compacts and restricts gas exchange in the rhizosphere. You will also need galvanized wall anchors, a level, and a waterproof liner to protect the shelf from runoff.
Timing:
Timing the installation depends on the internal biological clock of the ivy. In USDA Hardiness Zones 4 through 9, the ideal window for shelf establishment is early spring, approximately two weeks after the last frost date. This coincides with the transition from dormancy to active vegetative growth. During this phase, the plant increases its production of auxins, the hormones responsible for cell elongation. Installing the shelf during this period allows the ivy to utilize its natural growth surge to anchor itself to new supports. Avoid major shelf transitions during the winter senescence when metabolic rates drop and the plant cannot quickly recover from the stress of being moved or repotted.
Phases:
Sowing and Propagation
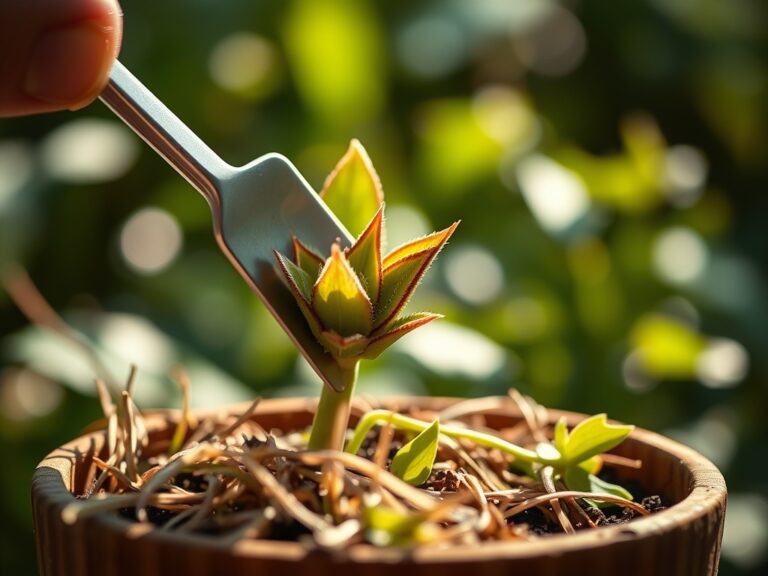
If starting from cuttings, select a 6 inch stem with at least three nodes. Submerge the nodes in a sterile medium until root initials appear. Maintain a consistent temperature of 70 degrees Fahrenheit.
Pro-Tip: Dip the cut end in a rooting hormone to stimulate the pericycle cells. This triggers rapid cell division through auxin signaling, ensuring a robust root system before the plant is moved to the shelf.
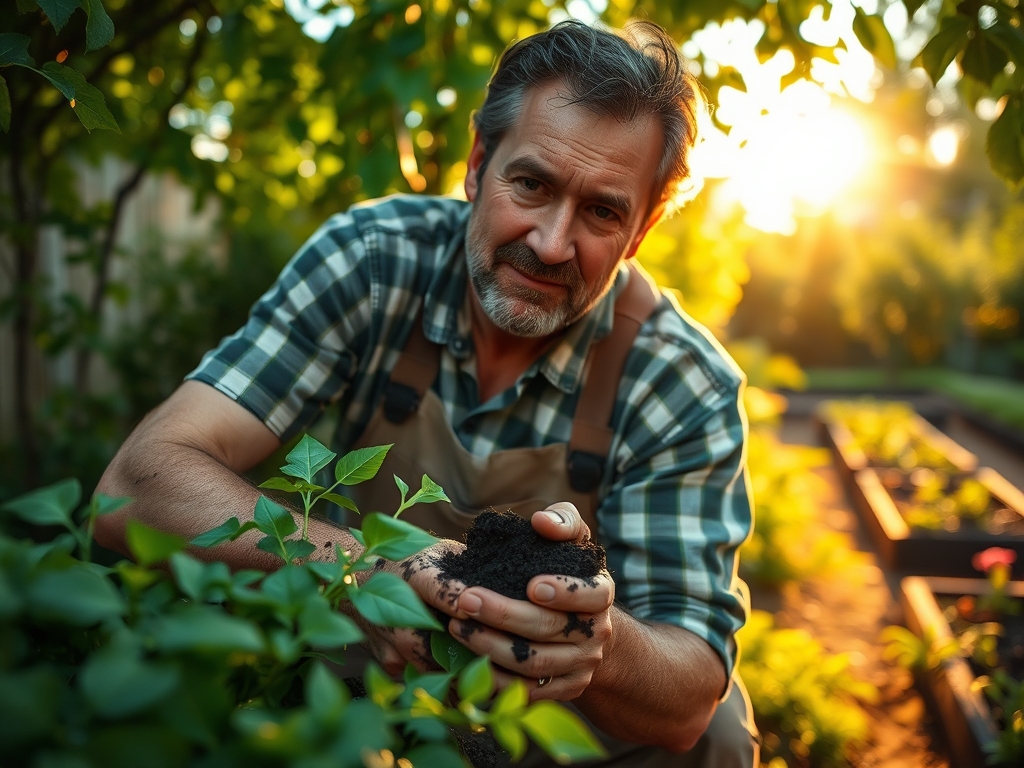
Transplanting to the Shelf
Transfer the established ivy into a pot with drainage holes. Place a 0.5 inch layer of gravel at the bottom to prevent water logging. Ensure the shelf is positioned to receive 150 to 250 foot-candles of light.
Pro-Tip: Inoculate the soil with mycorrhizal fungi. This creates a symbiotic relationship that extends the root surface area, allowing the ivy to absorb phosphorus more efficiently through the fungal hyphae.
Establishing the Vining Path
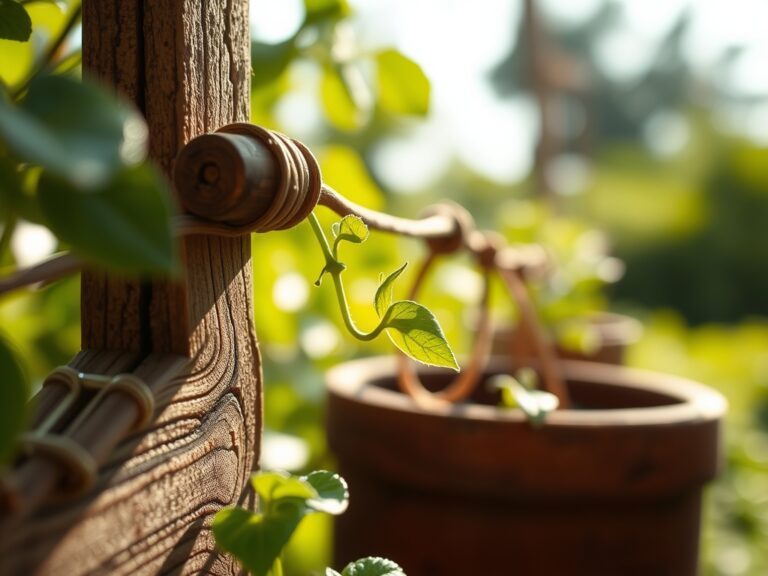
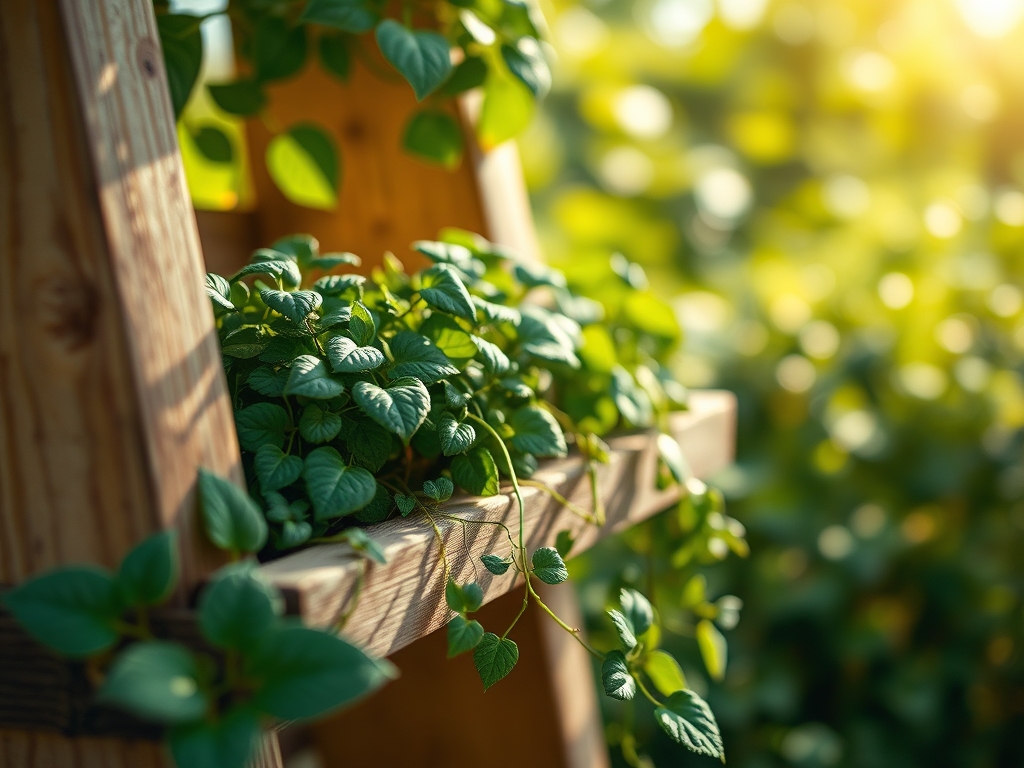
Secure the primary runners to the shelf or a wall mounted trellis using soft ties. Do not restrict the stem diameter. Ivy utilizes adventitious roots to cling to surfaces; these require a slightly textured substrate to grip effectively.
Pro-Tip: Use apical dominance to your advantage. If you want a bushier shelf, pinch off the terminal buds. This suppresses the downward flow of auxins and encourages lateral branching from axillary buds.
The Clinic:
Physiological disorders often manifest as visible foliage changes. Monitor your ivy for these specific symptoms to diagnose underlying issues.
Symptom: Interveinal chlorosis (yellowing between leaf veins).
Solution: This indicates a Magnesium deficiency. Apply a solution of Epsom salts at a rate of one tablespoon per gallon of water to restore chlorophyll production.
Symptom: Marginal leaf burn or browning edges.
Solution: This is typically caused by low humidity or salt accumulation. Flush the soil with distilled water to leach excess salts and maintain a relative humidity of 50 percent.
Symptom: Loss of turgor despite wet soil.
Solution: This suggests root rot (Phytophthora). The roots are suffocating from lack of oxygen. Repot into a drier, more porous medium and prune away necrotic, mushy root tissue.
Fix-It Section: For general Nitrogen chlorosis (entire leaf turning pale yellow), apply a high nitrogen liquid fertilizer with a 3-1-2 ratio. This provides the necessary building blocks for amino acids and protein synthesis, quickly restoring the dark green pigment.
Maintenance:
Precision is required for long term shelf health. Deliver 1.5 inches of water per week directly to the soil surface; do not rely on misting alone. Use a soil moisture meter to ensure the root zone remains at a "moist but not saturated" level. Periodically use a hori-hori knife to check for soil compaction around the edges of the pot. Pruning should be performed with bypass pruners to ensure clean cuts that heal quickly. Sterilize your tools with 70 percent isopropyl alcohol between plants to prevent the spread of pathogens. Monitor the shelf anchors monthly; as the ivy grows, the weight can increase by several pounds, potentially compromising the hardware.
The Yield:
While Hedera helix is not an edible crop, its "yield" is measured in biomass and air filtration capacity. To maintain "day-one" freshness and aesthetic density, perform a structural prune twice a year. Remove any stems showing senescence or woody transition. If you are harvesting cuttings for further propagation, take them in the morning when turgor pressure is at its peak. This ensures the cells are fully hydrated, which increases the success rate of the new clones. Store cuttings in a cool, shaded area at 55 degrees Fahrenheit if they cannot be stuck into the medium immediately.
FAQ:
How much weight can a standard plant shelf hold?
A standard shelf with two studs engaged can support 50 pounds. However, damp soil and mature ivy can exceed this. Always use heavy duty anchors and calculate the total weight of the pot, soil, water, and foliage.
What is the best light for shelf ivy?
Ivy thrives in bright, indirect light. Aim for a north or east facing window. Direct southern exposure often leads to leaf scorch and increased transpiration rates, which can dehydrate the plant faster than the roots can recover.
Why are my ivy leaves turning brown and crispy?
This is usually a sign of low ambient humidity or underwatering. Ivy requires a stable transpiration rate. Use a pebble tray or room humidifier to keep the air moisture above 40 percent to prevent desiccation of the leaf margins.
How often should I fertilize ivy on a shelf?
Apply a balanced liquid fertilizer every four to six weeks during the active growing season. Reduce frequency to once every three months during winter. Over fertilization leads to salt buildup, which can cause root dehydration through osmotic stress.
Can I grow ivy on a shelf without drainage?
It is not recommended. Without drainage, water accumulates at the bottom, creating an anaerobic environment. This leads to root rot and the buildup of toxic gases. Always use a pot with holes and a protective saucer.