6 Steps to Build a Simple Outdoor Dining Garden Deck
The scent of grilled vegetables over cedar planks, the cool touch of rain-washed wood beneath bare feet, and the hum of bees visiting nearby herbs create the ideal outdoor dining experience. Steps for building a garden deck transform a plain yard into a functional ecosystem where meals merge with growing spaces. This project integrates structural carpentry with horticultural planning to yield a deck that supports container gardens, vertical trellises, and companion plantings.
Materials
Select pressure-treated lumber rated for ground contact, specifically those treated with alkaline copper quaternary (ACQ) compounds. These resist fungal decay without leaching harmful compounds into adjacent soil at concentrations that affect plant growth. ACQ-treated wood maintains a pH near 7.2, making it compatible with containers holding plants that prefer neutral to slightly acidic substrates.
Organic amendments for container gardens should include a base fertilizer at 4-4-4 NPK ratio. This balanced formulation supports leafy greens, herbs, and compact fruiting plants. Add dolomitic limestone at 2 tablespoons per gallon of potting mix to buffer pH to 6.5 in peat-based media. For nitrogen-demanding crops like basil and arugula, supplement with blood meal (12-0-0) at 1 tablespoon per 5-gallon container every four weeks.
Galvanized deck screws (3-inch) prevent rust staining on wood surfaces exposed to irrigation runoff. Joist hangers rated for outdoor use bear the weight of large containers, which may exceed 80 pounds when saturated. Use concrete footings that extend below the frost line to prevent heaving. In Zone 5, this depth reaches 42 inches.
Timing
Construct the deck structure between late March and mid-May in Zones 5 through 7, when soil temperatures reach 50°F at a 6-inch depth. This window allows footings to cure fully before the growing season begins. In Zones 8 and 9, extend the build season from February through October, avoiding only periods of extreme heat when wood expansion rates complicate precise joinery.
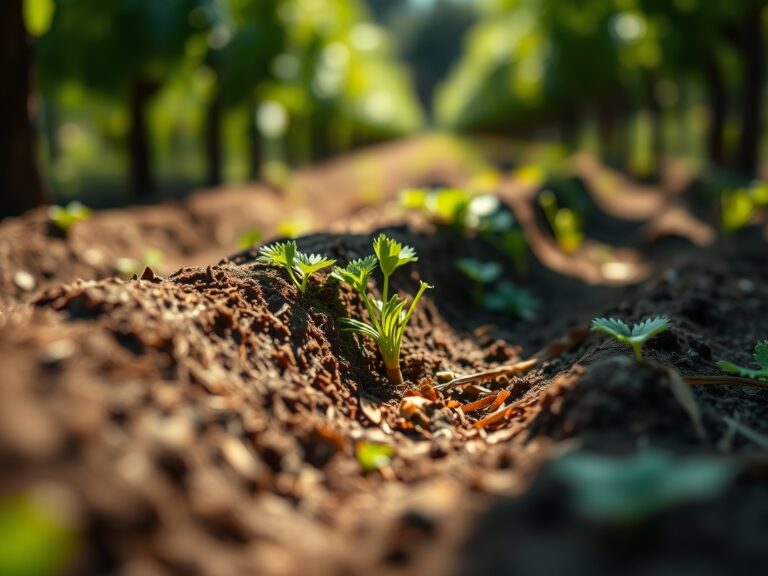
Plant cool-season crops like lettuce, spinach, and snap peas immediately after deck completion, targeting two weeks before the last spring frost. Warm-season plantings (tomatoes, peppers, eggplant) require soil temperatures above 60°F, typically occurring 10 to 14 days after the frost-free date.
Phases
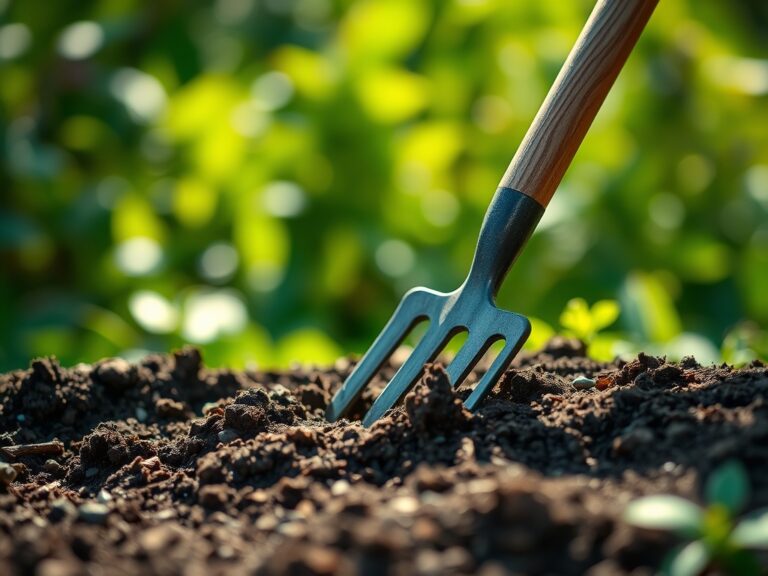
Sowing the Foundation
Excavate post holes to the required frost depth using a manual auger or gas-powered post-hole digger. Pour 4 inches of crushed gravel into each hole to facilitate drainage and prevent standing water that encourages wood rot. Mix concrete to a consistency that flows but does not slump, typically a 5:1 ratio of concrete mix to water by volume. Set 6×6 posts vertically, checking plumb on two adjacent faces with a 48-inch level.
Pro-Tip: Apply a mycorrhizal fungi inoculant (Rhizophagus irregularis) to the root zones of perennial herbs planted in adjacent beds. These fungal networks extend the effective rooting area by 700 percent, improving drought tolerance.
Frame and Decking Installation
Attach rim joists to the posts using through-bolts rated at 3,500 pounds shear strength. Space interior joists 16 inches on center to support the weight of saturated containers without deflection. Lay deck boards perpendicular to joists, leaving a 1/8-inch gap for drainage and thermal expansion. Fasten each board with two screws per joist contact point, pre-drilling pilot holes to prevent splitting.
Pro-Tip: Route edges at a 15-degree chamfer to prevent splintering and to direct water runoff away from the walking surface. This angle also reduces auxin distribution disruption in potted plants positioned near edges, as sharp corners create microclimates with accelerated wind speeds.
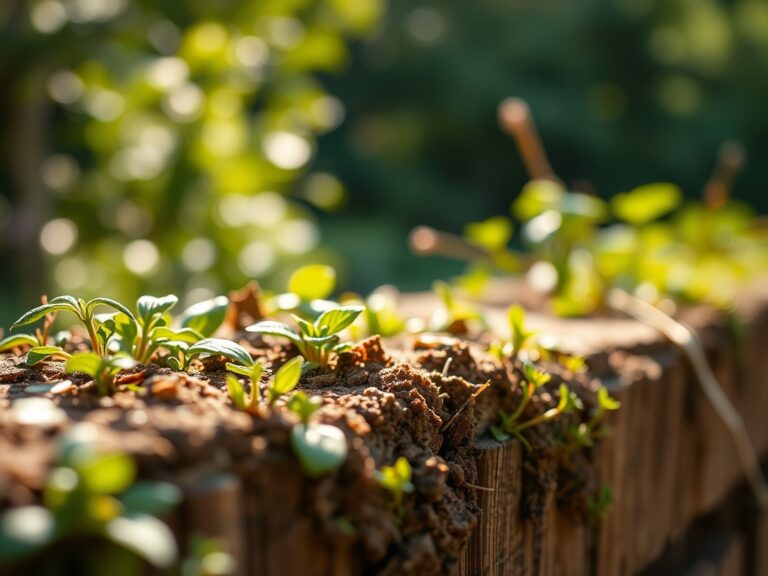
Establishing the Garden Layer
Position containers with drainage holes directly on deck boards, elevating larger pots on rot-resistant wooden feet to ensure air circulation beneath. Fill containers with a soilless mix of 50 percent peat moss, 30 percent perlite, and 20 percent compost. This blend provides a cation exchange capacity of 18 meq/100g, adequate for most vegetable crops.
Install drip irrigation lines with pressure-compensating emitters rated at 0.5 gallons per hour for 3-gallon containers, 1 gallon per hour for 10-gallon containers. This precision prevents waterlogged substrates and maintains oxygen availability in the root zone.
Pro-Tip: Prune tomato suckers at a 45-degree angle using sterilized pruning shears to reduce disease transmission. Remove suckers when they reach 2 inches to redirect energy toward fruit production without creating large wounds.
Troubleshooting
Symptom: Yellowing lower leaves with green veins (chlorosis).
Solution: Apply chelated iron at 1 teaspoon per gallon of water as a foliar spray. This indicates iron deficiency caused by high substrate pH above 7.0. Test pH and amend with elemental sulfur at 1 tablespoon per 5-gallon container.
Symptom: Powdery white coating on leaf surfaces.
Solution: Spray affected plants with a solution of 1 tablespoon baking soda, 1 teaspoon horticultural oil, and 1 gallon water. Apply at temperatures below 85°F to prevent phytotoxicity. Improve air circulation by spacing containers 18 inches apart.
Symptom: Wilting despite moist soil.
Solution: Examine roots for dark, mushy tissue indicating Pythium root rot. Discard affected plants and sterilize containers with 10 percent bleach solution. Reduce irrigation frequency and ensure substrate drains completely within 30 minutes of watering.
Symptom: Holes in leaves with dark margins.
Solution: Hand-pick Japanese beetles in early morning when temperatures fall below 65°F and insects move slowly. Drop beetles into soapy water. Apply neem oil at 2 tablespoons per gallon as a deterrent every seven days.
Maintenance
Water containers when the top 1 inch of substrate feels dry to the touch, typically every two days during temperatures above 80°F. Apply 1 inch of water per session, measured by placing a rain gauge in a container. Reduce frequency to every four days when temperatures drop below 70°F.
Feed plants with liquid kelp fertilizer (0-0-1 with micronutrients) at half strength every two weeks to supplement base fertilizers. This provides trace elements like boron and manganese that leach rapidly from soilless mixes.
Sweep deck surfaces weekly to remove fallen leaves and organic debris that retain moisture and promote mildew. Reseal wood every 24 months with a water-based penetrating sealer that maintains a coefficient of friction above 0.5 for safe walking.
FAQ
How deep should deck footings extend?
Footings must reach below the frost line for your hardiness zone. Zone 5 requires 42 inches, Zone 6 requires 36 inches, and Zone 7 requires 24 inches. Consult local building codes for precise requirements.
What container size suits tomatoes?
Determinate varieties grow adequately in 5-gallon containers. Indeterminate varieties require 10-gallon or larger containers to support root systems that extend 18 inches in diameter.
Can pressure-treated wood harm edible plants?
Modern ACQ-treated lumber does not leach copper at phytotoxic levels when used in deck construction. Maintain a 6-inch gap between treated wood and edible plant containers as a precaution.
How often should fertilizer applications occur?
Apply granular slow-release fertilizer at 4-4-4 NPK every eight weeks. Supplement with liquid fertilizer at half strength every two weeks during active growth from May through August.
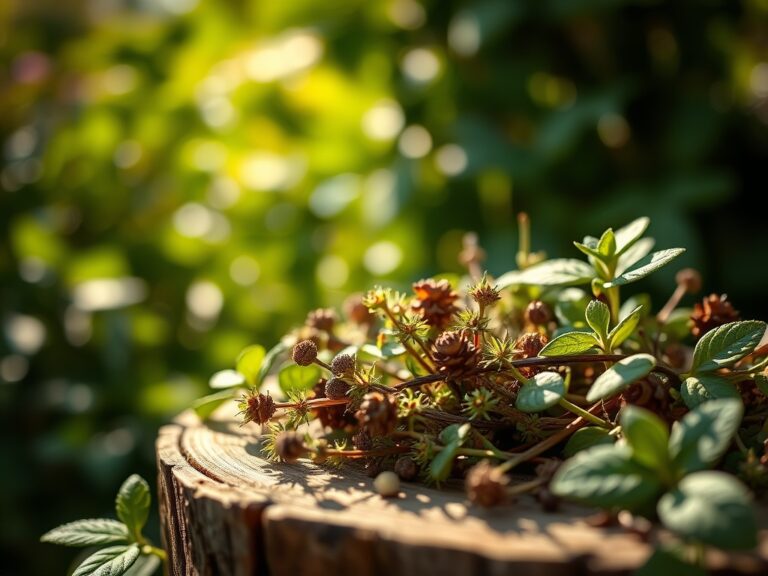
What herbs thrive in deck containers?
Mediterranean herbs (rosemary, thyme, oregano) tolerate full sun and dry conditions between waterings. Basil and cilantro require consistent moisture and afternoon shade when temperatures exceed 85°F.