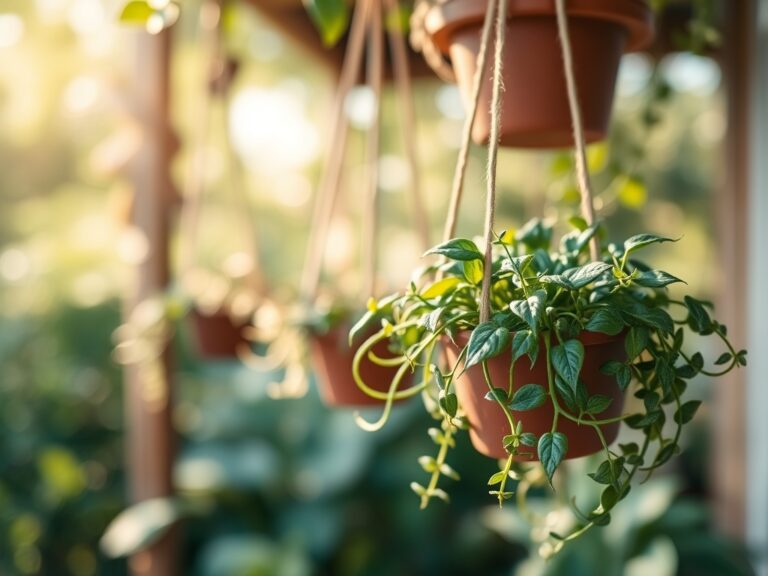
5 Best Polymeric Sand for Pavers
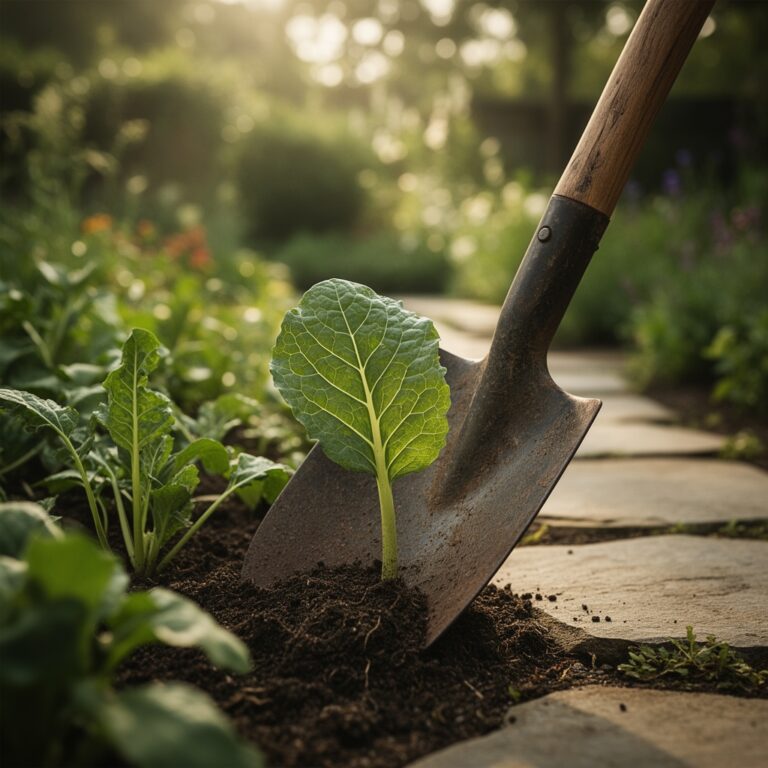
Crushing a handful of damp, friable loam reveals the structural integrity required for a stable landscape. The metallic scent of geosmin rising from the earth signals a healthy rhizosphere, but even the most fertile soil cannot prevent the lateral shift of hardscape elements. To maintain the geometric precision of a patio, you must select the best polymeric sand for pavers to lock joints against hydrostatic pressure and weed encroachment. This material acts as a structural grout, utilizing high-performance polymers that activate upon hydration to form a flexible yet resilient bond.
A properly installed paver system relies on the interplay between the substrate and the jointing material. Without the correct sand, the interstitial spaces become conduits for moisture, leading to sub-base erosion and frost heave. High-quality polymeric sand utilizes a specific gradation of silica and additives that resist washout while allowing for micro-movements during thermal expansion. In a professional installation, the sand must achieve full depth saturation to ensure the polymers cross-link effectively throughout the entire joint profile.
Materials:

Selecting the best polymeric sand for pavers requires an understanding of the chemical composition and the surrounding environment. While soil pH is critical for the adjacent flora, the alkalinity of the sand itself can influence the health of nearby plantings. Most polymeric sands are formulated with a neutral to slightly alkaline profile to prevent the leaching of acidic compounds into the root zone. For borders adjacent to acid-loving species like *Rhododendron* or *Vaccinium*, ensure the sand does not contain high concentrations of calcium carbonate which could raise the pH above the desired **5.5 to 6.5 range**.
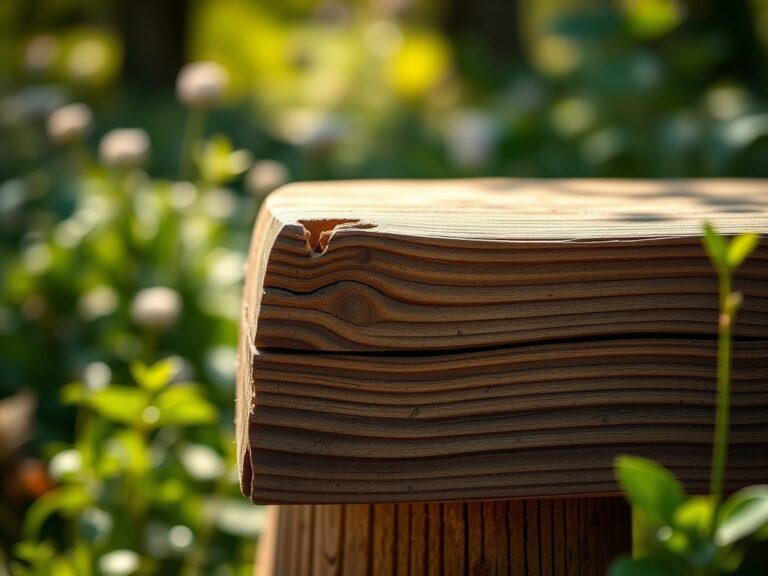
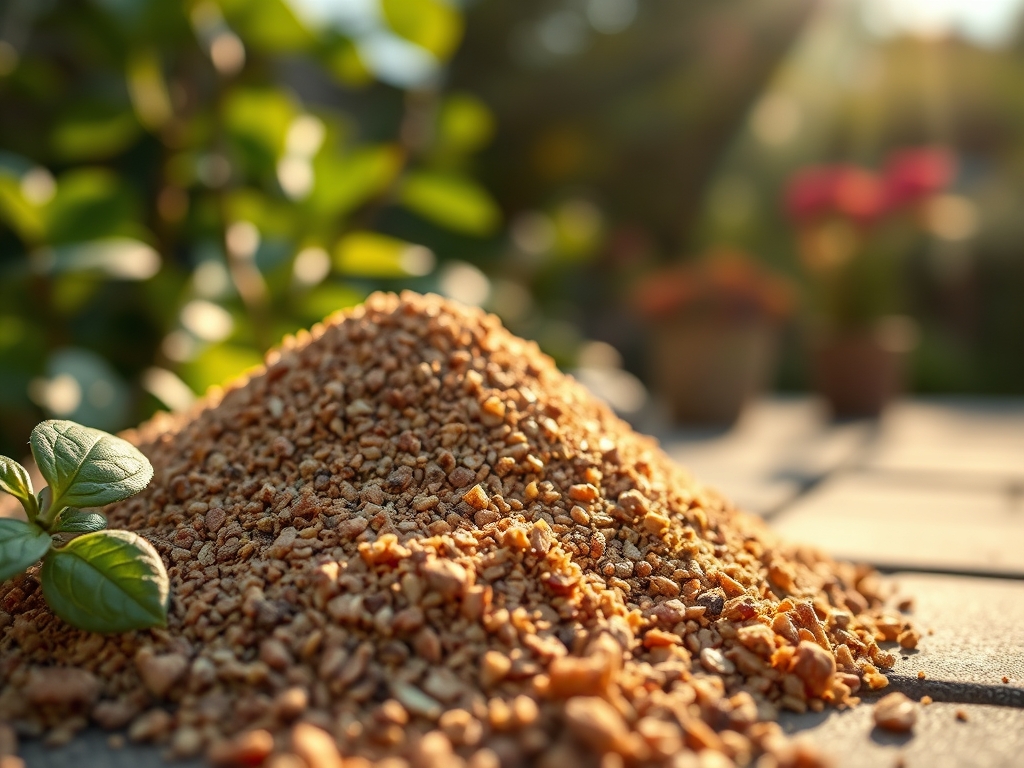
The ideal substrate for pavers is a well-compacted, free-draining base. A standard mix includes a 4-inch to 6-inch layer of 3/4-inch crushed stone followed by a 1-inch bedding layer of coarse sand. This configuration ensures a high Cation Exchange Capacity (CEC) in the underlying soil is not compromised by stagnant water. The physical texture of the sand should be angular rather than rounded; angular grains provide superior mechanical interlock, which increases the shear strength of the joint once the polymers have cured.
Timing:
Hardiness Zones 3 through 9 present varying challenges for paver installation. The biological clock of the surrounding landscape dictates the installation window. You must schedule the application when the ambient temperature remains consistently above 50 degrees Fahrenheit (10 Celsius) for at least 48 hours. This ensures the chemical binders reach the necessary kinetic energy for proper molecular bonding.
Avoid installation during periods of high humidity or impending precipitation. If the sand is exposed to moisture before it is properly swept into the joints, the polymers will activate prematurely on the paver surface, causing a white haze known as efflorescence. In the transition from vegetative to reproductive stages of nearby plants, typically late spring or early autumn, the reduction in airborne pollen and seed dispersal prevents organic matter from becoming trapped within the curing sand. This prevents the future development of fungal hyphae within the joints.
Phases:

Sowing the Joint Material
Begin by ensuring the pavers are completely dry. Pour the sand over the surface and use a stiff-bristled broom to move the material into the joints. Use a plate compactor with a protective mat to vibrate the sand to the bottom of the voids. This mechanical agitation eliminates air pockets and increases the bulk density of the material. Refill the joints until the sand sits 1/8 inch below the paver chamfer.
Pro-Tip: Proper compaction utilizes the principle of particle packing. By vibrating the pavers, you encourage smaller grains to fill the interstices between larger grains, maximizing the contact points for polymer adhesion and preventing future settling.
Transplanting and Leveling
When working around existing perennials, use a hori-hori knife to clean the edges of the pavers. This ensures no organic debris or root mass interferes with the sand-to-stone bond. If you are installing new plants alongside the hardscape, ensure the soil level is slightly lower than the paver base to prevent soil migration into the joints during heavy rain events.
Pro-Tip: Maintaining a clear boundary prevents mycorrhizal fungi from colonizing the paver joints. While beneficial in the rhizosphere, fungal growth in the joints can break down the polymer chains over time through enzymatic secretion.
Establishing the Bond
The final phase is hydration. Use a nozzle with a fine mist setting to dampen the sand. Do not flood the joints; excessive water will wash out the polymers. Apply water in three stages, waiting 10 to 15 minutes between each pass. This allow the moisture to wick down through the entire depth of the joint via capillary action.
Pro-Tip: Gradual hydration triggers the cross-linking of the polymers without displacing the sand grains. This ensures the structural integrity of the joint is uniform from the surface down to the bedding layer.
The Clinic:
Physiological disorders in the landscape often manifest near hardscape edges due to heat radiation or drainage issues.
- Symptom: Marginal Leaf Scorch. This occurs when pavers radiate heat, increasing transpiration rates beyond what the roots can supply.
- Solution: Increase irrigation frequency at the drip line and use mulch to insulate the soil.
- Symptom: Iron Chlorosis (Yellowing leaves with green veins). Often caused by high alkalinity leaching from cement-based sands.
- Solution: Apply chelated iron or elemental sulfur to lower the pH in the immediate root zone.
- Symptom: Joint Washout. This indicates a failure of the polymer bond, often due to insufficient hydration during installation.
- Solution: Remove the loose material with a vacuum, ensure the joint is dry, and reapply the sand following the three-stage hydration protocol.
- Fix-It for Nitrogen Deficiency: If plants near the pavers show stunted growth and pale lower leaves, apply a balanced 10-10-10 NPK fertilizer. The hardscape can sometimes cause localized leaching of nitrogen during heavy rains.
Maintenance:
A precision-engineered landscape requires rigorous upkeep. Monitor the pavers using a soil moisture meter at the edges to ensure the hardscape is not creating a "rain shadow" for adjacent plants. Most ornamental borders require 1.5 inches of water per week, delivered at the drip line to maintain turgor pressure.
Use bypass pruners to remove any encroaching vegetation that attempts to grow over the paver surface. Organic matter allowed to decay on the joints will eventually provide a substrate for weed seeds. Every three to five years, inspect the joints for signs of senescence in the polymer bond. If the sand becomes friable or begins to crack, a top-up application may be necessary to maintain the structural integrity of the installation.
The Yield:
While polymeric sand does not produce a harvestable crop, the "yield" is the longevity and aesthetic stability of the outdoor space. A successful application results in a surface that resists the colonization of ants and the germination of wind-blown seeds. For those growing edible herbs in paver pockets, such as Thymus serpyllum, ensure the sand used is labeled as non-toxic and low-VOC. Harvest herbs in the early morning when essential oil concentrations are at their peak for day-one freshness.
FAQ:
How long does polymeric sand take to cure?
Most high-quality sands require 24 to 48 hours of dry weather to cure fully. Avoid foot traffic during this window. High humidity can extend this period as the evaporation of moisture is necessary for the polymers to harden.
Can I use polymeric sand on wide joints?
Standard polymeric sand is rated for joints up to 1 inch wide. For wider gaps up to 4 inches, select a "Wide Joint" specific formula. These contain larger aggregate sizes and higher polymer concentrations to prevent cracking and shrinkage.
Why is there a white haze on my pavers?
This is efflorescence or polymer residue. It occurs if the pavers were damp during installation or if the sand was not thoroughly swept off before wetting. Use a specialized masonry cleaner or a vinegar-water solution to dissolve the film.
Does polymeric sand prevent all weeds?
It significantly inhibits weed growth by creating a hard, inhospitable barrier. However, it cannot prevent weeds from germinating in organic debris that accumulates on top of the sand. Regular sweeping and maintenance are required to keep joints clear.