10 Artistic Ways How to Use Boulders in Landscaping
The scent of damp, mineral-rich silt mixed with the crisp turgor of a healthy leaf marks the beginning of a successful site installation. Understanding how to use boulders in landscaping requires more than an eye for aesthetics; it demands an understanding of geological weight and soil mechanics. A single two-ton granite specimen exerts significant pressure on the rhizosphere, potentially compacting the delicate pore spaces where gas exchange occurs. Integrating these massive elements into a residential or commercial site provides the structural skeleton necessary for managing grade changes and thermal mass.
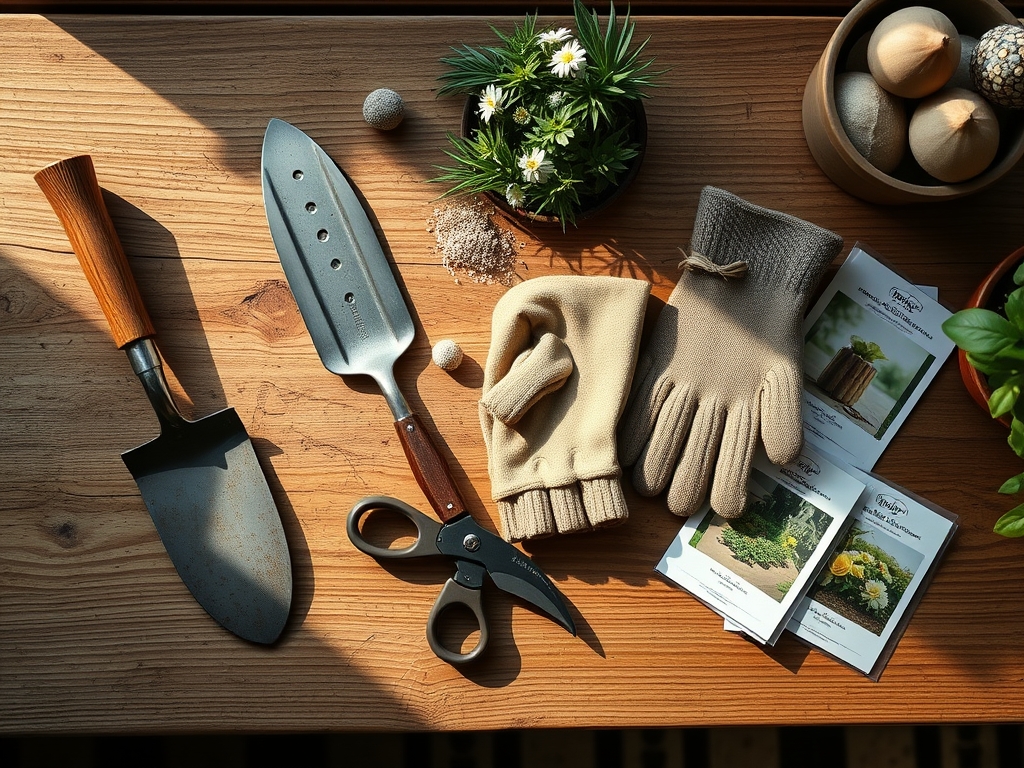
Materials:
Before placing a single stone, the chemical composition of the surrounding substrate must be verified. Most ornamental shrubs and perennials flanking boulders thrive in a **friable loam** with a **pH between 6.0 and 7.0**. High-alkaline stones like limestone can leach calcium carbonate into the soil, gradually raising the pH and inducing iron chlorosis in acid-loving species.
For the planting pockets between boulders, utilize a customized nutrient profile. A balanced NPK ratio of 10-10-10 is standard for general establishment; however, for flowering perennials, a 5-10-5 ratio encourages robust root development and bloom production without excessive vegetative growth. Ensure the soil has a high Cation Exchange Capacity (CEC), typically above 15 meq/100g, to ensure the substrate can retain and exchange essential cations like potassium and magnesium.
Timing:
Successful boulder integration and subsequent planting are dictated by Hardiness Zones and the Biological Clock of the local flora. In Zones 4 through 7, the ideal window for heavy equipment and stone placement is late autumn or early spring when the ground is firm but not frozen. This prevents excessive soil compaction that destroys the soil structure.
Plants transition from the vegetative stage to the reproductive stage based on the photoperiod. When installing boulders as heat sinks, time your plantings so they can establish a root system before the summer solstice. This allows the plant to utilize the thermal mass of the boulder, which absorbs solar radiation during the day and releases it at night, effectively buffering against late-season frost dates.
Phases:
Sowing and Site Prep
The first phase involves excavating a "footing" for each stone. A boulder should never sit on top of the grass. Dig a depression roughly one-third the height of the stone to ensure it looks "born" from the earth. This depth provides structural stability and prevents shifting during freeze-thaw cycles.
Pro-Tip: Proper "setting" of the stone prevents soil erosion. By burying the base, you interrupt the flow of surface runoff, allowing water to infiltrate the rhizosphere rather than washing away topsoil.
Transplanting Around Stone
When placing plants in the crevices between boulders, ensure the root ball is not compressed against the stone. Leave a 2-inch buffer zone filled with organic compost. This space allows for lateral root expansion and prevents the stone from crushing the vascular tissue (xylem and phloem) as the plant matures.
Pro-Tip: Utilize mycorrhizal fungi inoculants during transplanting. This symbiotic relationship extends the root system's reach into the microscopic crevices beneath the boulder, significantly increasing the plant's access to water and phosphorus.
Establishing the Microclimate
The final phase is the "settling" period. Boulders act as windbreaks and moisture traps. Monitor the turgor pressure of plants on the leeward side of the stone; they often require less supplemental irrigation because the stone reduces the evapotranspiration rate.
Pro-Tip: Position boulders to manage phototropism. A large stone can provide necessary shade for the lower stems of clematis or other "cool-root" plants, suppressing auxin production in the shaded regions to regulate growth patterns.
The Clinic:
Physiological disorders often arise when stone placement interferes with plant health.
- Symptom: Interveinal chlorosis (yellow leaves with green veins).
Solution: This indicates a high pH caused by limestone leaching. Apply elemental sulfur to lower pH or use chelated iron foliar sprays. - Symptom: Leaf scorch on the side facing the stone.
Solution: This is caused by reflected heat. Increase irrigation frequency or replace the plant with a high-thermally-tolerant succulent like Sedum. - Symptom: Stunted growth and wilting despite wet soil.
Solution: Soil compaction from heavy machinery used to move boulders. Use a broadfork to aerate the soil around the stone without disturbing the boulder's seat.
Fix-It for Nitrogen Chlorosis: If plants appear pale green across the entire leaf, apply a high-nitrogen fertilizer (21-0-0) at a rate of 0.5 lbs per 1,000 square feet to restore chlorophyll production.
Maintenance:
Precision maintenance is the hallmark of a professional landscape. Use a soil moisture meter twice weekly to check the levels at a depth of 6 inches near the base of the boulders. Most established plantings require 1.5 inches of water per week delivered at the drip line.
Use a hori-hori knife to remove weeds that emerge from the interface between the stone and the soil; this tool allows you to extract the entire taproot without shifting the boulder. For woody shrubs, use bypass pruners to maintain a 3-inch clearance between the foliage and the stone surface to prevent fungal pathogens from developing in stagnant air pockets.
The Yield:
For those using boulders in rock gardens featuring herbs like Thyme or Rosemary, harvest timing is critical. Harvest just before the plant reaches its reproductive stage (flowering) when the essential oil concentration is at its peak. Use sharp shears to cut the top one-third of the growth. To maintain "day-one" freshness, immediately place the stems in a cool, shaded environment and utilize a rapid-cooling method to slow down senescence.
FAQ:
How deep should I bury a landscaping boulder?
Bury the boulder at least one-third of its total height. This provides structural stability and creates a natural appearance. It also prevents the stone from shifting during heavy rains or frost heaves in colder climates.
Can boulders damage my plants' roots?
Yes, if placed too close to existing root systems. The weight of a boulder causes soil compaction, which reduces oxygen availability in the rhizosphere. Always maintain a buffer zone of at least 12 inches from the trunk of established trees.
Which stone type is best for acidic soil plants?
Use granite or sandstone. These igneous and sedimentary rocks are generally inert and will not significantly alter the soil pH. Avoid limestone or marble, as they leach calcium and raise alkalinity over time.
How do I prevent weeds from growing around boulders?
Install a heavy-duty geotextile fabric beneath the stone and extend it 6 inches beyond the perimeter. Cover the edge with a 2-inch layer of wood mulch or decorative gravel to suppress weed germination and maintain soil moisture.