8 Drainage Steps for Treating Edema in Houseplants
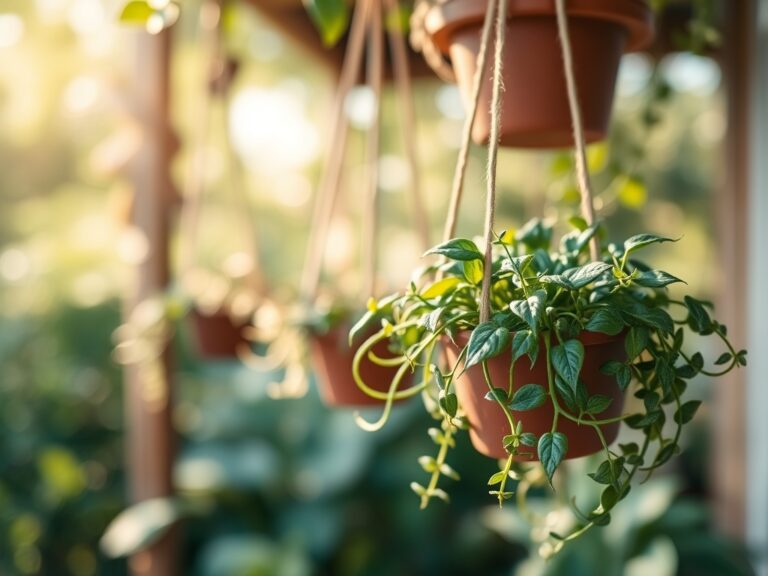
The sharp scent of wet peat and the cool resistance of a leaf with high turgor pressure define the baseline of a healthy indoor ecosystem. When that balance shifts, cells rupture and leave behind the corky, blistered scars of physiological edema. This condition occurs when a plant absorbs water faster than it can transpire it through the stomata. Implementing specific steps for treating edema with drainage holes is the most direct method to regulate the moisture levels within the rhizosphere. Without an exit point for gravitational water, the substrate becomes a hypoxic trap that forces excess hydration into the cellular walls of the foliage.
Managing this disorder requires more than just reducing water frequency; it demands a mechanical overhaul of the container environment. The primary objective is to lower the hydrostatic pressure surrounding the root hairs. By ensuring the pot has a minimum of three drainage holes per six inches of diameter, you facilitate the evacuation of excess liquid that would otherwise saturate the air pockets in the soil. This structural change allows for a controlled dry-down period, restoring the osmotic balance between the roots and the atmosphere.
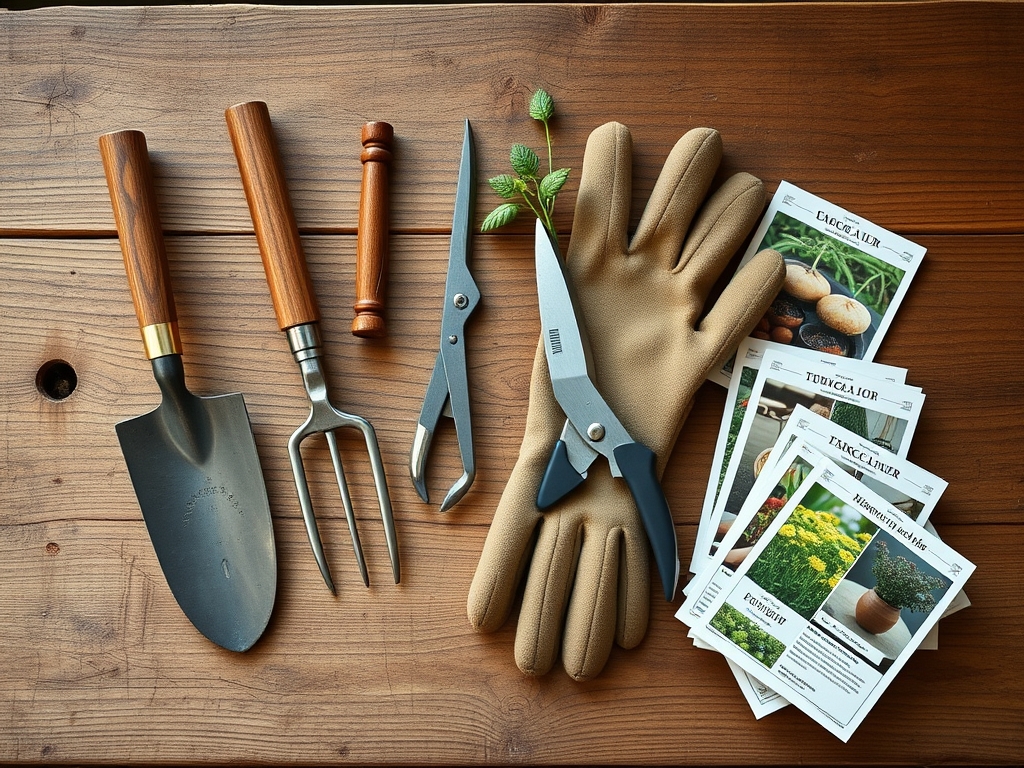
Materials:
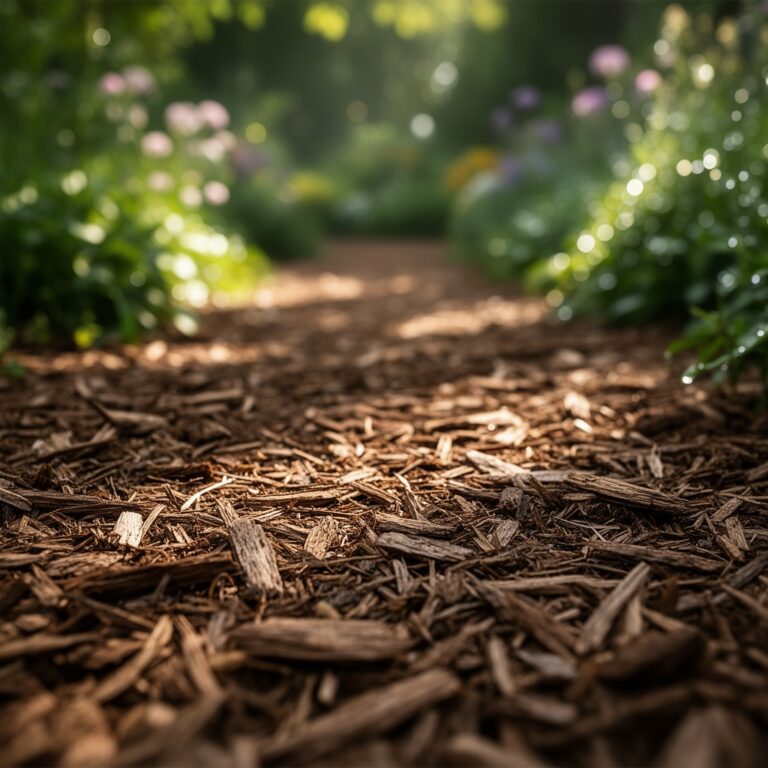
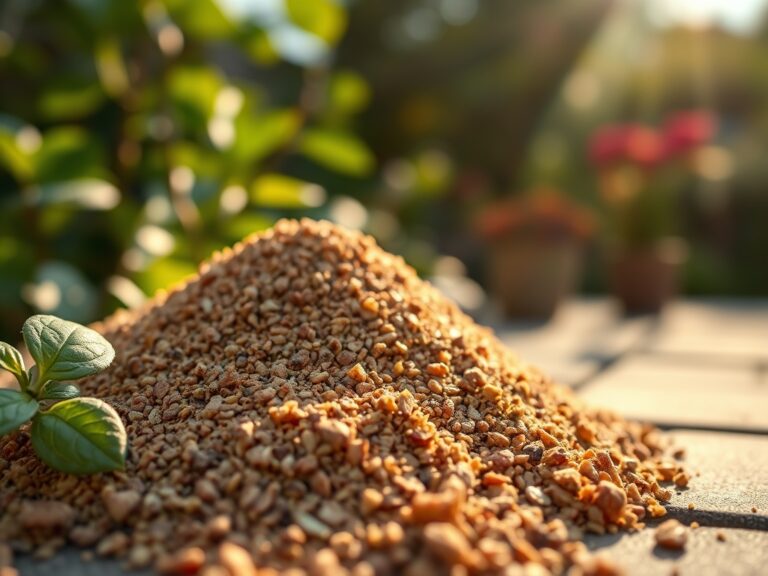
Treating edema begins with a substrate that offers high porosity and a stable Cation Exchange Capacity (CEC). The ideal medium is a friable loam composed of 40 percent coarse perlite, 30 percent coconut coir, and 30 percent composted bark. This mixture should maintain a pH range of 6.0 to 6.5 to ensure optimal nutrient bioavailability. Avoid heavy clay-based soils that collapse and restrict airflow.
For nutrient support during recovery, use a low-nitrogen fertilizer with an NPK ratio of 5-10-10. High nitrogen levels can trigger rapid, soft vegetative growth that is more susceptible to cell wall rupture. Incorporate a micronutrient supplement containing calcium (Ca) and magnesium (Mg). Calcium is essential for strengthening cell walls, which provides a physical defense against the internal pressure that causes edemic lesions. The physical texture of the substrate must feel gritty and loose; it should crumble immediately after being squeezed in the palm of the hand.
Timing:
While houseplants are buffered from the elements, their metabolic rates are still dictated by the photoperiod and ambient temperatures consistent with Hardiness Zones 9 through 11, where most tropical species originate. The biological clock of the plant dictates that major soil interventions should occur during the transition from the dormant phase to the active vegetative stage. This typically aligns with the period immediately following the last frost date in your local region, usually between March and May.
During the peak growing season, transpiration rates are at their highest due to increased light intensity and temperatures. This is the safest time to modify drainage systems because the plant can quickly utilize the water provided. Conversely, performing these steps during the late autumn senescence period is risky. As the plant enters a reproductive or dormant state, its metabolic demand for water drops by 40 to 60 percent, making the risk of over-saturation and subsequent edema significantly higher if the drainage is not perfectly calibrated.
Phases:
Sowing and Substrate Preparation
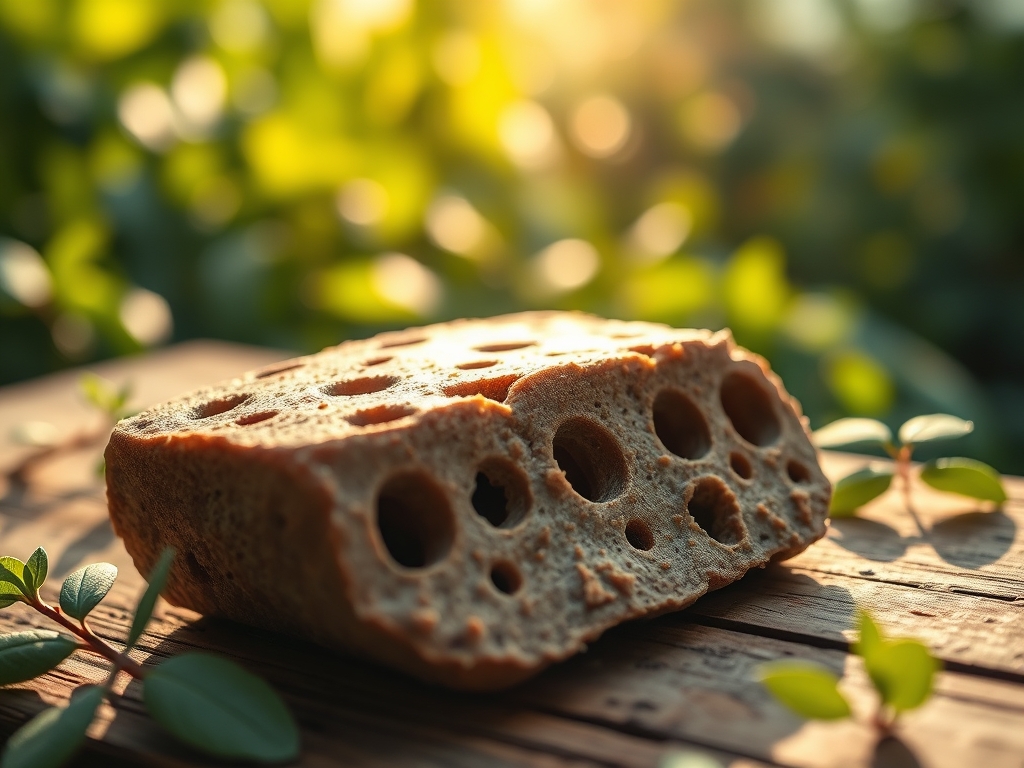
Before introducing a plant to a new vessel, the container must be mechanically vetted. Use a high-speed masonry bit to drill holes if the pot lacks them. Ensure the holes are at least 0.5 inches in diameter. Place a mesh screen over the openings to prevent the migration of fine particles while allowing water to flow freely.
Pro-Tip: Proper drainage facilitates oxygen diffusion into the rhizosphere. This is vital because root cells require oxygen for cellular respiration to produce the ATP needed for active nutrient transport. Without it, the plant cannot regulate its internal water potential.
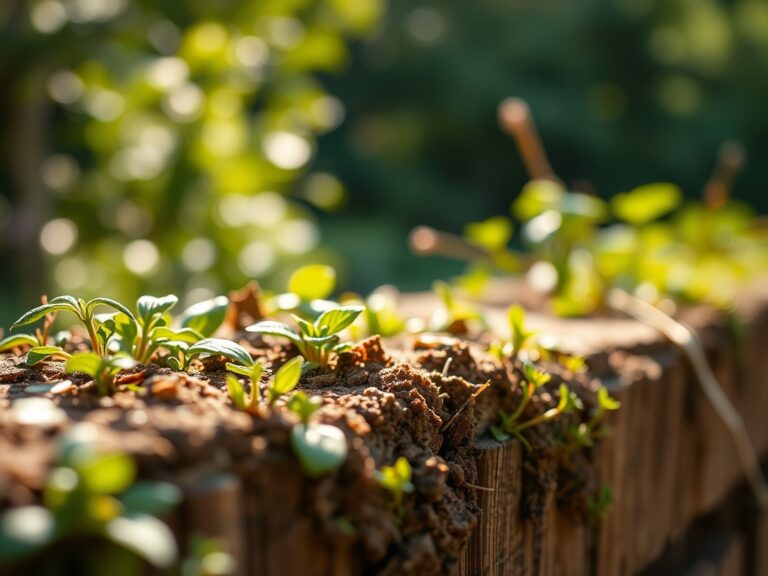
Transplanting for Recovery
Remove the plant from its current anaerobic environment. Inspect the root system for signs of decay, which often accompanies edema. Use sterilized bypass pruners to remove any necrotic, mushy tissue. Repot the specimen into the friable loam described above, ensuring the root crown sits exactly at the soil surface. Do not bury the stem deeper than its original position, as this can lead to basal rot.
Pro-Tip: Minimizing root disturbance preserves the mycorrhizal symbiosis. These fungal networks increase the surface area for water absorption, allowing the plant to draw moisture more efficiently and reducing the likelihood of "slugs" of water hitting the foliage all at once.
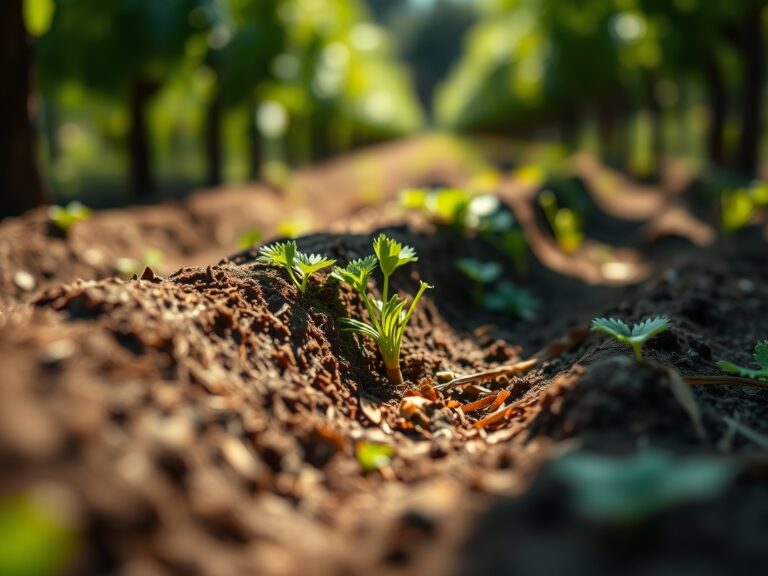
Establishing and Monitoring
Place the plant in an area with high air circulation. Use a soil moisture meter to monitor the dry-down rate. The goal is to allow the top 2 inches of soil to dry completely before the next irrigation cycle. This creates a rhythmic fluctuation in turgor pressure rather than a constant state of high tension.
Pro-Tip: Increased airflow promotes the "boundary layer" effect. By moving air across the leaf surface, you lower the humidity at the stomata, which encourages transpiration. This acts as a biological pump to pull excess water out of the plant tissues.
The Clinic:
Symptom: Small, water-soaked bumps on the underside of leaves that eventually turn brown and corky.
Solution: This is the primary indicator of edema. Immediately increase drainage by adding 15 percent more perlite to the soil and moving the plant to a location with lower humidity (below 50 percent).
Symptom: Interveinal chlorosis (yellowing between leaf veins) on new growth.
Solution: This suggests a Manganese or Iron deficiency often caused by high soil pH or waterlogged roots. Adjust the pH to 6.2 and ensure the drainage holes are not blocked by debris.
Symptom: Nitrogen chlorosis, characterized by the uniform yellowing of older, lower leaves.
Solution: Apply a balanced liquid fertilizer at half-strength. The lack of drainage often leaches nutrients or prevents their uptake; restoring the soil structure allows the roots to access available Nitrogen again.
Symptom: Leaf tip burn or marginal necrosis.
Solution: This can indicate salt buildup from tap water. Use the drainage holes to "flush" the substrate with three times the volume of the pot in distilled water to leach out accumulated carbonates and salts.
Maintenance:
Long-term prevention of physiological disorders requires a disciplined maintenance schedule. Use a hori-hori knife once a month to gently probe the outer edges of the soil; this prevents compaction and ensures that water can reach the drainage holes rather than "channeling" down the sides of the pot.
Irrigation should be precise. Aim for 1.5 inches of water per application, ensuring that approximately 20 percent of that volume exits through the drainage holes. This "leaching fraction" is critical for maintaining a stable chemical environment in the soil. During periods of high humidity, reduce the volume by 30 percent. Always use a soil moisture meter to verify that the root zone has reached a "dry" rating of 2 or 3 before re-introducing water. Clean the foliage with a damp cloth every two weeks to keep stomata clear of dust, ensuring the plant's natural cooling and exhaust systems remain functional.
The Yield:
For those cultivating indoor herbs or flowering species like Pelargoniums, which are highly susceptible to edema, the "yield" is measured in structural integrity and oil content. Harvest during the early morning when turgor pressure is at its peak but after the foliage has dried from any overnight condensation. Use sharp snips to make clean cuts at a 45-degree angle above a node. To maintain "day-one" freshness, immediately place the stems in a cool, dark environment. This slows down the metabolic rate and prevents the rapid senescence of the harvested tissue.
FAQ:
Can I fix leaves already damaged by edema?
No, edemic lesions are permanent scars. Once the cell walls rupture and cork over, the tissue cannot revert. Treatment focuses on preventing new growth from developing the condition by optimizing drainage and transpiration rates.
How many drainage holes are necessary?
A standard container should have at least one 0.5-inch hole for every four inches of pot width. Larger pots require multiple holes spaced evenly across the base to prevent "dead zones" where water collects and stagnates.
Does a layer of gravel at the bottom help?
No, this creates a "perched water table." Physics dictates that water will not move from the fine-textured soil into the coarse gravel until the soil is completely saturated. This actually increases the risk of edema and root rot.
What is the best tool for checking soil moisture?
A digital or analog soil moisture meter with a long probe is most effective. It allows you to measure the moisture levels at the root ball center rather than just the surface, providing data for precise irrigation.