10 Basic Ways How to Plant Red Onions
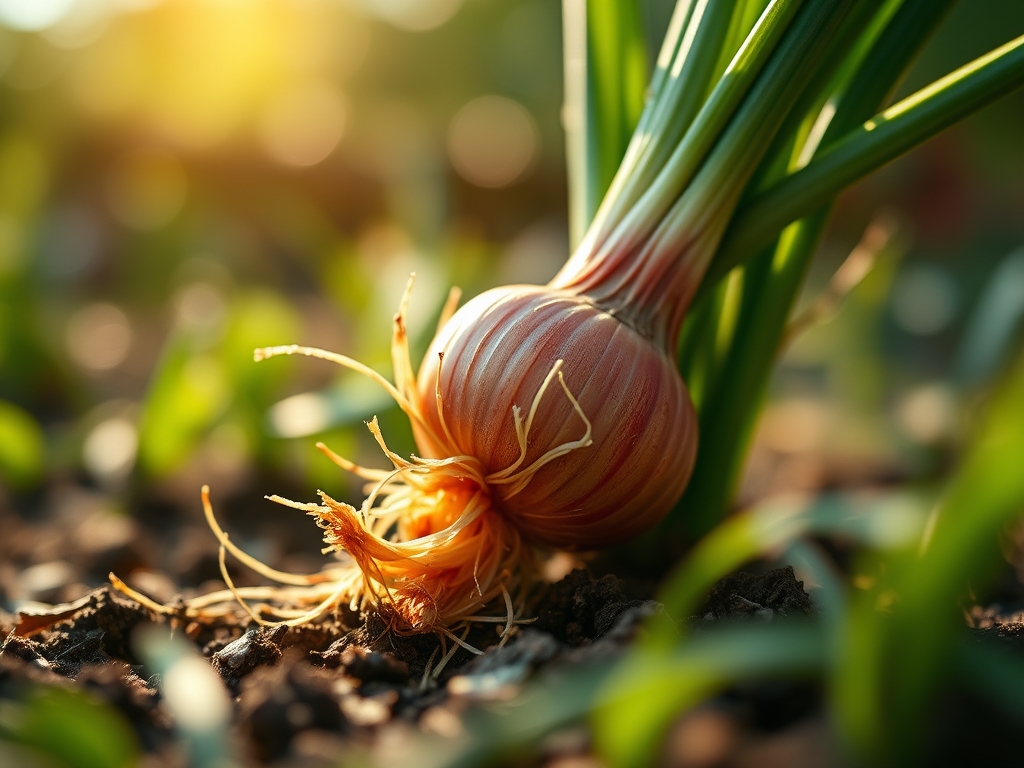
The pungent aroma of crushed soil mixed with the sharp sulfurous compounds of a bruised bulb signals the beginning of a successful harvest. Red onions (Allium cepa) require a disciplined approach to soil management and timing to ensure the development of tight, anthocyanin-rich layers. Success in how to plant red onions depends on managing the transition from root establishment to bulb expansion. You must monitor the turgor pressure within the hollow leaves; a firm, upright stance indicates a healthy vascular system capable of transporting sugars to the swelling base.
Precision is the difference between a stunted, woody bulb and a crisp, high-quality yield. Red onions are heavy feeders that demand a loose, friable substrate to allow for lateral bulb expansion without physical resistance. If the soil is too compacted, the bulb will remain small and misshapen. By mastering the chemical and physical requirements of the rhizosphere, you can dictate the size and pungency of the final crop. This guide provides the technical framework required to navigate the growth cycle of red onions from the first frost to the final cure.
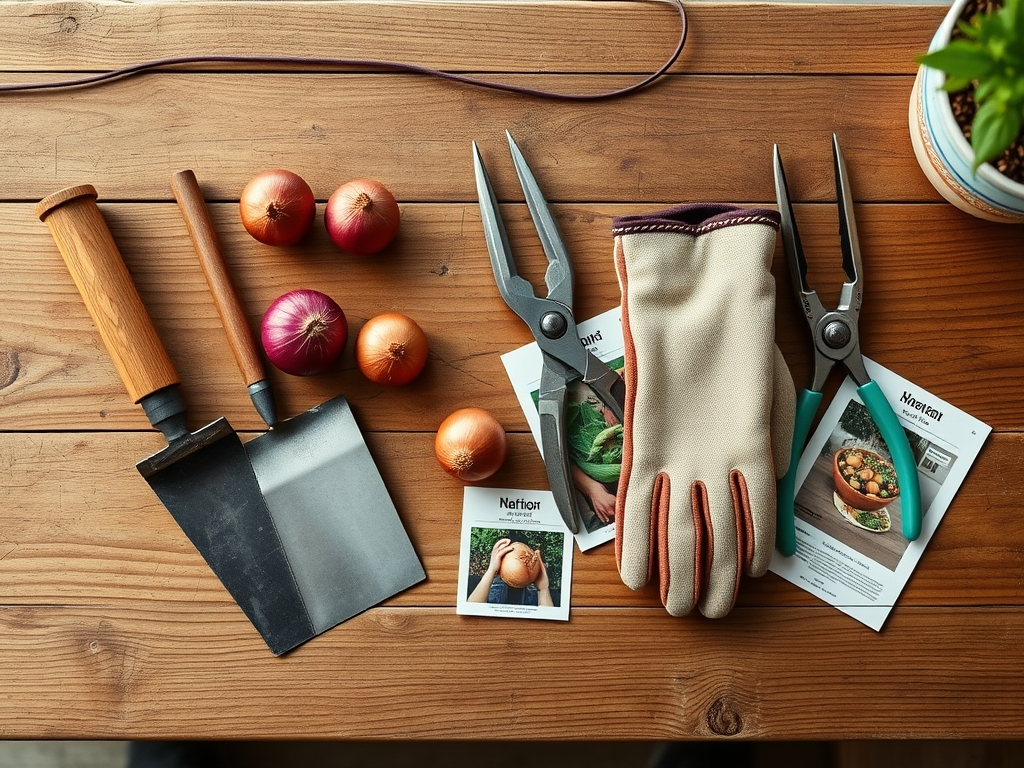
Materials:
The foundation of onion cultivation is a friable loam with high organic matter content. Red onions thrive in a soil pH between 6.0 and 6.8. If your pH falls below 6.0, the availability of phosphorus and magnesium decreases, leading to stunted growth.
Your fertilization strategy should follow a specific NPK sequence. For initial bed preparation, integrate a 10-20-10 fertilizer to prioritize root development. The high phosphorus content is essential for establishing a robust root system before the photoperiod triggers bulb formation. As the plant enters the vegetative stage, transition to a high-nitrogen source like blood meal (12-0-0) or ammonium sulfate (21-0-0) to drive leaf production.
Soil with a high Cation Exchange Capacity (CEC) is preferable because it retains the essential cations like potassium and calcium required for cell wall integrity. Prepare the bed by incorporating two inches of well-rotted compost to improve the soil structure and increase the CEC. Avoid fresh manure; the high salt content can dehydrate the delicate root hairs of young sets.
Timing:
Red onions are sensitive to the photoperiod, which is the amount of daylight received in a 24-hour cycle. They are generally categorized as short-day, intermediate-day, or long-day varieties. In Hardiness Zones 3 through 6, long-day varieties are required because they need 14 to 16 hours of light to trigger bulb development. In Zones 7 through 10, short-day varieties will bulb with only 10 to 12 hours of light.
The biological clock of the onion is governed by temperature and light. Plant your sets or transplants 4 to 6 weeks before the last average frost date. While onions are frost-tolerant, prolonged exposure to temperatures below 50 degrees Fahrenheit after the plant has reached the thickness of a pencil can cause bolting. Bolting is the premature transition to the reproductive stage where the plant produces a flower stalk; this process diverts energy away from the bulb and renders it inedible.
Phases:
Sowing and Germination
If starting from seed, maintain a consistent soil temperature of 65 to 75 degrees Fahrenheit. Sow seeds 0.25 inches deep in sterile seed-starting mix. Germination typically occurs within 7 to 10 days. Once the second true leaf appears, provide intense light to prevent leggy growth.
Pro-Tip: Maintain high soil moisture during germination to ensure the seed coat softens. This facilitates auxin suppression in the apical meristem, allowing the plant to focus on early root bifurcation rather than rapid vertical elongation.
Transplanting to the Field
Move seedlings or sets to the garden when the soil is workable. Space plants 4 inches apart in rows separated by 12 inches. When using sets, bury them no deeper than 1 inch. If buried too deep, the bulb will be restricted, resulting in an elongated, scallion-like shape rather than a round bulb.
Pro-Tip: Use a mycorrhizal inoculant during transplanting. This symbiotic relationship between fungi and the onion roots increases the surface area for nutrient absorption, specifically enhancing phosphorus uptake in cool spring soils.
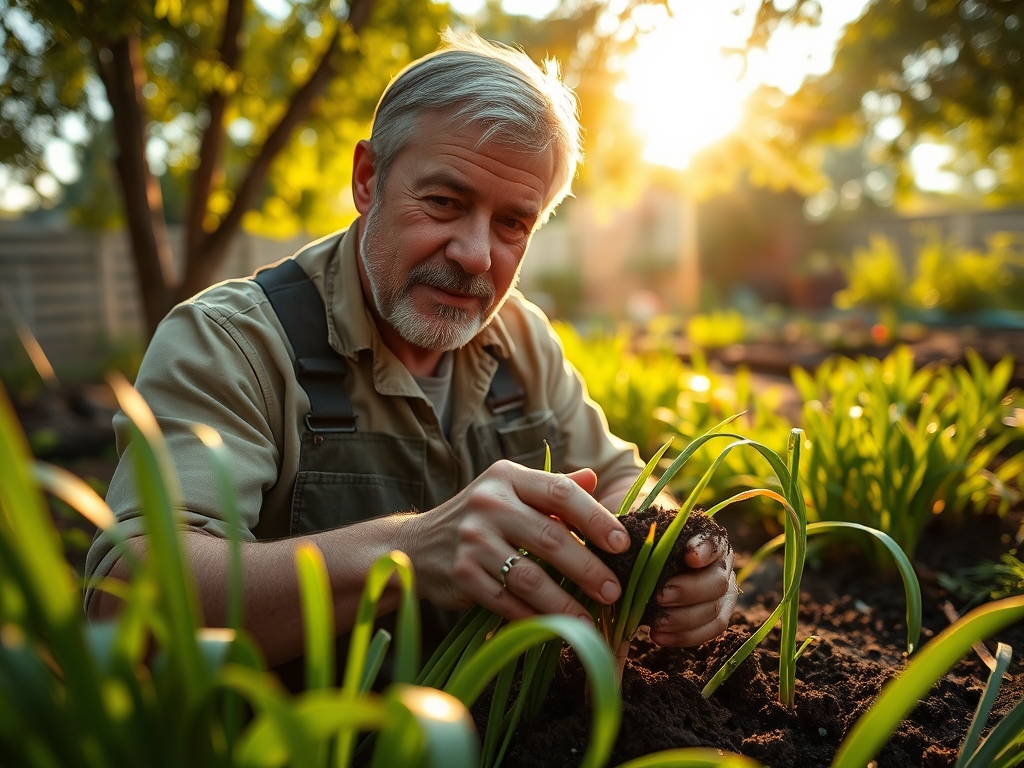
Establishing and Bulbing
As the days lengthen, the plant shifts from leaf production to bulb swelling. During this phase, the onion requires consistent nitrogen. Apply a side-dressing of nitrogen-rich fertilizer every three weeks until the bulb begins to push the soil away.
Pro-Tip: Avoid deep cultivation near the base of the plant. Onions have a shallow, fibrous root system. Using a hori-hori knife to hand-weed prevents mechanical damage to the roots, which would otherwise cause moisture stress and reduced turgor pressure.
The Clinic:
Symptom: Yellowing of older leaves starting at the tips (Nitrogen Chlorosis).
Solution: Apply a quick-release nitrogen fertilizer like calcium nitrate. This provides immediate nitrogen while adding calcium to strengthen cell walls.
Symptom: Small, underdeveloped bulbs with thick necks.
Solution: This is often caused by excessive nitrogen late in the season or planting too deep. Stop nitrogen applications once bulbing begins and ensure the bulb is sitting near the soil surface.
Symptom: Silvery streaks on the foliage (Thrips damage).
Solution: Thrips rasp the leaf surface and suck out cellular fluid. Use a strong stream of water to dislodge them or apply neem oil in the late evening to disrupt their life cycle without harming pollinators.
Symptom: Soft, rotting tissue at the base of the bulb.
Solution: This indicates white rot or fungal infection. Improve drainage and ensure a 3-year crop rotation to prevent the buildup of soil-borne pathogens in the rhizosphere.
Maintenance:
Water management is the most critical factor in onion size. Red onions require 1.5 inches of water per week, ideally delivered via drip irrigation to keep the foliage dry. Wet foliage is a primary vector for Downy Mildew. Use a soil moisture meter to ensure the top 4 inches of soil remain consistently moist but not saturated.
Weed competition must be eliminated. Onions do not compete well for nutrients or light. Use a hori-hori knife for precision weeding around the bulbs. If the soil surface crusts over, lightly scratch the top half-inch of soil to improve aeration, but do not go deeper. Once the bulbs begin to swell, pull back any heavy mulch to allow the tops of the bulbs to be exposed to the air; this helps the outer skins dry and harden.
The Yield:
Harvesting begins when the "neck" of the onion weakens and the tops fall over. This signal indicates that the plant has entered senescence and is moving nutrients from the leaves into the bulb for storage. Once 50 to 75 percent of the tops have fallen, use a garden fork to gently lift the bulbs from the soil.
Do not leave harvested onions in direct sunlight for more than a few hours, as they can sunscald. Move them to a shaded, well-ventilated area with temperatures between 75 and 80 degrees Fahrenheit for curing. Curing takes 2 to 3 weeks. You will know they are ready when the outer skins are papery and the roots are brittle. Use bypass pruners to trim the tops to 1 inch and the roots to 0.25 inches before storing in a cool, dark location with 60 percent humidity.
FAQ:
How deep should I plant red onion sets?
Plant sets 1 inch deep. Placing them deeper restricts bulb expansion and leads to elongated shapes. The tip of the set should be just below or at the soil surface to allow for proper shoulder development during the bulbing phase.
Why are my red onions flowering?
Bolting is caused by temperature fluctuations. If young plants experience a cold snap followed by warm weather, they perceive a second growing season and shift to reproduction. Plant after the hardest frosts pass to avoid this physiological response.
How often should I water red onions?
Provide 1.5 inches of water per week. Use a drip system to target the rhizosphere directly. Consistent moisture is vital during the bulbing stage; fluctuations in water availability can cause the bulbs to split or double.
What is the best fertilizer for red onions?
Start with a 10-20-10 NPK ratio for root establishment. Switch to a high-nitrogen source like 21-0-0 every three weeks during the vegetative stage. Stop all fertilization once the soil begins to crack around the expanding bulb.