5 Expert Ways How to Plant Softneck Garlic
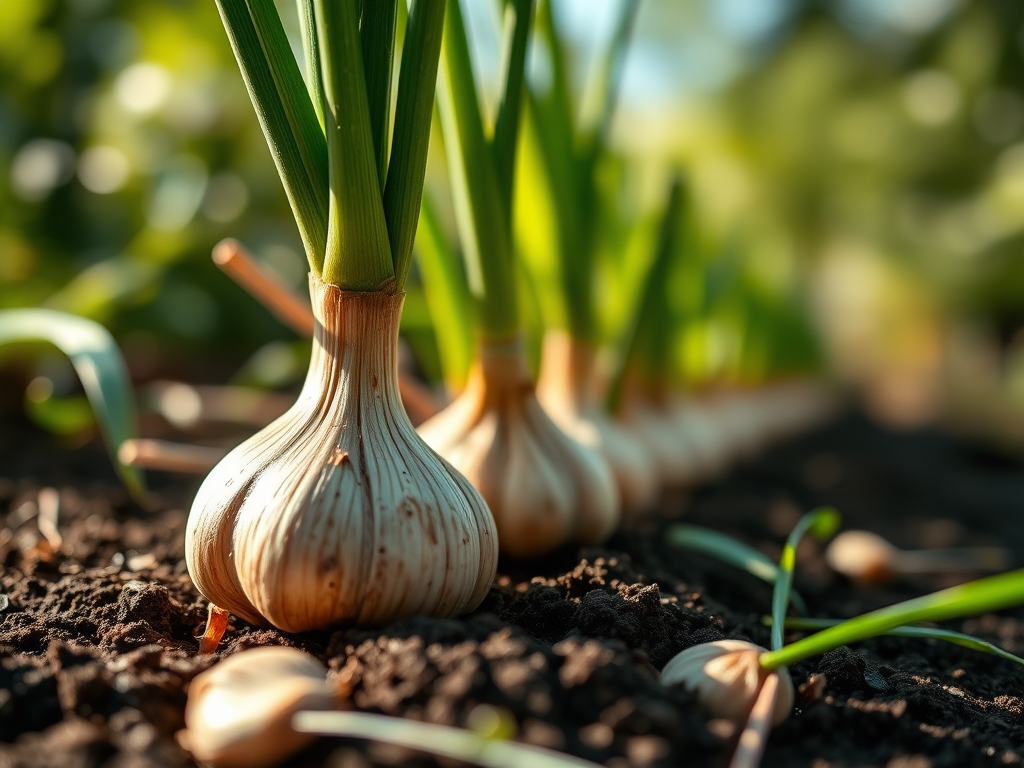
The smell of damp, fermented compost signals the beginning of the autumnal planting cycle. Success depends on the turgor pressure within each individual clove; a firm, hydrated bulb indicates the presence of stored carbohydrates necessary for winter dormancy. Learning how to plant softneck garlic requires a shift from casual gardening to precise botanical management. Unlike hardneck varieties, softneck garlic (Allium sativum var. sativum) lacks a central woody scape and thrives in milder climates where winter vernalization is less intense.
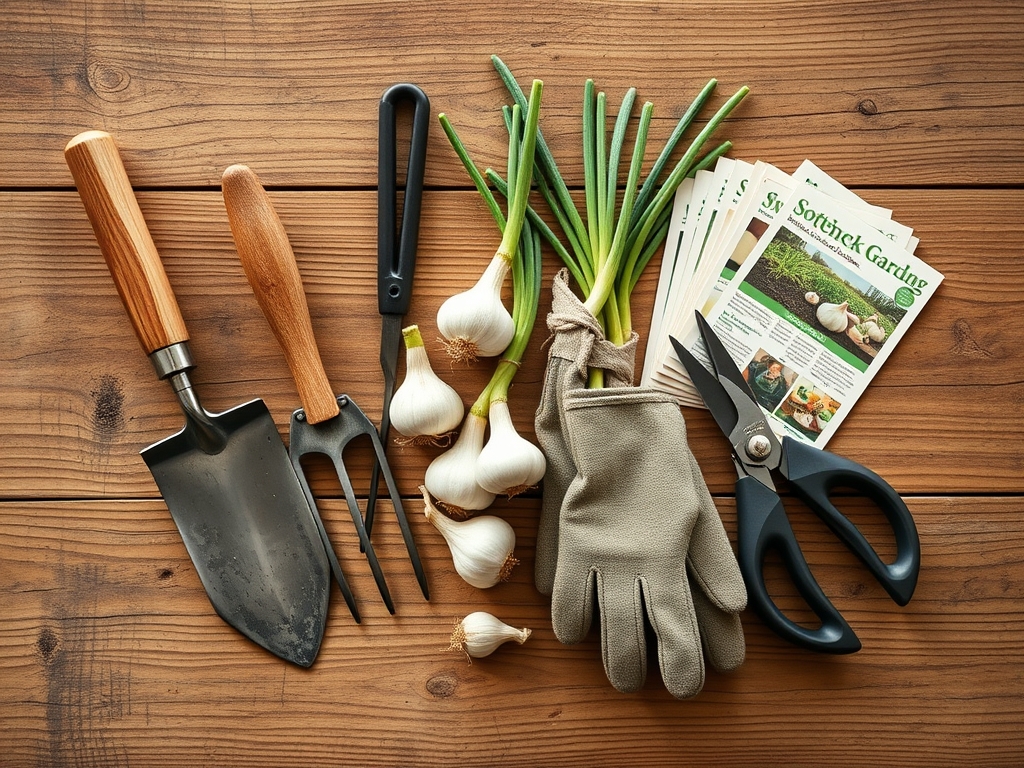
Materials:
Softneck garlic requires a **friable loam** with a high Cation Exchange Capacity (CEC) to facilitate nutrient uptake. The soil must be loose enough to allow the expanding bulb to displace substrate without mechanical resistance.
- Soil pH: Maintain a range between 6.0 and 7.0. Acidic soils below 5.5 inhibit phosphorus availability and can lead to manganese toxicity.
- Initial Amendments: Incorporate a balanced NPK ratio of 10-10-10 into the top six inches of soil prior to planting.
- Nitrogen Source: Use blood meal or ammonium sulfate to provide immediate nitrogen for early leaf development.
- Phosphorus and Potassium: Bone meal and sulfate of potash ensure robust root architecture and cellular wall strength.
- Tools: A soil moisture meter is essential for monitoring the rhizosphere; a hori-hori knife allows for precise depth measurement during clove insertion.
Timing:
Softneck garlic is highly sensitive to the photoperiod (day length). In USDA Hardiness Zones 5 through 9, planting should occur approximately four to six weeks before the first hard frost. This window allows for primary root establishment without inducing premature leaf emergence. The biological clock of the plant relies on a period of cold temperatures (vernalization) to trigger the transition from vegetative growth to bulb differentiation. In southern latitudes, planting can occur as late as January; however, northern growers must ensure the cloves are insulated by mulch to prevent frost heaving, which can sever the delicate root system.
Phases:

Sowing
Separate the bulbs into individual cloves no more than 24 hours before planting to prevent the basal plate from desiccation. Select the largest outer cloves for planting; smaller internal cloves often result in undersized bulbs. Insert each clove into the soil at a depth of two to three inches, ensuring the blunt basal plate faces downward and the apical tip points toward the sky. Space cloves six inches apart in rows spaced twelve inches apart.
Pro-Tip: Proper orientation is vital because of negative geotropism. If a clove is planted upside down, the seedling must expend significant energy stores to reorient the shoot, resulting in a stunted and misshapen bulb.
Transplanting
While garlic is rarely transplanted in the traditional sense, "floating" cloves in a nursery bed for early root development is a technique used in heavy clay soils. If moving established starts, ensure the entire root ball remains intact to protect the rhizosphere. Replant at the same depth as the original site.
Pro-Tip: Use a mycorrhizal inoculant during the move. This mycorrhizal symbiosis expands the surface area of the root system, allowing the plant to scavenge phosphorus and water more efficiently in its new location.
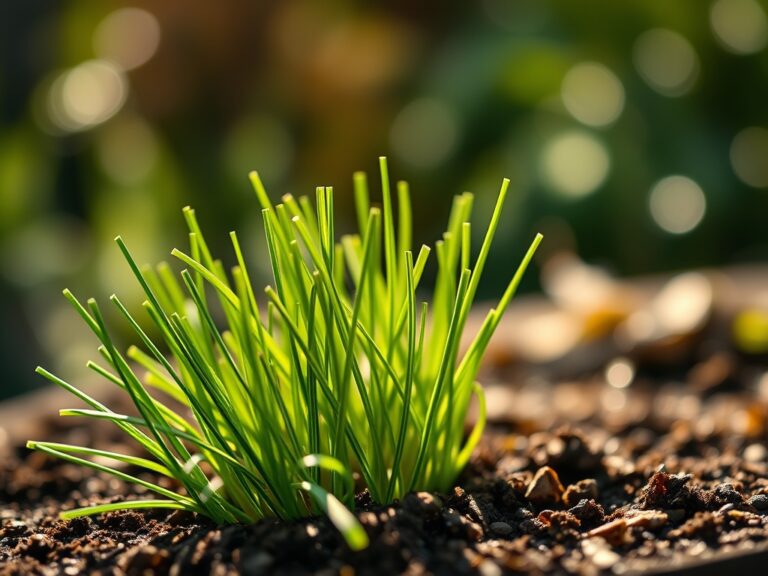
Establishing
Once the cloves are in the ground, apply a three to four-inch layer of clean straw or shredded leaves. This mulch layer acts as a thermal blanket, stabilizing soil temperatures and preventing the rapid freeze-thaw cycles that can eject cloves from the substrate.
Pro-Tip: Avoid high-nitrogen fertilizers during the initial establishment phase. High nitrogen levels can suppress auxin production in the roots, favoring foliage growth that will only be killed by the coming frost.
The Clinic:
Physiological disorders in garlic often stem from environmental stress or nutrient imbalances rather than pathogens.
- Symptom: Yellowing of lower leaf tips (Nitrogen Chlorosis).
- Solution: Side-dress with a high-nitrogen fertilizer (21-0-0) in early spring when the first four leaves have emerged.
- Symptom: Stunted growth and purplish leaf tints (Phosphorus Deficiency).
- Solution: Apply rock phosphate or bone meal; ensure soil pH is above 6.0 to prevent phosphorus fixation.
- Symptom: Bulb Mites (Rhizoglyphus echinopus).
- Solution: Practice a three-year crop rotation and ensure all planting stock is certified disease-free.
- Symptom: Waxy Breakdown (Physiological).
- Solution: This occurs during high-temperature storage. Improve ventilation and maintain temperatures between 55 and 65 degrees Fahrenheit post-harvest.
Maintenance:
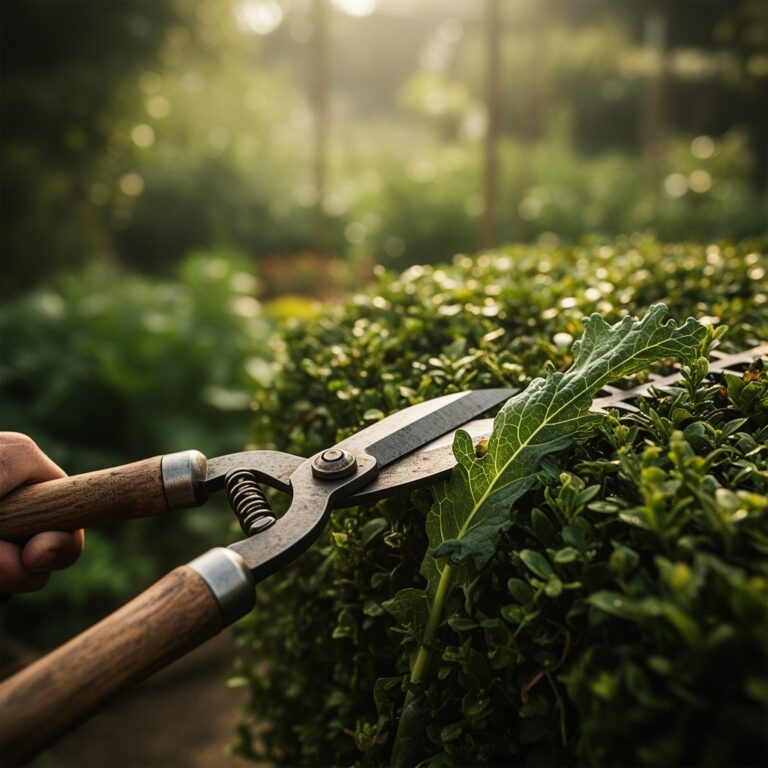
Precision irrigation is the most critical factor in bulb sizing. Garlic requires 1.5 inches of water per week during the active growth phase. Use a soil moisture meter to ensure the moisture penetrates at least six inches deep. As the plant nears maturity, irrigation must be reduced to prevent bulb rot. Use bypass pruners to remove any yellowing exterior leaves, but do not prune healthy green tissue, as this is the "engine" for bulb expansion. Keep the area around the garlic free of weeds; garlic is a poor competitor for nutrients due to its shallow root system.
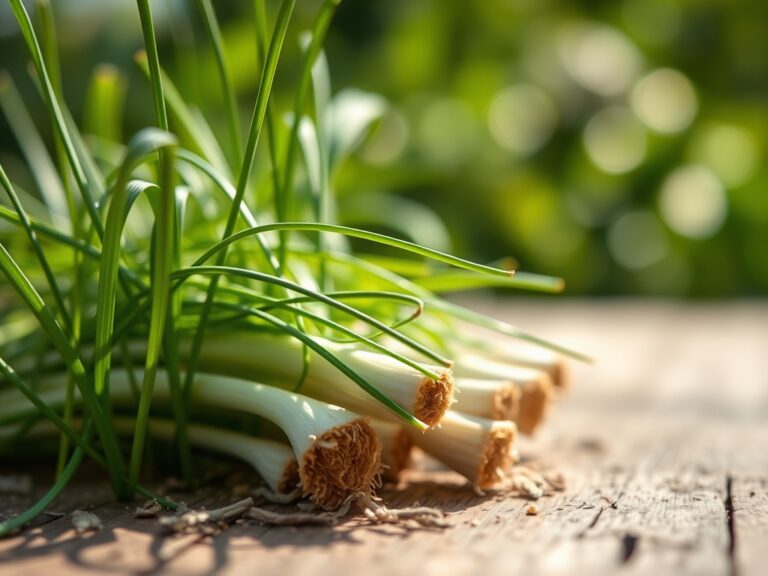
The Yield:
Harvesting softneck garlic is determined by the state of senescence in the foliage. When the bottom three leaves have turned completely brown but the top five remain green, the bulb is at peak maturity. Use a garden fork to loosen the soil four inches away from the bulb; never pull the garlic by the stem, as this can damage the neck and invite decay.
Post-harvest handling is critical for longevity. Cure the bulbs in a well-ventilated, shaded area for two to four weeks. Once the outer skins are papery and the roots are brittle, trim the roots to one-quarter inch and cut the tops to one inch. Store in a cool, dry location with 60 percent humidity to maintain "day-one" freshness for up to nine months.
FAQ:
How deep should I plant softneck garlic?
Plant cloves two to three inches deep in well-drained soil. In colder climates, a three-inch depth provides better insulation against frost. Ensure the pointed apical end faces upward to facilitate rapid emergence.
Does softneck garlic need to be vernalized?
Softneck garlic requires less cold exposure than hardneck varieties. It typically needs approximately 40 days at temperatures below 40 degrees Fahrenheit to initiate bulb differentiation, making it ideal for warmer Mediterranean climates.
Can I plant garlic from the grocery store?
It is not recommended. Most grocery store garlic is treated with growth inhibitors to prevent sprouting. Furthermore, these bulbs may harbor soil-borne pathogens. Always purchase certified organic seed garlic from a reputable nursery.
When is the best time to fertilize?
Apply a balanced fertilizer at planting. Provide a second application of high-nitrogen fertilizer in early spring when the shoots are six inches tall. Stop all fertilization once the bulb begins to swell in late spring.
How do I know when to stop watering?
Cease irrigation approximately two weeks before harvest. This allows the outer tunics to dry and harden, which is essential for successful curing and long-term storage of the bulbs.