6 Handling Steps for Repotting a Bird of Paradise
The dry rustle of root-bound fibers signals the moment every Strelitzia owner learns to recognize. When white roots spiral through drainage holes and leaf sheaths fail to unfurl despite weekly watering, the steps for repotting a bird of paradise become urgent. This tropical perennial from South Africa demands precise transplant protocols. Crown division timing, substrate composition, and post-transplant auxin distribution determine whether the plant rebounds in six weeks or sulks for an entire growing season.
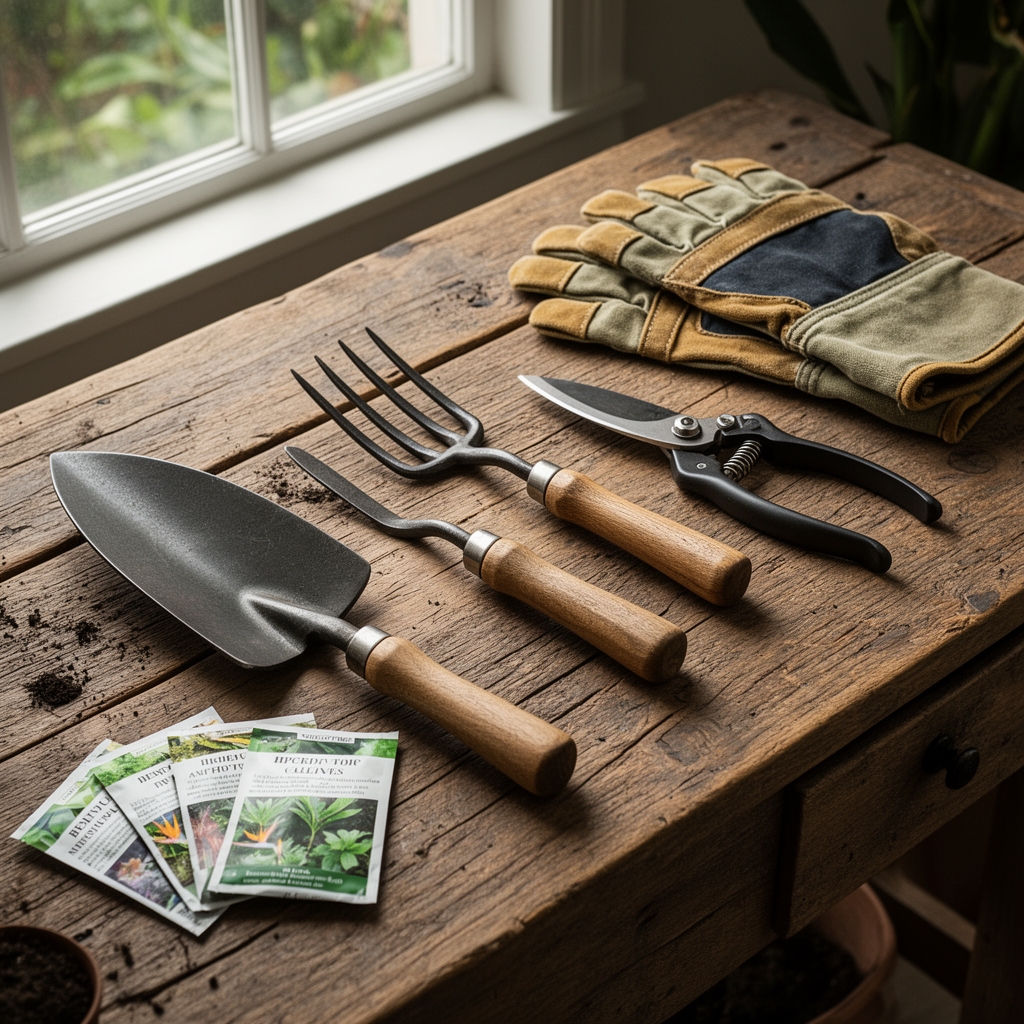
Materials
Select a container two inches wider than the current rootball diameter. Terracotta provides superior gas exchange but dries faster than glazed ceramic. The substrate must drain completely within 90 seconds of saturation.
Prepare a mix of 40% composted pine bark (pH 5.8-6.2), 30% coarse perlite, 20% aged compost, and 10% worm castings. This blend achieves a cation exchange capacity of 12-15 meq/100g. Incorporate a 4-4-4 organic fertilizer at two tablespoons per gallon of substrate. Kelp meal supplies cytokinins that accelerate root initiation. Mycorrhizal inoculant (Rhizophagus irregularis) colonizes Strelitzia roots within 14 days when applied directly to severed root surfaces.
Sterilize pruning shears with 70% isopropyl alcohol. A soil knife with a serrated edge cuts through dense root masses more effectively than standard pruners. Latex gloves protect hands from calcium oxalate crystals present in all plant tissues.
Timing
In USDA Hardiness Zones 9-11, repot bird of paradise between March 15 and May 30. Soil temperatures above 65°F trigger rapid root elongation. The plant allocates carbohydrates to root growth during the 16-week period following the spring equinox.
For container specimens in Zones 4-8, wait until nighttime temperatures stabilize above 50°F. Move plants outdoors only after the last frost date. Indoor repotting succeeds year-round if ambient temperatures remain between 68-78°F and supplemental grow lights provide 200 footcandles for 14 hours daily.
Avoid repotting during flower spike development. Transplant shock aborts buds when they reach six inches in length. Wait until blooms fade and cut spent stalks to the base before initiating root disturbance.
Phases
Root Preparation
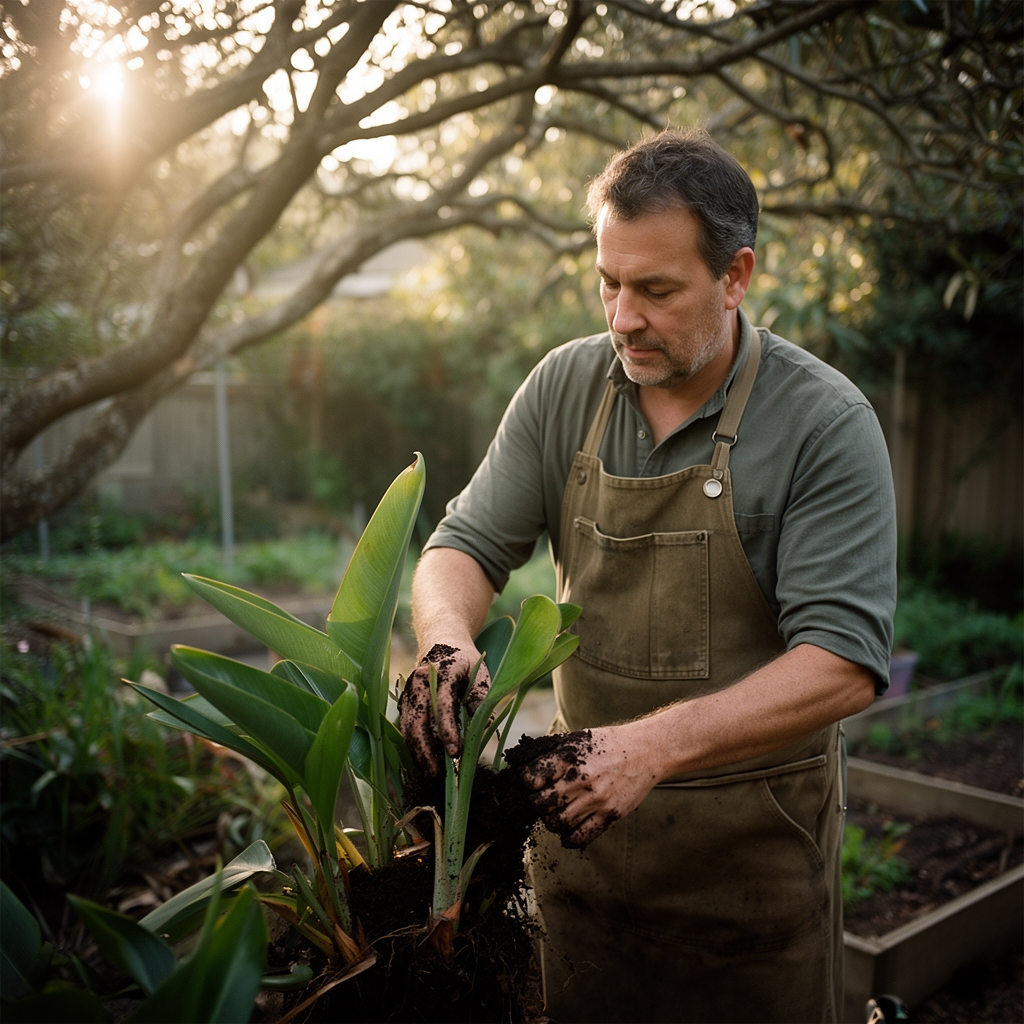
Water the plant 24 hours before extraction. Hydrated root cells resist tearing during removal. Invert the container and strike the rim against a table edge. Slide the rootball out in one motion. Inspect for vine weevil larvae (white C-shaped grubs). Remove 30% of the outer root mass with sterilized shears. Cut circling roots flush with the main rootball.
Pro-Tip: Soak severed roots in a solution of 1 tablespoon soluble kelp per gallon of water for 15 minutes. Alginates in kelp extract seal wound sites and reduce transplant shock by 40%.
Transplanting
Fill the new container to one-third depth with prepared substrate. Center the rootball so the crown sits one inch below the container rim. This depth prevents water from pooling against pseudostems. Backfill around the rootball, tamping every two inches to eliminate air pockets. Air gaps cause root desiccation and delay establishment by three weeks.
Water until runoff appears, then allow the top two inches of substrate to dry before the next irrigation. Initial saturation activates mycorrhizal spores and settles substrate particles around root hairs.
Pro-Tip: Apply a 5-1-1 fish emulsion at half strength seven days post-transplant. The nitrogen pulse supports new leaf production without burning regenerating roots.
Establishing
Place the repotted specimen in bright indirect light for 14 days. Direct sun causes leaf scorch when root hydraulic conductivity remains compromised. Maintain humidity above 50% by misting foliage twice daily or using a pebble tray. New root tips emerge 10-16 days after transplant in optimal conditions.
Resume full-strength fertilization at week four. Apply a 3-1-2 liquid fertilizer every two weeks during the growing season. Phosphorus supports rhizome development, while potassium regulates stomatal function under transplant stress.
Pro-Tip: Prune damaged leaves at a 45-degree angle one inch above the pseudostem. Angled cuts shed water and prevent fungal colonization of cut surfaces.
Troubleshooting
Symptom: Leaves split horizontally along lateral veins within three weeks of repotting.
Solution: Excess nitrogen forces rapid cell expansion. Reduce fertilizer concentration by 50% for eight weeks. Splits are cosmetic and do not harm the plant.
Symptom: Brown leaf margins progressing inward from tips.
Solution: Salt accumulation from hard water or over-fertilization. Flush substrate with distilled water equal to twice the container volume. Switch to rainwater or reverse-osmosis water.
Symptom: Yellowing lower leaves with soft, dark roots.
Solution: Root rot from Pythium or Phytophthora. Unpot immediately. Remove all brown, mushy roots. Repot in fresh, sterile substrate. Apply a phosphorous acid drench (Agri-Fos) at label rates.
Symptom: White cottony masses at leaf axils.
Solution: Mealybugs exploit transplant stress. Dab insects with 70% isopropyl alcohol on a cotton swab. Spray entire plant with insecticidal soap at five-day intervals for three applications.
Symptom: No new growth for 12 weeks post-repotting.
Solution: Crown planted too deep or root damage exceeded 40%. Excavate to verify crown depth. If buried, raise by adding substrate beneath. Severely damaged plants may require 20 weeks to resume growth.
Maintenance
Apply 1 inch of water when the top 2 inches of substrate feel dry to the touch. In 80°F conditions, this typically occurs every 5-7 days. Reduce frequency to every 10-14 days when temperatures drop below 65°F. Always water until excess drains freely.
Feed with 1 tablespoon of 3-1-2 liquid fertilizer per gallon of water every 14 days from April through September. Cease fertilization from October through February. Excess nutrients during dormancy accumulate as salts and burn root tips.
Wipe leaves monthly with a damp cloth to remove dust that blocks stomata. Rotate the container 90 degrees weekly to ensure even light exposure. Asymmetric light causes the plant to lean and weakens pseudostem integrity.
Top-dress with 1/2 inch of worm castings each spring. This slow-release amendment supplies nitrogen, improves moisture retention, and introduces beneficial microbes without disturbing established roots.
FAQ
How often should bird of paradise be repotted?
Every 2-3 years for specimens under five years old. Mature plants tolerate repotting every 4-5 years. Repot when roots occupy 80% of container volume or when growth slows despite adequate water and fertilizer.
Can you divide bird of paradise during repotting?
Yes. Use a sterilized soil knife to separate rhizomes with at least three leaves each. Each division requires a 12-inch container. Divisions bloom in 2-3 years if they contain mature rhizome tissue.
Why are leaves curling after repotting?
Insufficient humidity or root damage exceeding regenerative capacity. Mist foliage twice daily and enclose the plant in a clear plastic bag for 10 days, removing it for one hour daily to prevent fungal growth.
What container size is best for a 5-foot bird of paradise?
A 16-18 inch diameter pot provides adequate root volume. Excessively large containers retain moisture too long and promote root rot. Strelitzia blooms best when slightly root-bound.
Should I remove all old soil when repotting?
Remove 40-50% of the root ball perimeter and bottom. Preserve soil around the crown to protect dormant buds. Complete bare-rooting delays establishment by 6-8 weeks.