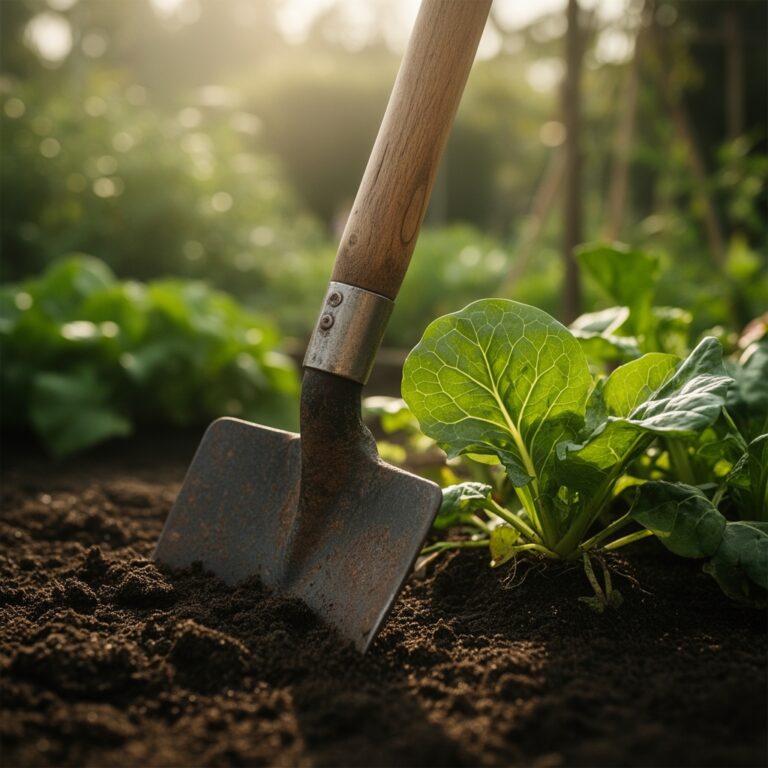
7 Steps for Building a Custom Garden Planter Box for Your Favorite Veggies
The scent of cedar shavings mixed with damp potting soil marks the start of every successful vegetable garden. A well-constructed raised bed transforms the growing season by controlling drainage, extending soil warmth by 3-5 degrees Fahrenheit, and allowing precise nutrient management. Learning the steps for building a garden planter box for veg ensures years of productive harvests while preventing the frustration of structural failure or contaminated growing medium.
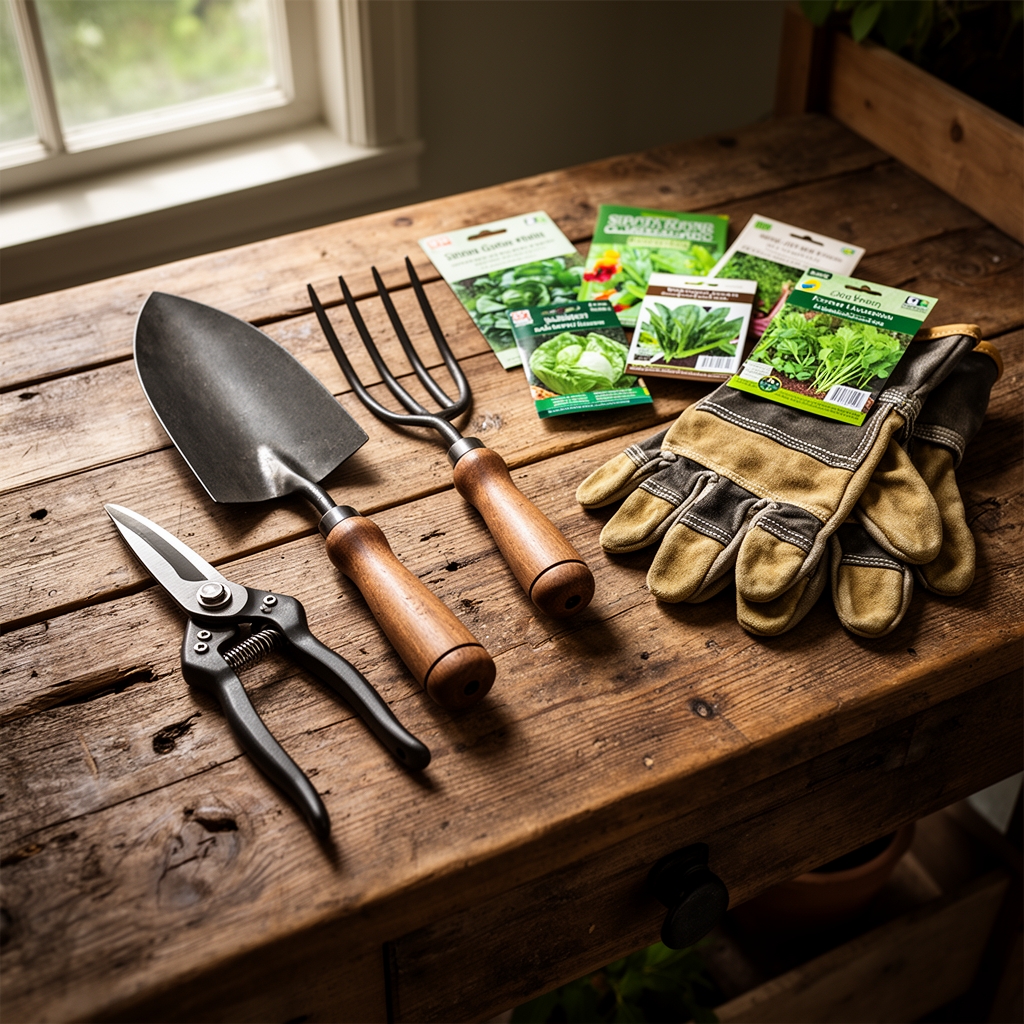
Materials
Select untreated cedar or redwood for longevity. These species contain natural oils that resist decomposition for 10-15 years without leaching toxins into the root zone. Avoid pressure-treated lumber containing copper azole or chromated copper arsenate, both of which alter soil pH and inhibit mycorrhizal fungi colonization.
For a 4-foot by 8-foot planter, acquire four 2×10 boards cut to length: two at 96 inches, two at 45 inches (accounting for board thickness). Purchase eight 4-inch structural screws and four corner brackets. Add landscape fabric with a permeability rating of at least 5 gallons per square foot per hour.
The growing medium requires layering for optimal cation exchange capacity. Start with 2 inches of coarse gravel (1/2-inch diameter) for drainage. Mix the primary layer using 40% peat moss or coconut coir (pH 5.5-6.5), 30% aged compost (finished to 140 degrees Fahrenheit minimum), 20% vermiculite, and 10% perlite. Amend with a 4-4-4 organic meal at 2 pounds per cubic yard, which provides balanced nitrogen, phosphorus, and potassium release over 8-10 weeks. Add dolomitic lime at 1/4 cup per cubic yard to buffer pH toward 6.2-6.8, the optimal range for most vegetable crops.
Timing
Construction timing depends on hardiness zone and intended crops. In zones 3-5, build planters 4-6 weeks before the last spring frost date. This window allows the growing medium to warm and beneficial bacteria to establish populations. The elevated structure gains solar radiation more efficiently than ground-level beds, advancing planting dates by 7-14 days.
For zones 6-8, construct planters in early March for spring crops or mid-August for fall brassicas. Zone 9-10 gardeners benefit from autumn construction, allowing winter rains to stabilize the soil structure before February transplanting.
Check soil temperature using a probe thermometer at 4-inch depth. Warm-season crops require 60 degrees Fahrenheit minimum, while cole crops germinate at 45 degrees.
Phases
Assembly Phase
Mark corner placements on level ground using a carpenter's square to ensure 90-degree angles. Deviation beyond 1/4 inch per 4 feet creates drainage bias and uneven settling. Drill pilot holes 3/4 inch from board ends to prevent splitting. Join corners using two screws per joint, driving at opposing 15-degree angles to maximize shear strength.
Pro-Tip: Apply silicone caulk to interior corner seams. This prevents soil migration while maintaining necessary drainage.
Soil Integration Phase
Line the planter bottom with landscape fabric, extending 2 inches up each wall. Add the gravel layer, ensuring uniform depth using a small rake. Mix soil components in a wheelbarrow or on a tarp, incorporating amendments thoroughly. Moisture content should allow the mix to hold shape when squeezed but crumble when disturbed.
Fill the planter in 3-inch lifts, compacting gently with a hand tamper. Avoid over-compression, which reduces macropore space and limits oxygen diffusion to roots. Stop filling 2 inches below the rim to prevent irrigation overflow.
Pro-Tip: Inoculate the root zone with mycorrhizal fungi at 1 teaspoon per square foot, mixed into the top 4 inches. These symbiotic organisms extend effective root surface area by 10-100 times, improving phosphorus uptake.
Establishment Phase
Water the planter to field capacity (when drainage begins from the base). Allow 24-48 hours for settling before transplanting. Arrange crops by height and sun requirements: position tall crops like tomatoes on the north side to prevent shading of shorter lettuce or radish rows.
Set transplants at the same depth as their nursery containers, except for tomatoes, which benefit from burial up to the first true leaves. This stem section generates adventitious roots, improving nutrient and water acquisition.
Pro-Tip: Apply 1 inch of straw mulch around transplants, maintaining a 2-inch clearance from stems. This moderates soil temperature fluctuations and reduces evapotranspiration by 30-40%.
Troubleshooting
Symptom: Yellowing lower leaves with green veins (interveinal chlorosis).
Solution: Iron or manganese deficiency caused by pH above 7.0. Apply chelated iron at 1 tablespoon per gallon of water as a soil drench. Test pH and adjust with elemental sulfur at 1/2 cup per 10 square feet if needed.
Symptom: Wilting despite adequate soil moisture.
Solution: Verticillium or fusarium wilt. Remove affected plants immediately. Solarize soil by covering with clear plastic for 4-6 weeks during peak summer heat to raise soil temperature above 140 degrees, which kills soilborne pathogens.
Symptom: Blossom end rot on tomatoes or peppers.
Solution: Calcium deficiency induced by irregular watering. Maintain consistent soil moisture and apply calcium chloride foliar spray at 1 tablespoon per gallon weekly during fruit development.
Symptom: Holes in leaves with silvery slime trails.
Solution: Slug or snail damage. Place copper tape along planter rim perimeter. The metal reacts with gastropod mucus, creating an electric charge that repels them.
Symptom: Stunted growth with purple-tinged leaves.
Solution: Phosphorus deficiency, common when soil temperature stays below 55 degrees. Apply liquid fish emulsion (5-1-1) at half-strength weekly until temperatures stabilize.
Maintenance
Water deeply when the top 1 inch of soil feels dry to touch, typically every 2-3 days during summer. Deliver 1-1.5 inches per week through drip irrigation or soaker hoses, which reduce foliar disease by keeping leaves dry.
Side-dress with compost at 1/4 inch depth every 4 weeks during active growth. For heavy feeders like tomatoes or squash, supplement with fish emulsion at 1 tablespoon per gallon every 2 weeks.
Monitor for auxin distribution issues. If plants lean heavily toward light, rotate portable planters 180 degrees weekly. Fixed installations require strategic reflector placement on the north side to balance phototropic response.
Remove senescent leaves at the petiole base using sanitized pruners. This improves air circulation and redirects resources to productive tissue.
FAQ
How deep should a vegetable planter be?
Most vegetables require 10-12 inches of soil depth. Root crops like carrots need 12-18 inches, while lettuce and herbs thrive in 6-8 inches.
Can I use garden soil in raised planters?
Native soil often compacts and drains poorly in containers. Use a formulated mix with at least 30% organic matter and added perlite or vermiculite.
When should I replace planter soil?
Refresh the top 4-6 inches annually with compost. Complete soil replacement is necessary every 5-7 years as organic matter depletes and salt accumulates.
What spacing works best for mixed vegetables?
Use intensive spacing: 4-6 inches for greens, 12-18 inches for peppers and broccoli, 24-36 inches for sprawling crops like cucumbers.
How do I prevent wood rot?
Line interior walls with plastic sheeting, leaving the bottom open for drainage. This barrier extends wood life by 3-5 years while maintaining soil health.