6 Key Steps to Plant Japanese Eggplant
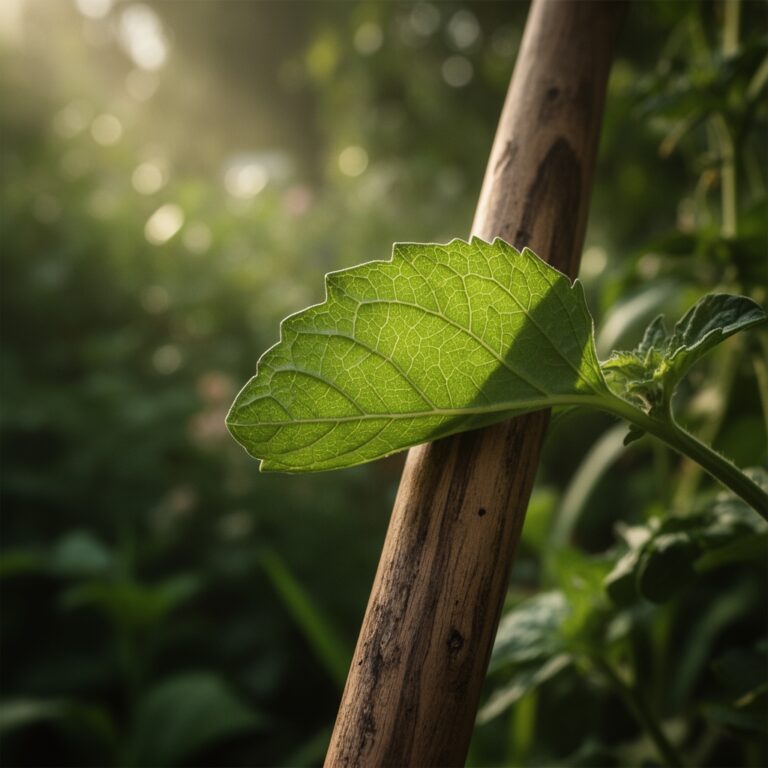
The smell of damp, well aerated loam mixed with the sharp scent of crushed foliage signals the start of the season. A healthy Japanese eggplant leaf displays high turgor pressure; it feels firm and resilient to the touch. Success begins with understanding the specific steps to plant japanese eggplant to ensure a high yield of slender, dark purple fruit. These cultivars are more heat tolerant than traditional globes but require precise thermal management. You are managing a biological factory that converts solar energy and soil nutrients into dense cellular structures.
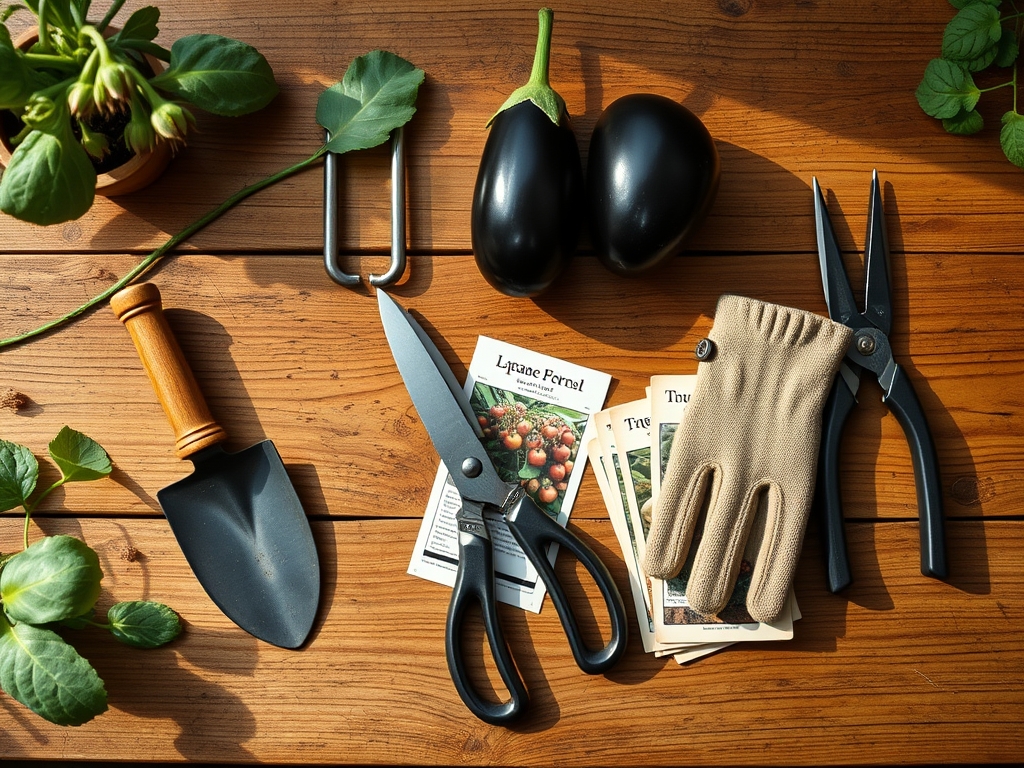
Materials:
Substrate quality determines the efficiency of the **rhizosphere**. You require a friable loam with a high **Cation Exchange Capacity (CEC)** to ensure nutrient availability. The ideal soil pH ranges from **5.5 to 6.8**. If your soil is too acidic, incorporate calcitic lime; if too alkaline, utilize elemental sulfur to lower the pH.
For fertilization, focus on specific NPK ratios. During the initial vegetative stage, a 10-10-10 balanced fertilizer provides the necessary nitrogen for leaf development. Once the plant enters the reproductive phase, transition to a 5-10-15 ratio. High potassium levels are essential for fruit quality and cellular water regulation. Ensure you have organic matter, such as composted manure, to increase the soil's ability to hold moisture without becoming anaerobic.
Timing:
Japanese eggplants are heavy feeders that thrive in Hardiness Zones 4 through 11, though they are strictly warm season annuals. The biological clock of Solanum melongena is dictated by soil temperature. Do not transplant until the soil consistently reaches 65 degrees Fahrenheit. Planting too early leads to stunted growth and permanent vascular damage from cold shock.
The transition from the vegetative stage to the reproductive stage occurs approximately 60 to 70 days after sowing. This period is sensitive to the photoperiod. While eggplants are day neutral, they require at least 8 to 10 hours of direct solar radiation to maintain the metabolic rates necessary for fruit production. In northern climates, use black plastic mulch to artificially increase soil temperature and accelerate the growth cycle.
Phases:

Sowing
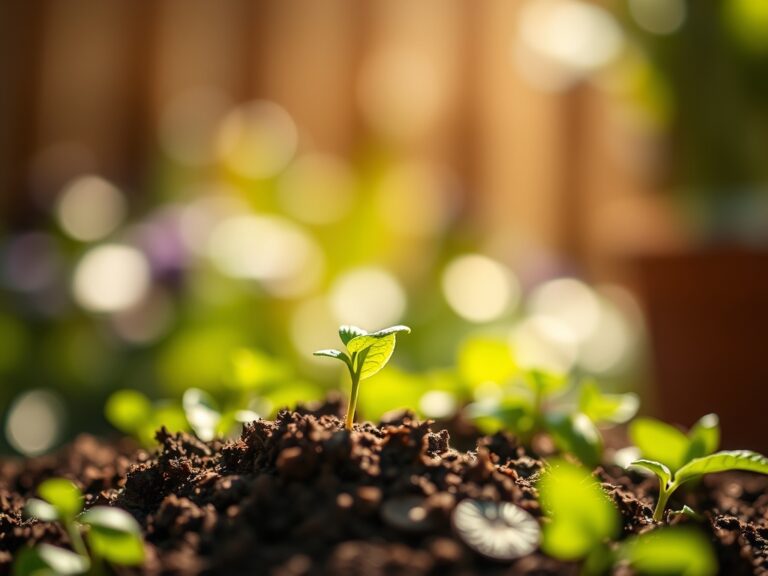
Start seeds indoors 8 to 10 weeks before the last frost date. Use a sterile seed starting mix and maintain a consistent temperature of 80 degrees Fahrenheit using a heating mat. Sow seeds at a depth of 0.25 inches. Germination typically occurs within 7 to 14 days.
Pro-Tip: Maintain high humidity during germination to soften the seed coat. This facilitates the emergence of the radicle by reducing mechanical resistance. This process, known as imbibition, is the first critical step in activating the embryo's metabolism.
Transplanting
Hardening off is mandatory. Gradually expose seedlings to outdoor conditions over 7 to 10 days. When transplanting, space individuals 18 to 24 inches apart in rows spaced 36 inches apart. Dig a hole twice the size of the root ball and set the plant at the same depth it was in the container.
Pro-Tip: Inoculate the planting hole with mycorrhizal fungi. This symbiotic relationship expands the root system's surface area; the fungi scavenge for phosphorus and water in exchange for plant sugars, significantly increasing drought resistance.
Establishing
Once in the ground, the plant focuses on root expansion. Monitor for auxin suppression. If the plant becomes too leggy, pinch the terminal bud to encourage lateral branching. This results in a sturdier architecture capable of supporting heavy fruit loads.
Pro-Tip: Use a hori-hori knife to check for soil compaction around the transplant site. Aerated soil allows for better gas exchange; roots require oxygen for cellular respiration to power the uptake of minerals against concentration gradients.
The Clinic:
Physiological disorders often mimic pathogen attacks but are rooted in environmental stress.
-
Symptom: Blossom End Rot (leathery black spots on the base of fruit).
Solution: This is a localized calcium deficiency. It is rarely caused by a lack of calcium in the soil but rather by inconsistent moisture levels that prevent the plant from transporting calcium through the xylem. Maintain consistent irrigation. -
Symptom: Flower Drop.
Solution: This occurs when temperatures exceed 95 degrees Fahrenheit or drop below 60 degrees Fahrenheit. Extreme heat causes pollen sterility. Use shade cloths during heat waves to lower the ambient temperature by 5 to 10 degrees. -
Symptom: Nitrogen Chlorosis (yellowing of older, lower leaves).
Fix-It: Apply a side dressing of blood meal or a liquid fish emulsion. Nitrogen is a mobile nutrient; the plant will pull it from old growth to support new terminal foliage if soil levels are depleted. -
Symptom: Interveinal Chlorosis (yellowing between leaf veins).
Fix-It: This indicates a magnesium deficiency. Apply 1 tablespoon of Epsom salts per gallon of water as a foliar spray to bypass root uptake issues.
Maintenance:
Precision irrigation is the cornerstone of eggplant health. Provide 1.5 inches of water per week at the drip line. Avoid overhead watering to prevent foliar diseases. Use a soil moisture meter to ensure the root zone remains at 70% field capacity.
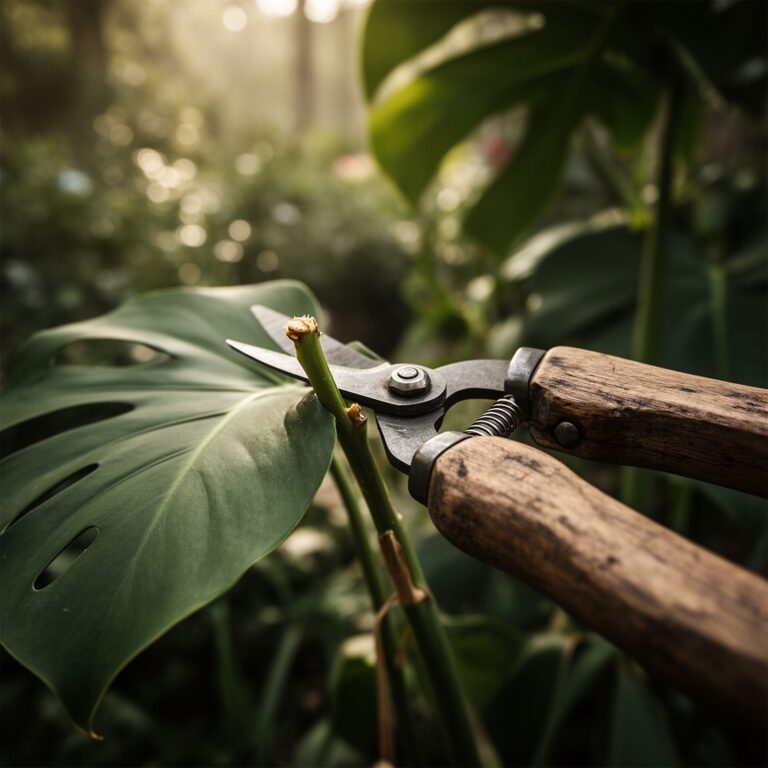
Pruning is necessary for airflow. Use bypass pruners to remove "suckers" or non-productive branches below the first flower cluster. This directs the plant's energy toward fruit development rather than excessive foliage. Mulch the base with straw or wood chips to suppress weed competition and regulate soil temperature fluctuations.
The Yield:
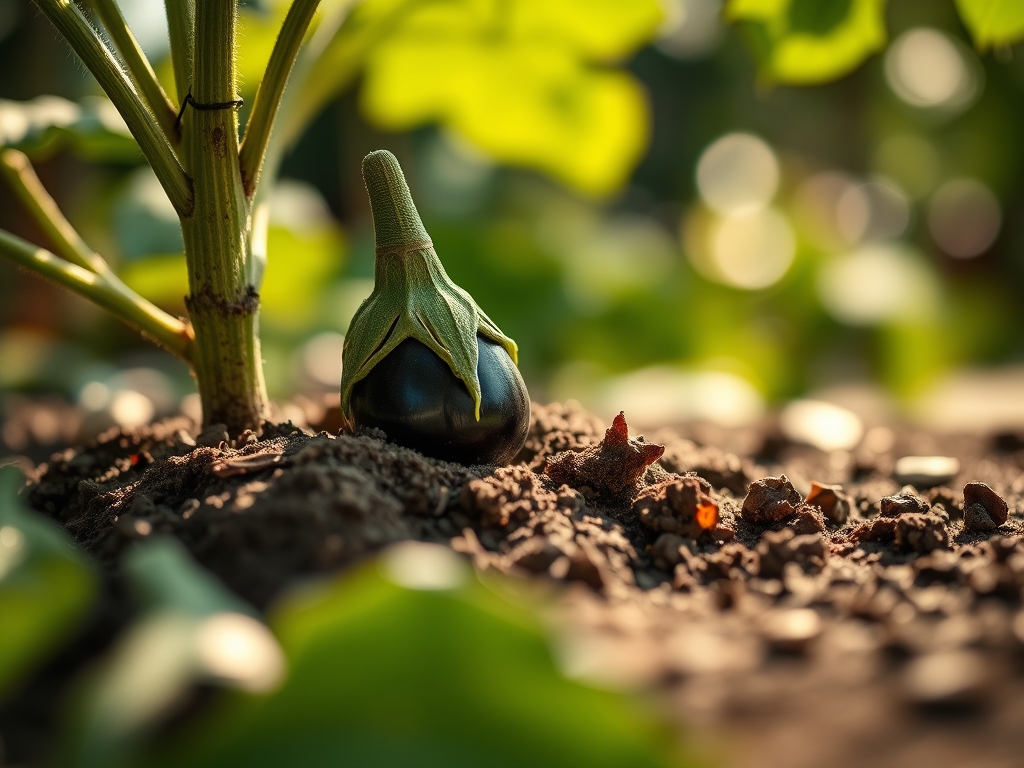
Harvest Japanese eggplants when they are 5 to 8 inches long. The skin should be glossy and firm. If the skin becomes dull, the seeds inside have hardened and the flesh has become bitter; this is a sign of senescence.
Use sharp shears to cut the fruit from the stem, leaving 1 inch of the calyx attached. Do not pull the fruit, as this can damage the vascular tissue of the main stalk. To maintain "day-one" freshness, store the harvest at 50 to 54 degrees Fahrenheit with 90% relative humidity. Avoid refrigeration below 45 degrees, which causes chilling injury and pitting of the skin.
FAQ:
How deep should I plant Japanese eggplant seeds?
Sow seeds at a depth of 0.25 inches in a well draining starting mix. Maintain a consistent temperature of 80 degrees Fahrenheit to ensure optimal germination rates within two weeks.
What is the best fertilizer for Japanese eggplant?
Use a balanced 10-10-10 NPK fertilizer during the initial growth phase. Switch to a low nitrogen, high potassium formula like 5-10-15 once flowering begins to support fruit development and cellular integrity.
How often should I water my eggplant?
Deliver 1.5 inches of water per week directly to the soil at the drip line. Use a soil moisture meter to maintain consistent dampness; fluctuations in moisture lead to physiological issues like blossom end rot.
Why are my eggplant flowers falling off?
Flower drop is typically caused by temperature extremes. If ambient temperatures exceed 95 degrees Fahrenheit or fall below 60 degrees, the plant experiences stress that leads to pollen sterility and subsequent abscission of the blooms.
When is a Japanese eggplant ready to harvest?
Harvest when the fruit reaches 5 to 8 inches in length and the skin is highly reflective. A dull finish indicates the fruit is overripe, leading to a bitter flavor profile and tough seed texture.