6 Vital Steps to Plant Radicchio Seeds
The scent of damp, mineral-rich earth signals the beginning of the cool-season cycle. Radicchio, a member of the Cichorium intybus species, demands precise environmental conditions to achieve the characteristic snap and turgor pressure of its burgundy leaves. To master the steps to plant radicchio seeds, a grower must understand that this is not a set-and-forget crop; it is a clinical exercise in temperature management and soil chemistry. Success requires balancing the plant's bitter alkaloid profile with consistent moisture levels.
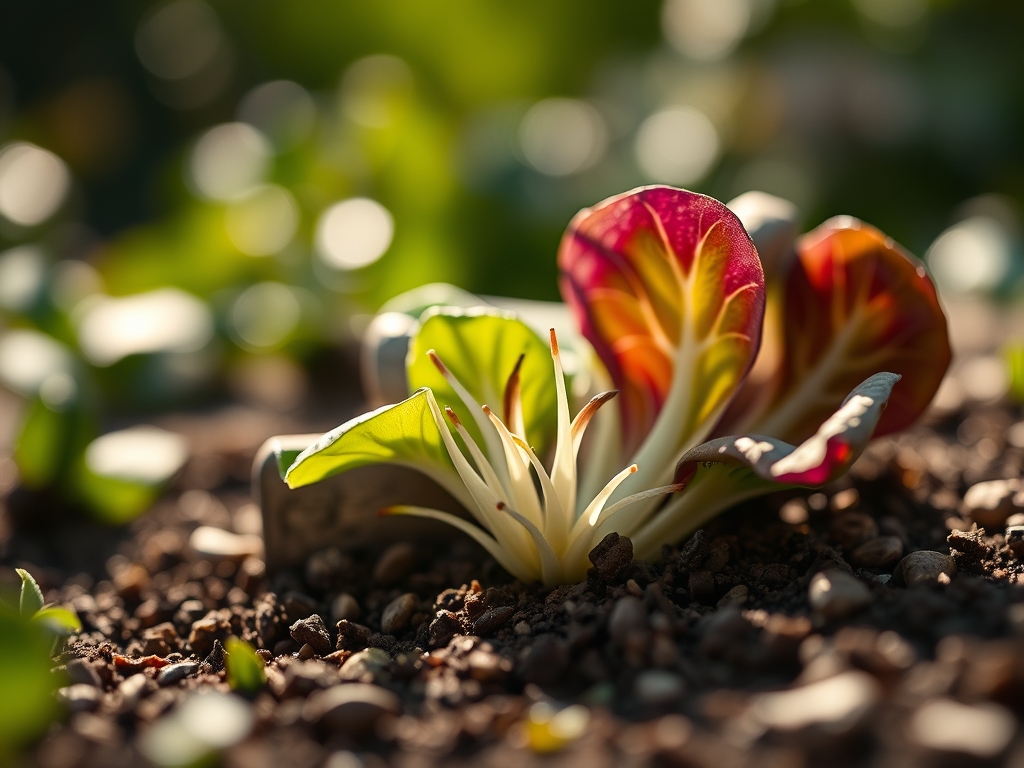
Radicchio is a biennial grown as an annual, prized for its dense heads and crisp texture. It thrives when the nights drop into the low 40s, a thermal shift that triggers the conversion of starches into sugars. Without this cold stimulus, the foliage remains loose and excessively bitter. Every action taken from seed depth to harvest timing dictates the final density of the heart. The process begins with substrate preparation and ends with a sharp blade at the soil line.
Materials:
Radicchio requires a **friable loam** with a high **Cation Exchange Capacity (CEC)** to ensure nutrient availability. The soil must be well-draining to prevent anaerobic conditions in the **rhizosphere**. Before sowing, test the soil to ensure a **pH between 6.0 and 6.8**.
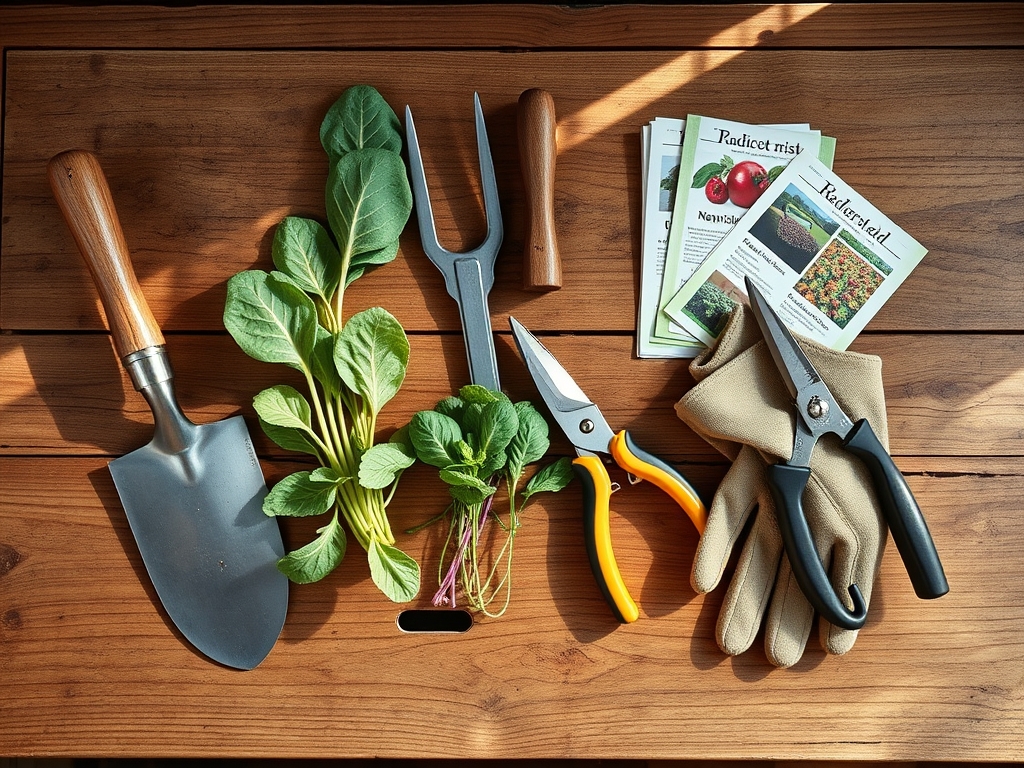
Prepare the bed with a balanced NPK ratio of 5-10-10 or 10-10-10. While nitrogen is necessary for leaf development, excessive application leads to loose head formation and increased susceptibility to fungal pathogens. Incorporate organic matter to achieve a soil structure that crumbles easily under light pressure. You will also need a soil moisture meter, a hori-hori knife for transplanting, and high-quality seeds selected for your specific climate.
Timing:
The biological clock of Cichorium intybus is governed by the photoperiod and temperature. Radicchio is highly sensitive to bolting if exposed to heat. In Hardiness Zones 4 through 8, gardeners should target two distinct windows. For a fall harvest, sow seeds 10 to 12 weeks before the first expected frost. For a spring harvest, start seeds indoors 6 to 8 weeks before the last frost.
The transition from the vegetative stage to the reproductive stage (bolting) is triggered when temperatures consistently exceed 75 degrees Fahrenheit. The plant shifts its energy from leaf production to seed stalk elongation, rendering the leaves woody and unpalatable. Monitoring the local 10-day forecast is essential for timing the final transplanting phase.
Phases:
Sowing
Sow seeds at a depth of 1/4 inch. If starting in trays, use a sterile seed-starting mix. Maintain a soil temperature of 65 to 70 degrees Fahrenheit for optimal germination, which typically occurs within 7 to 10 days. Space seeds 2 inches apart in rows.
Pro-Tip: Maintain consistent moisture to prevent the seed coat from hardening. This ensures the radicle can easily penetrate the substrate, establishing early mycorrhizal symbiosis for better nutrient uptake.
Transplanting
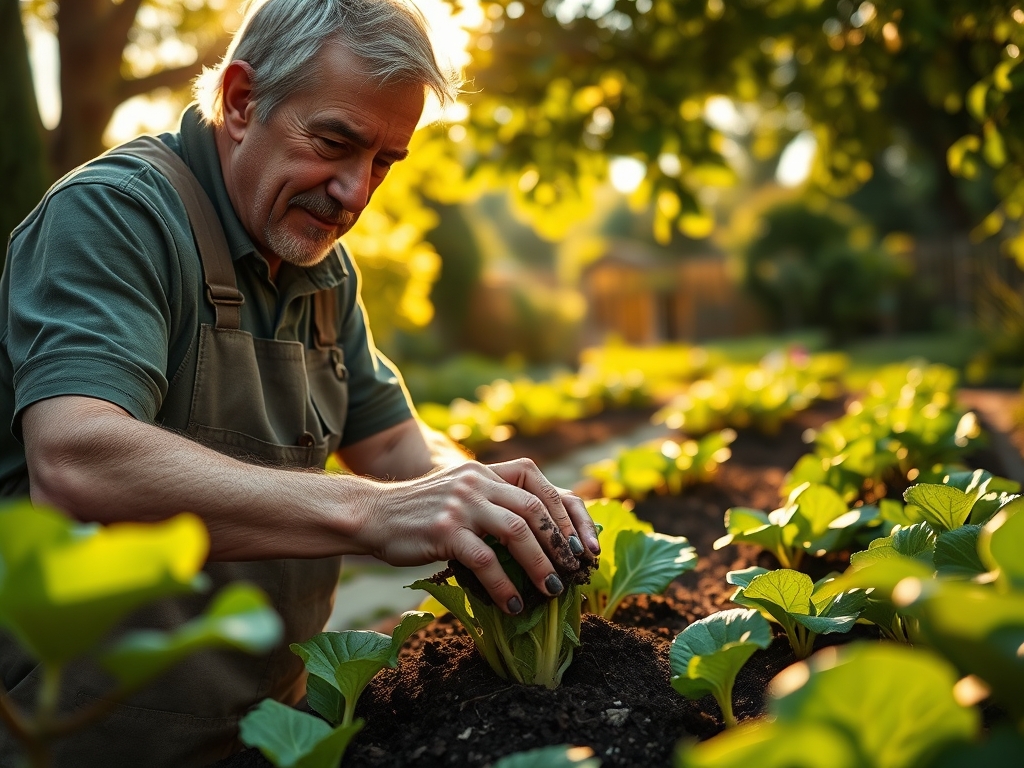
Transplant seedlings when they reach 3 to 4 inches in height and have at least two sets of true leaves. Use a hori-hori knife to dig holes deep enough to accommodate the entire root ball without bending the taproot. Space plants 8 to 12 inches apart in rows spaced 18 inches apart.
Pro-Tip: Minimize root disturbance to prevent transplant shock. Sudden stress can trigger auxin suppression, which stalls growth and may lead to premature senescence or bolting.
Establishing
During the first three weeks after transplanting, the focus is on root establishment. Ensure the soil remains moist but not waterlogged. Apply a light layer of mulch to regulate soil temperature and suppress weed competition.
Pro-Tip: Radicchio utilizes phototropism to orient its leaves for maximum light absorption. Ensure the site receives at least 6 hours of direct sunlight to prevent leggy growth and ensure tight head formation.
The Clinic:
Physiological disorders in radicchio often stem from environmental stress or nutrient imbalances. Observe the foliage daily for deviations in color or texture.
Symptom: Tipburn (browning of leaf edges).
Solution: This is often caused by a Calcium deficiency or inconsistent watering. Ensure the soil remains evenly moist to facilitate calcium transport through the xylem.
Symptom: Stunted growth and pale yellow leaves.
Solution: This indicates Nitrogen chlorosis. Apply a side-dressing of composted manure or a liquid fish emulsion to boost nitrogen levels.
Symptom: Premature flowering (bolting).
Solution: Triggered by high temperatures or water stress. Once bolting begins, it cannot be reversed. Harvest immediately or use shade cloths to lower ambient temperatures.
Fix-It: If soil tests show low Phosphorus, incorporate bone meal into the top 4 inches of soil to support vigorous root development and structural integrity.
Maintenance:
Precision irrigation is the cornerstone of radicchio maintenance. Provide 1.5 inches of water per week, delivered at the drip line rather than overhead. Overhead watering increases the risk of Sclerotinia and other fungal infections within the tight folds of the head. Use a soil moisture meter to verify that the top 6 inches of soil are hydrated.
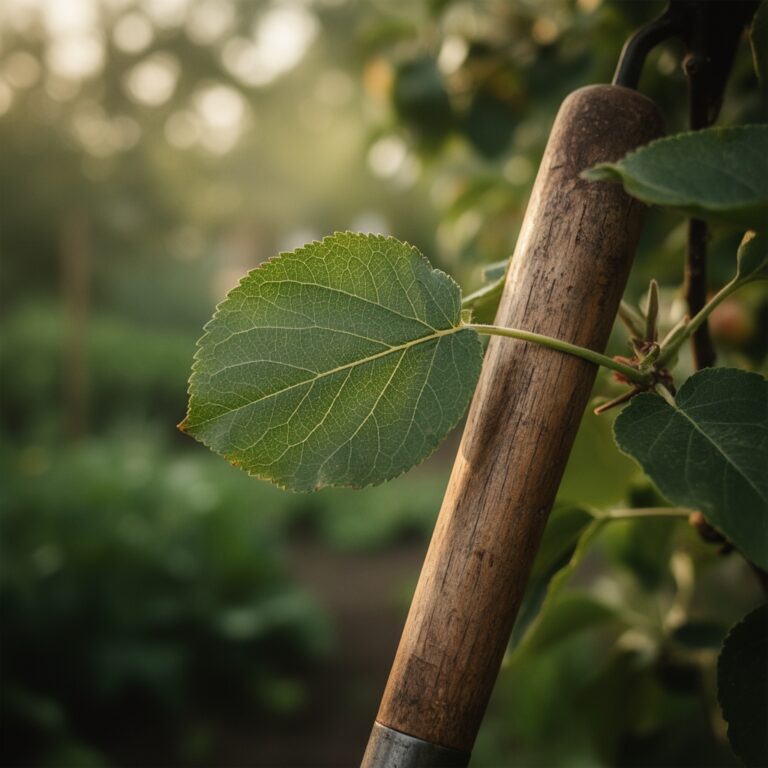
Keep the area free of weeds using a hori-hori knife for precise extraction. Weeds compete for vital micronutrients and can harbor pests that transmit viruses. If the outer leaves become damaged or show signs of decay, use bypass pruners to remove them, allowing better airflow around the base of the plant.
The Yield:
Harvesting occurs when the heads feel firm and reach the size of a grapefruit, usually 60 to 90 days after sowing. Use a sharp knife to cut the head at the soil surface. In some varieties, if the root is left intact, a second, smaller head may emerge.
Post-harvest handling is critical for maintaining turgor. Remove any loose, green outer leaves to reveal the tight, colorful heart. Rinse the heads in cold water and store them in a perforated bag in the refrigerator at 34 to 36 degrees Fahrenheit. This temperature range slows the metabolic rate and preserves the crisp texture for up to three weeks.
FAQ:
How deep should I plant radicchio seeds?
Sow seeds exactly 1/4 inch deep. Planting too deep prevents the emerging sprout from reaching the surface before its stored energy is exhausted. Maintain consistent moisture until the first true leaves appear.
What is the ideal soil pH for radicchio?
Radicchio thrives in a pH range of 6.0 to 6.8. This acidity level ensures optimal cation exchange, allowing the plant to absorb essential minerals like calcium and magnesium necessary for cell wall strength.
Can I grow radicchio in containers?
Yes, use a container at least 8 inches deep with excellent drainage. Ensure the potting mix is rich in organic matter and monitor moisture levels daily, as containers undergo faster evaporation than in-ground beds.
Why is my radicchio too bitter?
Excessive bitterness is caused by heat stress or lack of water. Cool temperatures and a light frost help convert bitter alkaloids into sugars. Ensure the plant receives 1.5 inches of water weekly to mitigate stress.
When is the best time to harvest?
Harvest when the heads feel dense and firm to the touch, typically 60 to 90 days post-sowing. For the best flavor, wait until after the first light frost has touched the outer leaves.