7 Steps to Install a Decorative Garden Gate and Hinges
The scent of decomposing organic matter and the gritty texture of well-aerated loam signal the start of a structural project. A garden is a living system; its boundaries must be secure to maintain the turgor pressure of delicate understory plants and protect the rhizosphere from heavy foot traffic. Mastering the steps for installing a garden gate ensures that the transition between your cultivated beds and the external environment remains functional and aesthetically balanced. This process requires more than simple carpentry. It demands an understanding of soil compaction, structural load, and the seasonal expansion of timber. A gate serves as the primary valve for your garden ecosystem; it regulates airflow and access while anchoring the visual perimeter. Proper installation prevents the sagging that leads to soil disturbance at the threshold. You must align the hardware with precision to ensure the gate swings freely without dragging across the mulch layer. Every measurement must be exact to account for the frost heave that occurs in colder climates. Success depends on the stability of the posts and the quality of the mechanical fasteners used to secure the hinges.
Materials:

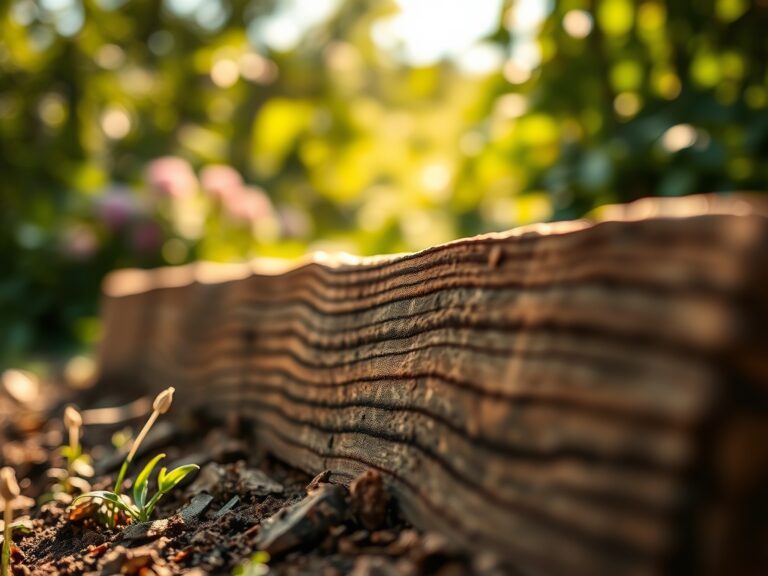
The foundation of any gate starts in the soil. For post-setting, you require a **friable loam** substrate that allows for adequate drainage; waterlogged soil around a post accelerates fungal decay and structural failure. The chemical composition of the backfill matters. Maintain a **soil pH between 6.0 and 7.0** to prevent the accelerated corrosion of galvanized hardware. If you are planting around the gate, integrate a slow-release fertilizer with an **NPK ratio of 10-10-10** into the top six inches of the surrounding soil. This ensures that the root systems of nearby perennials recover quickly from the disturbance of digging. Use **4×4 pressure-treated timber** for posts and **stainless steel or hot-dipped galvanized hinges** to resist oxidation. You will also need **80 pounds of fast-setting concrete** per post hole to provide a stable Cation Exchange Capacity (CEC) neutral environment that does not leach excessive lime into the adjacent planting beds.
Timing:
Installation should occur during the dormant season or early spring to minimize impact on the biological clock of your garden. In Hardiness Zones 5 through 7, the ideal window is after the ground has thawed but before the spring equinox triggers the transition from vegetative to reproductive stages in local flora. Avoid installation during periods of high humidity or active sap flow if you are mounting the gate to living pillars or near sensitive specimens. The soil must be dry enough to avoid compaction; if a handful of soil forms a hard ball when squeezed, it is too wet to dig. Aim for a soil temperature of at least 45 degrees Fahrenheit to ensure that concrete cures at a rate that prevents internal cracking. This timing allows the soil structure to stabilize before the peak growth phase of the rhizosphere begins in late spring.
Phases:

Sowing the Foundation
Excavate post holes to a depth of one-third the total height of the post plus an additional 6 inches for a gravel drainage base. In regions prone to deep freezes, you must dig below the frost line, typically 30 to 36 inches deep. The hole diameter should be three times the width of the post. Level the posts using a spirit level and brace them with scrap lumber.
Pro-Tip: Proper drainage at the base of the post prevents anaerobic conditions. This protects the wood from mycorrhizal fungi that, while beneficial for nutrient uptake in plants, will rapidly colonize and decompose structural timber in damp environments.
Transplanting the Hardware
Once the concrete has cured for 48 to 72 hours, mark your hinge locations. For a standard 4-foot gate, place the top hinge 7 inches from the top and the bottom hinge 11 inches from the bottom. This distribution manages the torque and prevents the gate from bowing over time. Pre-drill all holes to avoid splitting the grain, which can create entry points for pathogens and moisture.
Pro-Tip: Use a slight inward tilt of 1/8th of an inch on the latch side. This accounts for future "creep," a mechanical response to gravity and wood cell dehydration, ensuring the latch aligns perfectly for years.
Establishing the Swing
Hang the gate and check for clearance. There should be a 2-inch gap between the bottom of the gate and the highest point of the ground to allow for the accumulation of leaf litter and mulch. Test the swing radius to ensure it does not interfere with the phototropism of nearby sun-loving plants. A gate that casts a permanent shadow over a specific area can lead to "leggy" growth as plants stretch for light.
Pro-Tip: Lubricate hinges with a silicone-based spray rather than petroleum. Silicone does not attract dust or pollen, which can grind down the metal and cause mechanical failure during the high-growth summer season.
The Clinic:
Physiological and structural disorders can manifest shortly after installation. Monitor these symptoms to ensure the longevity of your gate and the health of the surrounding perimeter.
Symptom: Post Heaving. The post rises out of the ground, throwing the gate out of alignment.
Solution: This is caused by the freeze-thaw cycle in silty soils. Re-dig the hole with a "bell" shape at the bottom, wider than the top, to anchor the concrete under the frost line.
Symptom: Wood Checking. Large cracks appear along the grain of the gate or posts.
Solution: This is a result of rapid desiccation. Apply a UV-rated sealant to slow the rate of moisture loss and maintain the structural integrity of the cellulose fibers.
Symptom: Nitrogen Chlorosis in adjacent plants. Leaves turn yellow while veins remain green.
Solution: The high lime content in fresh concrete can raise the pH of the immediate soil, locking out iron. Fix-It: Apply chelated iron or elemental sulfur to the drip line to lower the pH and restore nutrient availability.
Maintenance:
A garden gate requires consistent calibration to function as part of a managed landscape. Inspect the hardware every six months for signs of rust or loosening. Use a soil moisture meter near the gate posts to ensure that irrigation runoff is not pooling at the base; excess moisture leads to timber rot and soil instability. If you notice the gate dragging, use a hori-hori knife to trim back encroaching root mats or sod that may have lifted the soil level. Apply a fresh coat of oil-based stain every two years to protect the lignin in the wood from UV degradation. Ensure the surrounding plants receive 1.5 inches of water per week at the drip line, but keep the spray directed away from the wooden gate components to prevent localized humidity spikes. Use bypass pruners to maintain a 6-inch "air gap" between the gate and any climbing vines or shrubs to prevent the trapping of moisture against the wood.
The Yield:
While a gate does not produce a caloric yield, its "yield" is measured in the security and microclimate stability it provides. A well-installed gate reduces wind tunneling, which can lower the rate of evapotranspiration in sensitive leafy greens like spinach or kale. By controlling access, you prevent the mechanical damage of stems and the compaction of the soil, which preserves the pore space necessary for oxygen to reach the roots. In the autumn, the gate serves as a collection point for organic mulches; clear this debris promptly to prevent the buildup of overwintering pests. The result is a more resilient garden bed where the transition from the path to the planting area is seamless and protected.
FAQ:
How deep should I dig the holes for gate posts?
Dig holes to a depth of one-third the post height, ensuring you reach below the local frost line. This prevents frost heave and provides the necessary leverage to support the gate weight without sagging or shifting.
What is the best wood for a garden gate?
Use Western Red Cedar or pressure-treated pine. These woods contain natural tannins or chemical preservatives that resist rot and insect infestation, maintaining structural integrity in high-moisture garden environments for over a decade.
How do I prevent my garden gate from sagging?
Install a diagonal cross-brace running from the bottom hinge corner to the top latch corner. This transfers the weight of the gate to the hinges and prevents gravity from pulling the frame into a trapezoidal shape.
Can I set gate posts without concrete?
In high-drainage sandy soils, you can use compacted crushed stone. This allows for better water percolation around the post, reducing the risk of fungal decay while providing sufficient mechanical stability for lighter decorative gates.