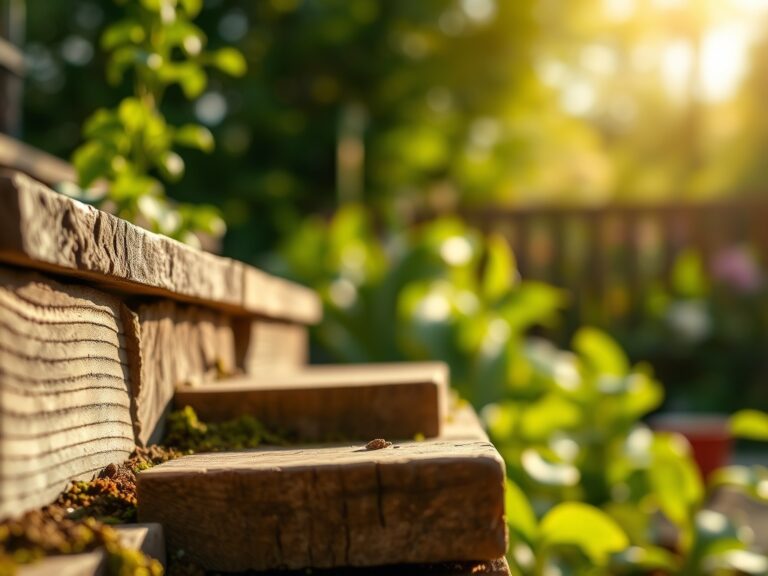
8 Steps to Prepare for a New Retaining Wall Build
The scent of damp, disturbed earth signals a fundamental shift in the landscape as the shovel bites through the organic horizon. When the soil loses its structural integrity due to erosion or slope instability, the turgor pressure of your plants cannot compensate for a failing grade. Learning how to prepare a garden for a wall requires more than moving dirt; it demands a precise understanding of the rhizosphere and the physical forces acting upon the subsoil. You are not merely building a barrier; you are re-engineering a living ecosystem to ensure that the hydraulic pressure of the earth does not compromise the vascular health of your botanical collection. Proper preparation ensures that the soil Cation Exchange Capacity (CEC) remains high while providing the necessary structural support for stone or timber. Neglecting the preparatory phase leads to root compaction and anaerobic conditions that trigger rapid senescence in established perennials. Success is found in the transition from raw land to a stabilized, nutrient-dense environment where the soil structure supports both the weight of the masonry and the delicate root hairs of your high-value cultivars.
Materials:
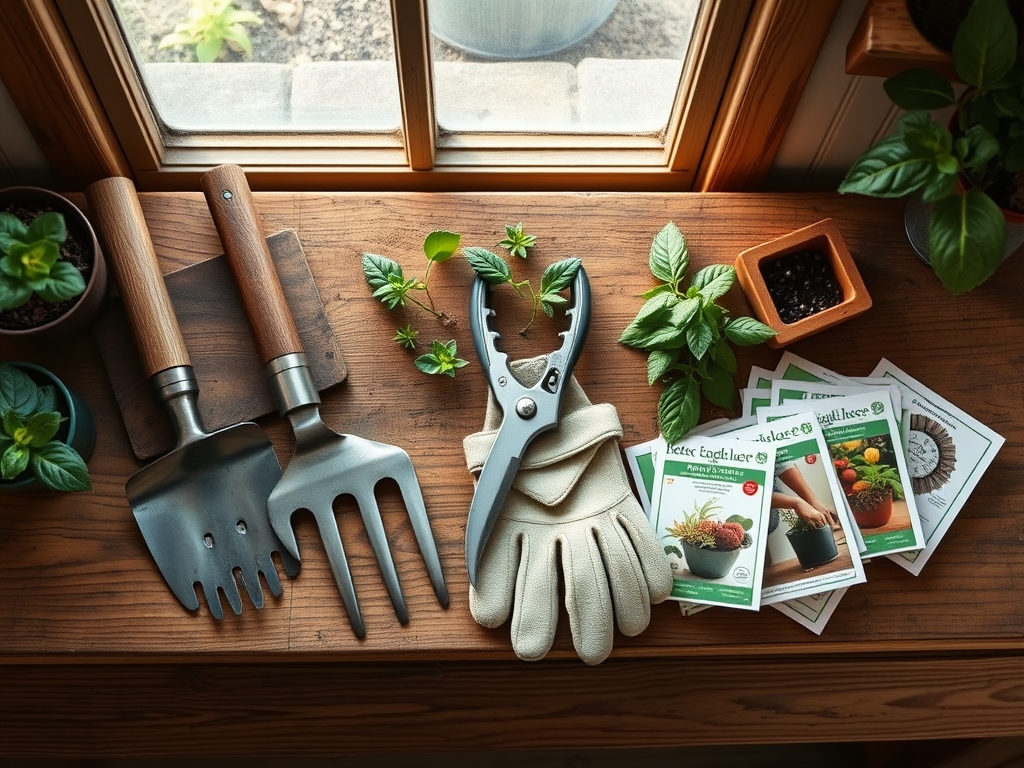
Substrate quality determines the longevity of the wall and the health of the plants it supports. You must source a friable loam with a particle distribution of roughly 40 percent sand, 40 percent silt, and 20 percent clay. This balance ensures optimal drainage while maintaining sufficient surface area for nutrient ion adsorption.
Before construction, test your soil pH; most temperate garden species thrive in a range of 6.2 to 6.8. If the soil is too acidic, incorporate pelletized lime at a rate of 50 pounds per 1,000 square feet to raise the pH by one point. For the backfill zone immediately behind the wall, use a 3/4-inch crushed angular stone to facilitate rapid drainage and prevent hydrostatic pressure buildup.
Nutrient preparation requires specific NPK ratios based on the growth stage of your displaced plants. For root re-establishment after the wall is set, utilize a 5-10-10 fertilizer. The higher phosphorus content (the middle number) stimulates ATP production and root elongation, which is critical for plants recovering from transplant shock. Avoid high-nitrogen blends like 20-10-10 during the build, as excessive vegetative growth can stress a root system that has been pruned or compressed by heavy machinery.
Timing:
The biological clock of your garden dictates the construction window. In Hardiness Zones 5 through 7, the ideal time to prepare for a wall is late autumn or early spring when plants are in a state of dormancy. During dormancy, the metabolic rate of the plant drops, reducing the demand for water and nutrients while the root system is disturbed.
Construction should ideally occur after the first hard frost but before the ground freezes solid, typically when soil temperatures hover between 35 and 45 degrees Fahrenheit. If you must build during the growing season, monitor the photoperiod. Plants entering their reproductive stage (flowering) allocate energy away from root repair; therefore, structural work should be completed during the vegetative phase to allow for auxin-driven root regeneration. Always check local frost dates; a sudden freeze on exposed root systems can cause ice crystallization within the xylem, leading to permanent vascular collapse.
Phases:

Sowing and Site Clearing
Clear the construction zone by removing all organic debris and turf. Dig a trench at least 12 inches wider than the wall footprint to allow for the drainage aggregate. If you are sowing cover crops to stabilize the soil before the build, choose species like winter rye which can germinate at temperatures as low as 33 degrees Fahrenheit.
Pro-Tip: Maintaining soil cover prevents the leaching of mobile nutrients like nitrates. This utilizes mycorrhizal symbiosis, where fungal filaments extend the reach of the root system, keeping the soil "alive" and porous even under the stress of nearby excavation.
Transplanting
When moving established plants to accommodate the wall, preserve a root ball that is at least 12 inches in diameter for every inch of trunk caliper. Use a sharp spade to make clean cuts; jagged roots are entry points for pathogens. Store these plants in a shaded "heeling-in" trench and keep the roots moist.
Pro-Tip: When replanting, do not bury the root flare. This prevents adventitious root growth on the stem, which can eventually girdle the plant and restrict the flow of photosynthates from the leaves to the roots.
Establishing and Backfilling
Once the wall is tiered, backfill with the specified friable loam in 6-inch lifts. Compact each lift manually to prevent future settling, but avoid heavy mechanical tamping near the root zones of preserved plants to prevent pore space collapse.
Pro-Tip: Direct the placement of the backfill to encourage phototropism, ensuring that the new grade does not shade out lower-growing species. This allows the plants to maximize light interception for photosynthesis during the critical recovery period.
The Clinic:
Physiological disorders often manifest during the stress of a landscape overhaul. Monitor your plants for these specific indicators:
- Symptom: Interveinal chlorosis (yellowing leaves with green veins) on new growth.
- Solution: This indicates an Iron (Fe) deficiency, often caused by a pH above 7.0. Apply chelated iron to the soil to restore chlorophyll synthesis.
- Symptom: Marginal leaf burn or scorching on older foliage.
- Solution: This suggests Potassium (K) deficiency or salt accumulation. Flush the rhizosphere with clean water and apply a 0-0-50 sulfate of potash supplement.
- Symptom: Stunted growth and purple tinting on the underside of leaves.
- Solution: This is a classic Phosphorus (P) deficiency. Ensure soil temperatures are above 55 degrees Fahrenheit for uptake, or apply a water-soluble starter fertilizer.
Fix-It: For general Nitrogen chlorosis (overall paling of the plant), apply a slow-release 10-0-0 organic fertilizer. Nitrogen is highly mobile; ensuring it is available in a stable form prevents the rapid leaching common in newly disturbed, highly aerated soils.
Maintenance:
Post-construction care is a game of precision moisture management. Use a soil moisture meter to ensure the root zone remains at 60 to 80 percent field capacity. Most recovered plants require exactly 1.5 inches of water per week delivered at the drip line, not the trunk.
Utilize a hori-hori knife to remove weeds that compete for nutrients in the newly disturbed soil. For any branches damaged during the wall build, use bypass pruners to make clean, angled cuts just above a lateral bud. This practice suppresses apical dominance in the damaged limb and encourages bushier, healthier regrowth. Apply a 3-inch layer of organic mulch—keeping it 2 inches away from plant stems—to regulate soil temperature and preserve the Cation Exchange Capacity as the mulch decomposes into humus.
The Yield:
If your retaining wall supports an edible garden, harvesting timing is critical for nutrient density. Harvest leafy greens in the early morning when turgor pressure is at its peak; this ensures the cell walls are fully hydrated, providing maximum crispness. Use a sharp, sterilized blade to avoid tearing the vascular tissue. For fruiting crops, wait for full color maturation, which indicates the conversion of starches to sugars. Post-harvest, immediately move produce to a cool environment to slow the rate of respiration and senescence, preserving "day-one" freshness and vitamin content.
FAQ:
How deep should the foundation of the wall be?
The trench must reach below the local frost line, typically 12 to 24 inches deep. This prevents "frost heave," where freezing groundwater expands and displaces the wall, causing structural failure and root shear for nearby plants.
Can I use the soil I excavated for backfill?
Only if it is well-draining. Heavy clay soil retains too much water, increasing hydrostatic pressure against the wall. Mix excavated soil with angular gravel and coarse sand to ensure a high percolation rate and prevent anaerobic root rot.
How do I protect existing tree roots?
Avoid cutting any roots larger than 2 inches in diameter. If roots are exposed during excavation, cover them with damp burlap immediately. This prevents the desiccation of the xylem and phloem, which are essential for nutrient transport.
What is the best way to handle drainage?
Install a 4-inch perforated drainage pipe (weep tile) at the base of the wall, sloped at a 2 percent grade. Cover the pipe with filter fabric to prevent silt from clogging the system, ensuring water exits the rhizosphere efficiently.