9 Steps to Prepare for a New Garden Light Installation
Crushing a handful of moist, friable loam reveals the metallic scent of geosmin and the structural integrity of the rhizosphere. When a leaf maintains maximum turgor pressure, its cells are rigid with water; this is the optimal state for any horticultural intervention. Learning how to prepare a garden for a light requires more than aesthetic planning. It demands a rigorous assessment of soil density, root architecture, and the electrical conductivity of the substrate. Proper preparation ensures that trenching for low-voltage lines does not disrupt the delicate mycorrhizal networks that sustain your perennials. You must calculate the precise distance from the primary root flare of established trees to avoid necrotic damage from root severance. Before the first spade hits the ground, the environmental conditions must be calibrated to support the plant's recovery from the inevitable mechanical stress of installation. High-intensity lighting can alter the local microclimate by several degrees, necessitating a baseline understanding of your garden's current thermal and chemical profile.
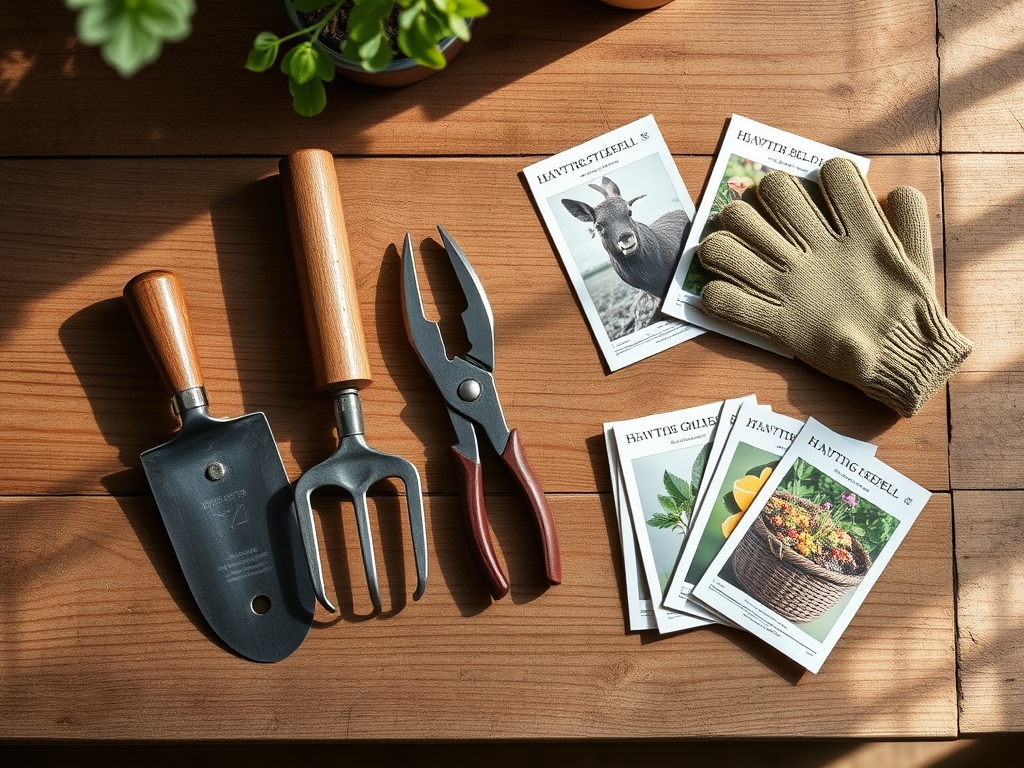
Materials:
Successful integration of hardware into a living system begins with the soil. The ideal substrate is a friable loam with a Cation Exchange Capacity (CEC) between 15 and 25 milliequivalents per 100 grams. This range ensures the soil can retain essential nutrients despite the disturbance of digging.
You must maintain a soil pH between 6.2 and 6.8 for most temperate ornamentals. If your soil is too acidic, incorporate dolomitic lime at a rate of 5 pounds per 100 square feet. For alkaline soils, use elemental sulfur. Regarding nutrition, apply a slow-release NPK ratio of 10-10-10 three weeks before installation to bolster the plant's carbohydrate reserves. Avoid high-nitrogen fertilizers like 46-0-0 urea during this phase; excessive nitrogen promotes rapid, succulent growth that is highly susceptible to mechanical damage and dehydration when the root zone is exposed. Ensure you have a soil moisture meter calibrated to measure the volumetric water content, aiming for a 25% to 35% saturation level before beginning any excavation.
Timing:
Timing is dictated by the USDA Hardiness Zones and the plant's internal biological clock. In Zones 5 through 7, the window for ground disturbance opens when the soil temperature consistently reaches 50 degrees Fahrenheit. Do not attempt to install lighting or disturb the soil during the "bud break" phase in early spring. During this period, the plant's energy is diverted from the roots to the apical meristems for primary growth, making it vulnerable to transplant shock.
The ideal window is late summer or early autumn, at least six weeks before the first hard frost. This allows the plant to enter its senescence phase naturally while still possessing enough metabolic activity to repair damaged root tissues. By installing when the photoperiod is shortening, you reduce the risk of heat stress. If you must install during the peak vegetative stage, you must compensate with increased irrigation to maintain cell turgor and prevent wilting.
Phases:

Sowing and Site Preparation
Clear the installation path of all organic debris and competing weeds. Use a hori-hori knife to cut a clean perimeter around the light fixture's intended location. This prevents the tearing of lateral roots. Dig a trench 8 to 12 inches deep for the conduit, ensuring you stay outside the drip line of sensitive species.
Pro-Tip: Maintaining a clean cut on roots is essential because it minimizes the surface area exposed to pathogens. Ragged tears inhibit the formation of callus tissue, which is the plant's primary defense against soil-borne fungi.
Transplanting and Rerouting
If a plant sits directly in the path of the wiring, it must be moved. Excavate a root ball that is 12 inches wider than the plant's canopy. Keep the root ball intact to preserve the mycorrhizal symbiosis between the fungi and the root hairs. Replant immediately at the same depth to avoid stem rot.
Pro-Tip: Moving a plant triggers auxin suppression in the roots. By keeping the root ball cool and moist during the transition, you prevent the plant from entering a state of permanent wilting point, allowing auxins to resume their role in root elongation quickly.
Establishing and Backfilling
Once the light is set, backfill the trench with the original native soil to maintain consistent bulk density. Avoid over-compacting the soil; high density reduces the pore space available for oxygen, leading to anaerobic conditions and root asphyxiation.
Pro-Tip: Plants exhibit phototropism, meaning they grow toward light sources. When placing a new garden light, monitor the plant's growth over the next season. If the light is too intense or poorly placed, the plant may grow asymmetrically, putting mechanical stress on the trunk or stem.
The Clinic:
Physiological disorders often manifest shortly after the soil is disturbed for light installation.
-
Symptom: Interveinal chlorosis (yellowing between leaf veins).
Solution: This indicates Iron or Magnesium deficiency. Soil disturbance can temporarily alter the pH, making these micronutrients unavailable.
Fix-It: Apply a chelated iron foliar spray or magnesium sulfate (Epsom salts) at a rate of 1 tablespoon per gallon of water. -
Symptom: Marginal leaf burn or scorching.
Solution: This is often caused by transpiration stress or localized salt accumulation from disrupted soil layers.
Fix-It: Increase deep watering intervals to flush the root zone. Ensure the plant receives 1.5 inches of water per week. -
Symptom: Rapid leaf drop (abscission).
Solution: This is a sign of acute transplant shock or root severance.
Fix-It: Apply a rooting hormone containing indole-3-butyric acid (IBA) to stimulate new lateral root growth. Reduce pruning to allow the plant to retain its photosynthetic capacity.
Maintenance:
Post-installation care requires technical precision. Use a soil moisture meter to ensure the ground around the new light fixture stays at a consistent field capacity. Apply 2 to 3 inches of organic mulch over the trench line to regulate soil temperature and prevent the new light hardware from overheating the surrounding earth.
Prune any branches that interfere with the light beam using bypass pruners for clean, anatomical cuts. Cut just outside the branch bark ridge to facilitate rapid compartmentalization. Check the electrical connections every six months for signs of corrosion, as the high cation exchange in fertile soil can accelerate the oxidation of exposed copper wires.
The Yield:
If your lighting is installed in a vegetable or cutting garden, the harvest timing is critical. Harvest leafy greens and herbs in the pre-dawn hours when their water content is at its peak. For flowers like zinnias or roses, use a sharp blade to cut at a 45-degree angle to maximize the surface area for water uptake.
Immediately plunge the stems into 100-degree Fahrenheit water to break any air locks in the xylem. This technique ensures "day-one" freshness by maintaining the hydraulic pressure within the vascular system. For edibles, rapid cooling to 40 degrees Fahrenheit slows the rate of respiration and preserves the sugar content.
FAQ:
How deep should I dig for garden light wires?
Dig trenches 8 to 12 inches deep. This depth protects the wiring from standard garden tools like aerators or tillers while remaining above the deep structural roots of most large trees and shrubs.
Can garden lights affect plant growth cycles?
Yes. Intense artificial light can disrupt the photoperiodism of short-day plants, potentially delaying flowering. Use LED bulbs with a warm color temperature (under 3000K) to minimize the impact on the plant's circadian rhythm.
What is the best soil for backfilling trenches?
Use the native soil removed during excavation. Adding highly amended "potting soil" to a trench creates a "bathtub effect" where water collects in the loose soil, potentially leading to root rot in the surrounding native clay.
How do I prevent root damage during installation?
Always identify the Critical Root Zone (CRZ), which is a circle with a radius of 1 foot for every inch of trunk diameter. Avoid trenching within this zone to prevent significant hydraulic failure in the plant.