6 Purification Steps to Prepare an Indoor Air-Cleaning Garden
Indoor air quality degrades faster than most homeowners realize. Volatile organic compounds from furniture, dust mites, and mold spores accumulate in sealed environments. Understanding how to prepare an indoor garden for air purification transforms stagnant rooms into functional biofiltration zones. The NASA Clean Air Study quantified removal rates: certain species process formaldehyde at 1,863 micrograms per hour per square meter of leaf surface. Preparation begins with substrate chemistry, proceeds through cultivar selection, and concludes with strategic placement for maximum gas exchange.
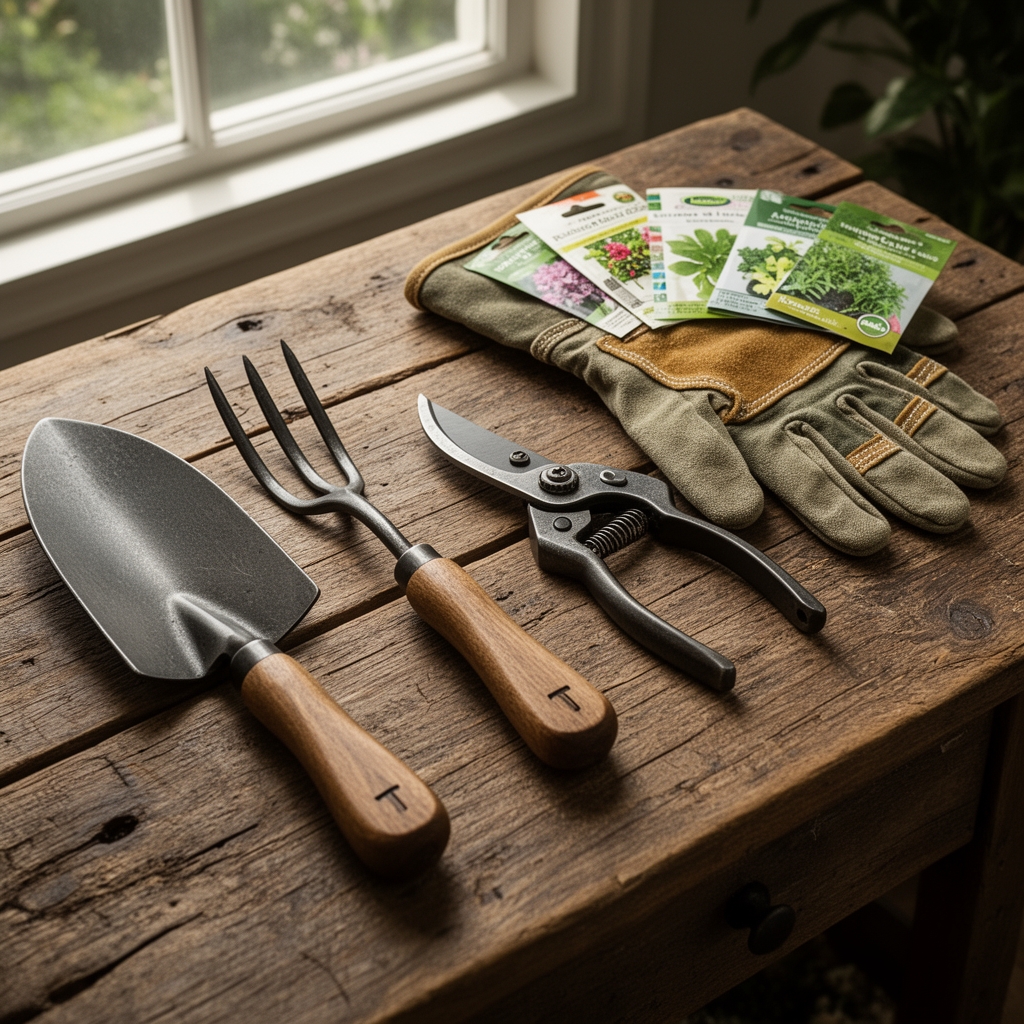
Materials
Substrate must balance porosity with cation exchange capacity. A base mix of 40% coconut coir (pH 5.5-6.5), 30% perlite, 20% composted pine bark, and 10% worm castings provides adequate drainage while retaining trace minerals. Amend with dolomitic limestone at 2 tablespoons per gallon to stabilize pH at 6.2-6.8. For slow-release nutrition, incorporate a 4-4-4 organic fertilizer (feather meal, bone meal, kelp) at 1 tablespoon per gallon of substrate.
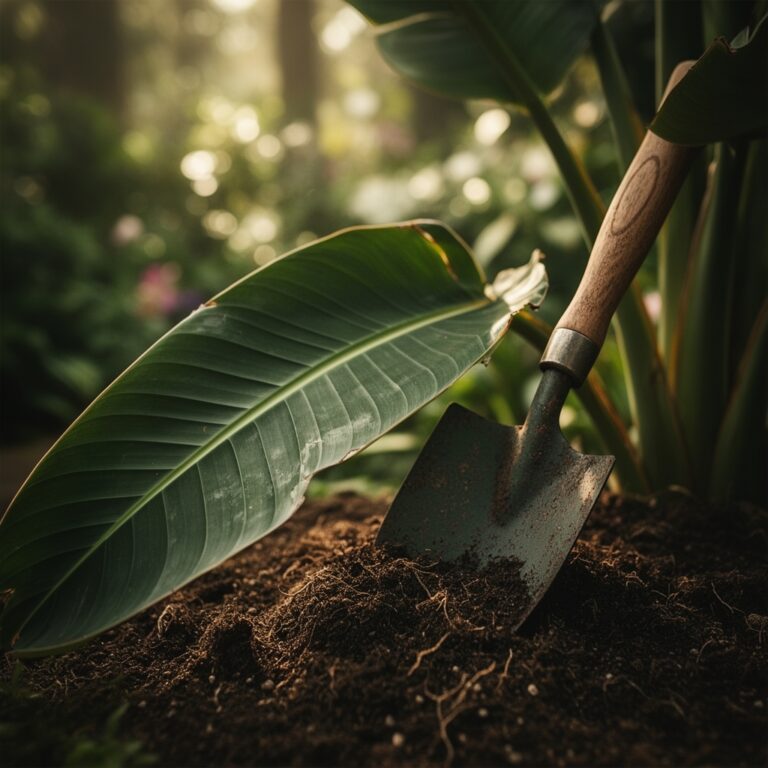
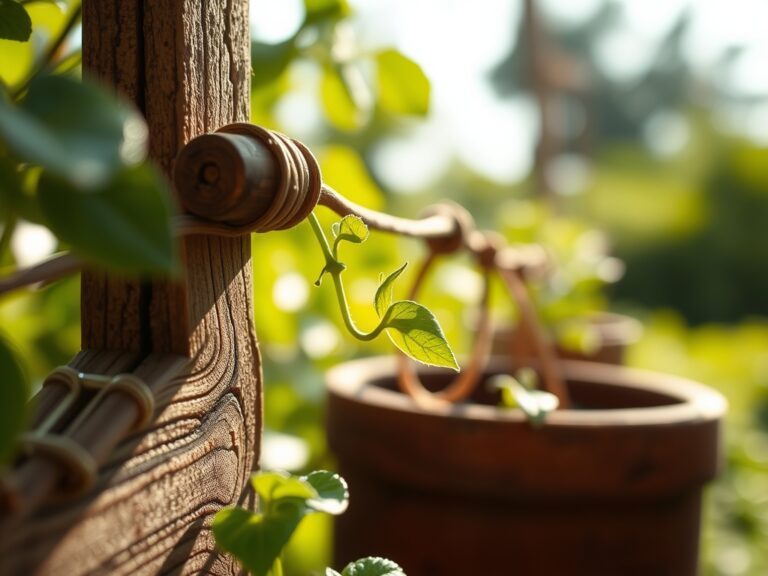
Containers require drainage holes and a depth of at least 8 inches for root development. Terracotta allows lateral gas exchange but accelerates moisture loss. Glazed ceramic or food-grade plastic retains moisture for 48-72 hours between irrigations. Self-watering reservoirs reduce maintenance but risk anaerobic zones if fill tubes lack aeration ports.
Select air-purifying cultivars with documented phytoremediation rates. Epipremnum aureum (pothos) removes benzene and xylene. Spathiphyllum wallisii (peace lily) targets trichloroethylene and ammonia. Sansevieria trifasciata converts CO2 to oxygen nocturnally via CAM photosynthesis. Chlorophytum comosum (spider plant) absorbs formaldehyde at 1,120 micrograms per hour under 1,000 lux.
Mycorrhizal inoculant (Glomus intraradices) applied at planting increases nutrient uptake efficiency by 30-40%. Liquid kelp extract (0-0-1 NPK ratio) provides cytokinins that enhance stomatal function and gas exchange rates.
Timing
Indoor gardens bypass frost-date constraints but remain sensitive to photoperiod and ambient temperature. Initiate preparation 4-6 weeks before occupancy to allow root establishment. Maintain air temperature between 65-75 degrees Fahrenheit. Below 60 degrees, tropical species enter dormancy and reduce transpiration. Above 80 degrees, stomatal closure limits pollutant absorption.
Light exposure dictates placement. Low-light species (Aglaonema, Dracaena) tolerate 50-150 foot-candles. Medium-light species (Ficus, Philodendron) require 150-250 foot-candles. High-light species (cacti, succulents) demand 250+ foot-candles. Install full-spectrum LED grow lights (5,000-6,500 Kelvin color temperature) if natural light falls below thresholds. Position fixtures 12-18 inches above foliage canopies.
Humidity levels should remain at 40-60%. Below 30%, leaf margins desiccate and stomata close defensively. Above 70%, fungal pathogens proliferate. Use pebble trays filled with 0.5 inches of water beneath containers to raise localized humidity without wetting roots.
Phases
Sowing
For seed propagation, surface-sow fine seeds (Begonia, Fittonia) on moistened substrate without covering. Press larger seeds (beans, palm) to a depth equal to twice their diameter. Maintain substrate temperature at 70-75 degrees using bottom heat mats. Germination occurs in 7-21 days depending on species. Mist daily with dechlorinated water to prevent damping-off.
Pro-Tip: Inoculate seeds with Trichoderma harzianum spores (1 gram per liter of water) to colonize emerging radicles and suppress Pythium root rot.
Transplanting
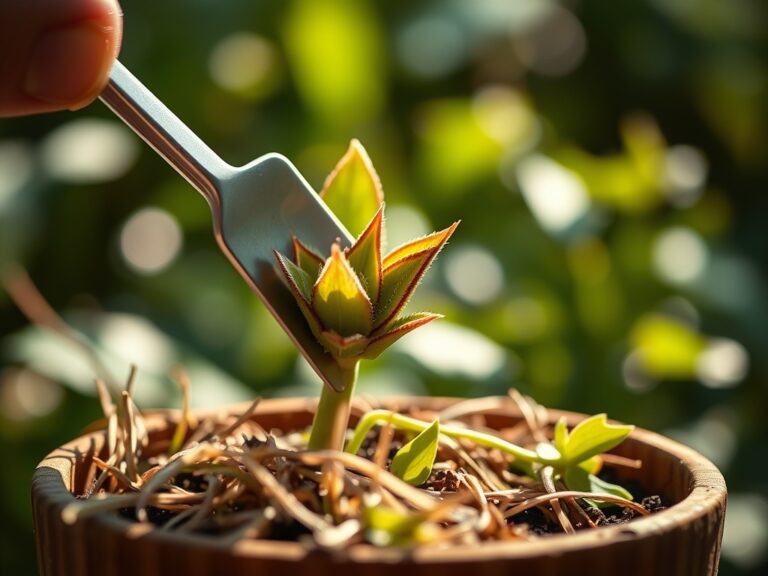
Transplant when roots circle the starter cell perimeter but before they become pot-bound. Water thoroughly 2 hours before transplanting to reduce transplant shock. Remove the plant from its container by inverting and tapping the base. Score the outer root layer with a clean blade at four equidistant points to stimulate lateral branching. Position the root ball so the stem base sits 0.25 inches below the final soil surface. Backfill with prepared substrate, tamping lightly to eliminate air pockets.
Pro-Tip: Apply a dilute rooting hormone solution (500 ppm IBA) immediately after transplanting to accelerate auxin distribution and root hair formation.
Establishing
Water to field capacity (substrate glistens but does not puddle) every 5-7 days during the first month. Insert a moisture meter to 4 inches depth. Irrigate when readings drop to 3 on a 1-10 scale. Fertilize at half-strength (2-2-2 liquid) every 14 days for the first 8 weeks. Prune apical meristems at a 45-degree angle above the third node to encourage lateral shoot development and increase total leaf area by 25-30%.
Pro-Tip: Rotate containers 90 degrees weekly to ensure even auxin distribution and prevent phototropic leaning.
Troubleshooting
Symptom: Yellowing lower leaves with green veins.
Solution: Iron chlorosis from elevated substrate pH. Drench with chelated iron (Fe-EDDHA) at 1 teaspoon per gallon. Reduce irrigation frequency to prevent nutrient lockout.
Symptom: Brown leaf tips and edges.
Solution: Salt accumulation from over-fertilization or fluoridated water. Leach substrate with distilled water at 2x container volume. Switch to rainwater or reverse-osmosis water.
Symptom: Webbing on leaf undersides with stippled yellowing.
Solution: Two-spotted spider mites (Tetranychus urticae). Spray insecticidal soap (2% potassium salts of fatty acids) at 5-day intervals for three applications. Increase humidity above 50% to suppress reproduction.
Symptom: White cotton-like masses in leaf axils.
Solution: Mealybugs (Pseudococcidae family). Swab with 70% isopropyl alcohol on cotton swabs. Release Cryptolaemus montrouzieri larvae at 2-5 per plant for biological control.
Symptom: Wilting despite moist substrate.
Solution: Root rot from Phytophthora or Pythium. Unpot, trim black mushy roots with sterilized shears, repot in fresh substrate with improved drainage. Drench with hydrogen peroxide solution (1 part 3% peroxide to 4 parts water).
Maintenance
Irrigate with 1 inch of water per week, adjusted for container size and evapotranspiration rates. A 10-inch pot requires approximately 0.5 gallons every 7 days. Water in the morning to allow foliage to dry before nightfall.
Fertilize every 4 weeks during active growth (spring-summer) with balanced liquid fertilizer (10-10-10) diluted to 1 tablespoon per gallon. Reduce to every 8 weeks during dormancy (fall-winter). Leach substrate every 3 months by flushing with 2x container volume of plain water to prevent salt buildup.
Prune dead or yellowing leaves at the petiole base with sterilized shears. Remove no more than 20% of total foliage per session to avoid stressing the plant. Wipe leaves monthly with a damp microfiber cloth to remove dust that blocks stomata and reduces photosynthetic efficiency by 10-15%.
Repot every 18-24 months or when roots emerge from drainage holes. Increase container diameter by 2 inches. Refresh substrate and inspect for root diseases.
Monitor for pests weekly. Inspect leaf undersides, petioles, and soil surface. Isolate new plants for 14 days before integrating into the main display.
FAQ
How many plants per square foot for effective air purification?
NASA recommends one 6-8 inch potted plant per 100 square feet of living space. For enhanced filtration, increase density to one plant per 50 square feet in high-traffic areas.
Which substrate component improves air filtration most?
Activated charcoal granules mixed at 5% by volume adsorb volatile organic compounds directly from substrate off-gassing and irrigation water. Biochar also enhances microbial populations that metabolize root-zone toxins.
Do air-purifying plants work in low-light bathrooms?
Spathiphyllum and Aglaonema tolerate 50-75 foot-candles and thrive in bathroom humidity (60-70%). They remove ammonia from cleaning products and mold spores from shower steam.
Can I use tap water for air-purifying gardens?
Municipal tap water contains chlorine (0.5-2 ppm) and fluoride (0.7-1.2 ppm) that damage sensitive species. Fill containers 24 hours before use to allow chlorine to volatilize, or install an activated carbon filter to remove both compounds.
How long before air quality improves?
Measurable reductions in formaldehyde and benzene occur within 24 hours of placement. Maximum filtration capacity develops after 8-12 weeks when root systems fully colonize the substrate and leaf area reaches maturity.