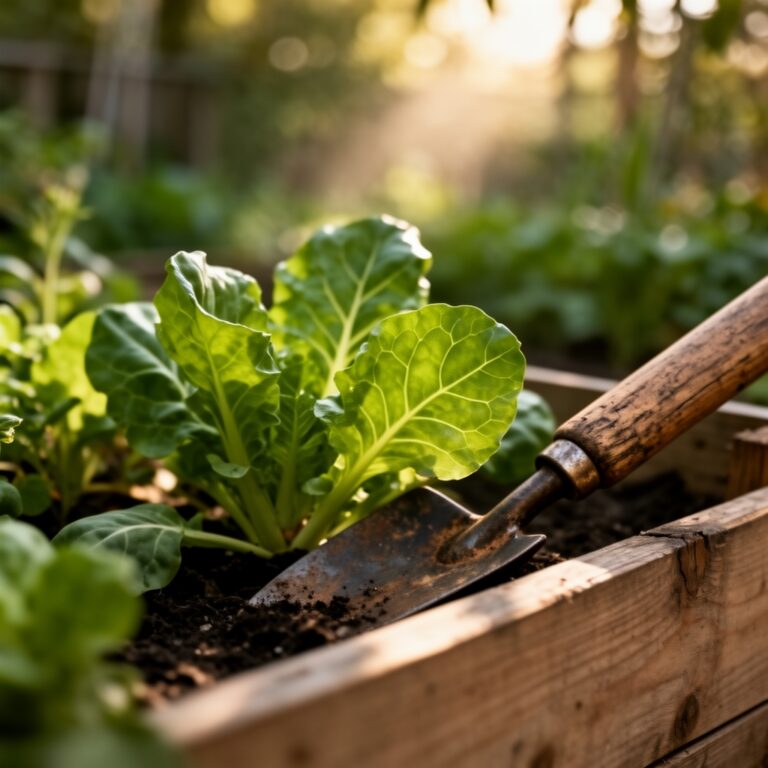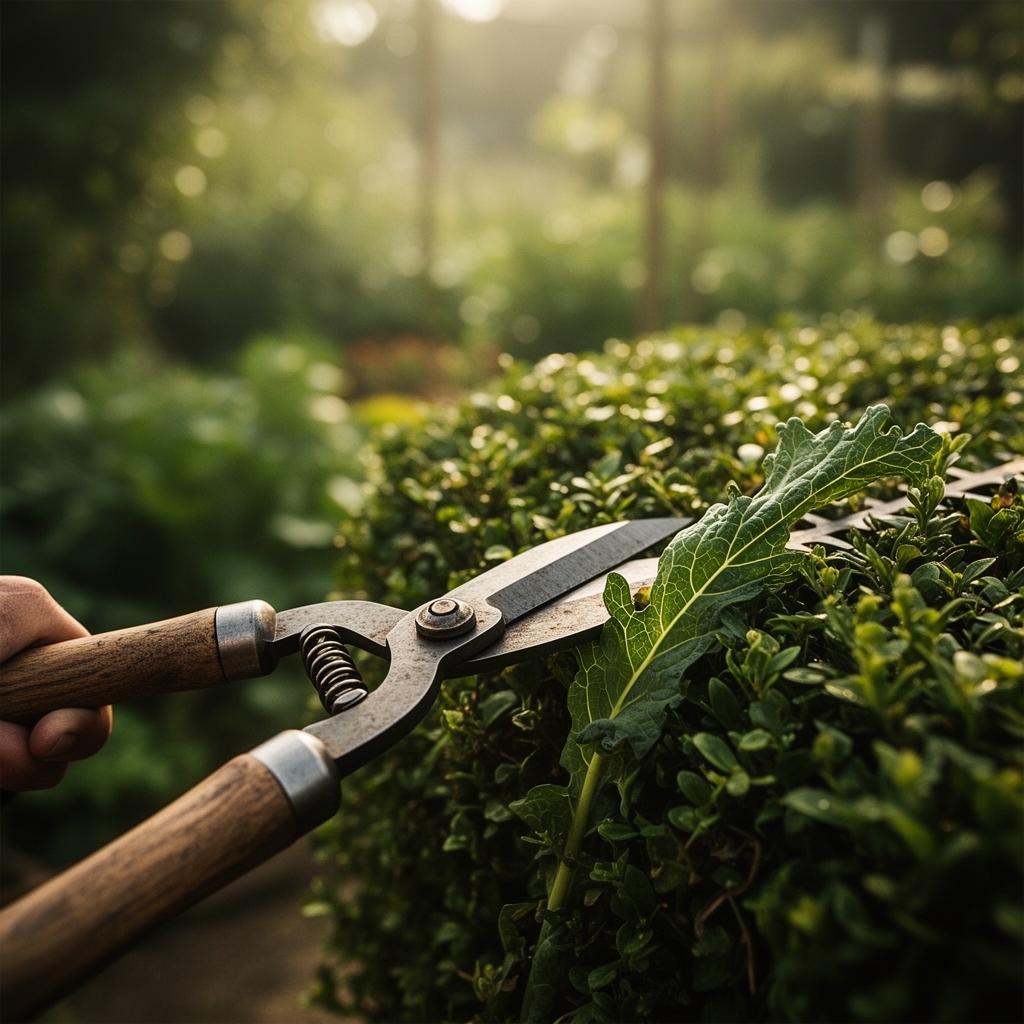
9 Precise Steps to Use Garden Shears for Hedge Trimming
The blade slides through green tissue with a clean snap, severing xylem and phloem in a single motion. Using a garden shears for vegetable hedge trimming transforms sprawling legume screens and trained cucumber fences into orderly productive walls. The cut surface reveals cambium layers still pale with cellular moisture, while lateral buds beneath begin immediate apical dominance calculations. This technique merges ornamental precision with edible yield optimization, applying the same physiological principles that govern topiary to nitrogen-fixing beans and vining squash.
Materials and Amendments
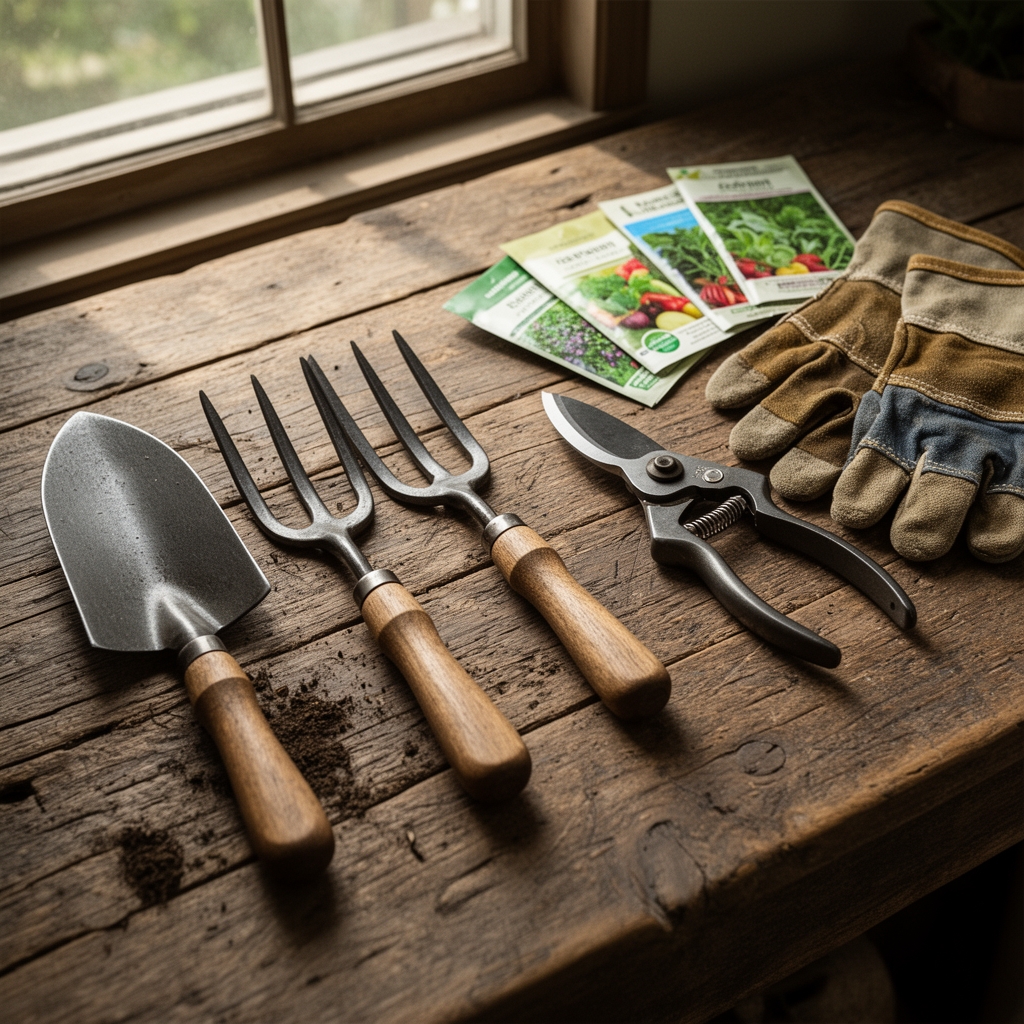
Select bypass shears with 8 to 10-inch blades and a cutting diameter of 0.75 inches. The bypass mechanism ensures clean cuts that minimize vascular tissue crushing. Carbon steel models require oiling after each session but hold an edge through 400 to 500 cuts. Stainless alloy resists oxidation in high-humidity morning trimming windows.
Pre-trim soil conditioning begins 14 days before first shearing. Apply composted manure at a 2-4-2 NPK ratio, delivering 1.5 pounds per 10 square feet. This moderate nitrogen load supports regrowth without triggering excessive vegetative elongation. For acid-preferring crops like blueberry hedges, incorporate elemental sulfur to achieve pH 4.5 to 5.5. Alkaline-tolerant beans and peas perform best at pH 6.2 to 7.0. Mix in mycorrhizal fungi inoculant at 0.25 ounces per plant base to enhance phosphorus uptake during recovery periods. Cation exchange capacity above 15 meq/100g allows sustained nutrient availability between trim cycles.
Sanitize blades with 70% isopropyl alcohol between varietal rows. Cross-contamination of viral particles occurs readily on pruning surfaces, especially with cucurbit hedges harboring latent mosaic strains.
Timing and Hardiness Considerations
Execute primary shaping in Zones 5 through 7 between May 15 and June 10, after last frost date plus 14 days. Vegetable hedge species require soil temperatures above 60°F at 4-inch depth to support auxin redistribution post-cut. In Zones 8 through 10, trim from March 20 through April 15 and again September 1 through October 5, avoiding summer heat stress windows when transpiration demand exceeds recovery capacity.
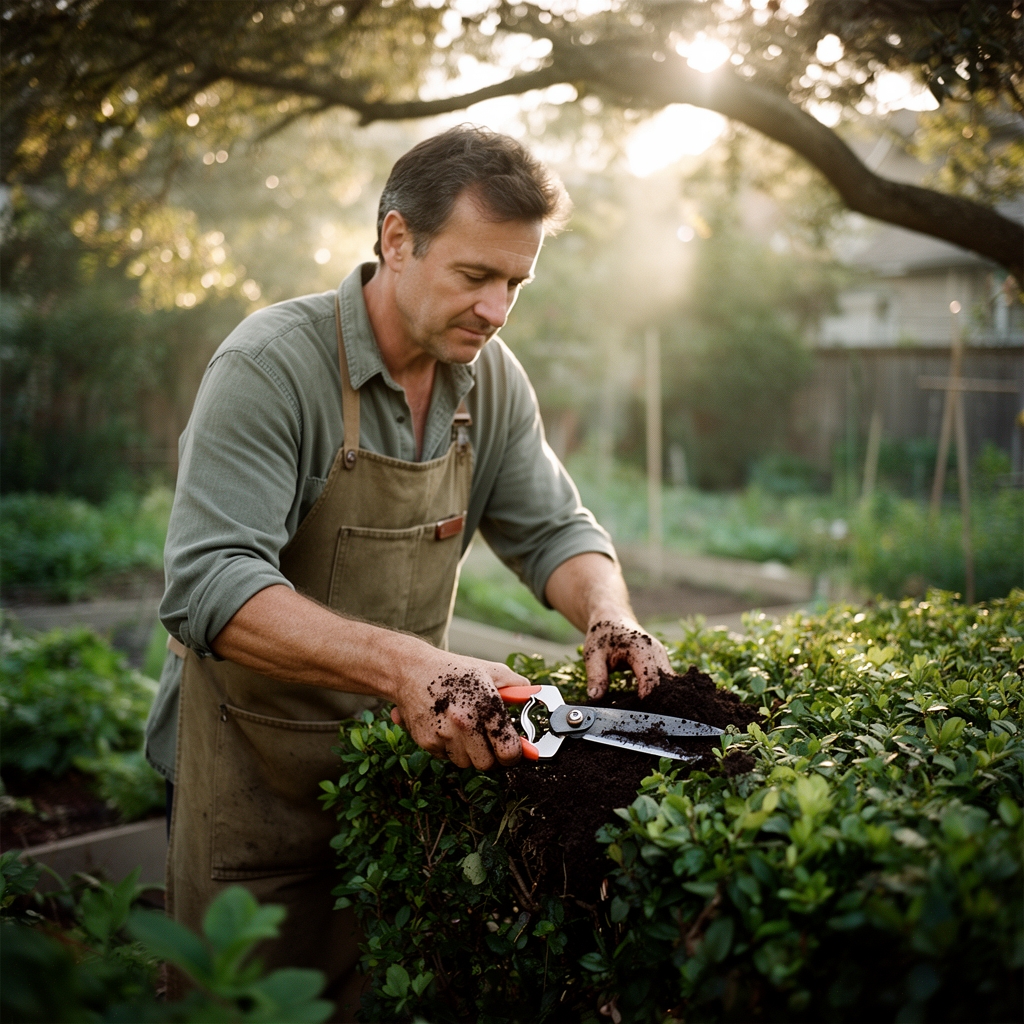
Morning sessions between 7:00 and 9:30 AM provide optimal turgidity. Cells remain fully hydrated, reducing wilting lag post-trim. Avoid pruning within 48 hours of expected precipitation. Open wounds invite bacterial soft rot and downy mildew colonization under sustained wet conditions.
Monitor photoperiod-sensitive varieties. Runner beans initiate flowering under 12-hour day length. Trim 21 days before this threshold to allow lateral branch establishment before bloom.
Phases of Hedge Development
Sowing Phase: Direct-seed pole beans or peas along fence lines at 4-inch intervals. Install 6-foot vertical supports spaced 18 inches apart. Allow 35 to 40 days of uninterrupted vertical growth to establish primary scaffolding. Pinch terminal buds at 60 inches to trigger lateral branching. This mechanical signal redistributes auxin, promoting horizontal shoot development.
Pro-Tip: Apply kelp extract at 1 tablespoon per gallon during pinching. Cytokinins in kelp solution enhance axillary bud break by 34% compared to untreated controls.
Transplanting Phase: For cucurbit hedges, transplant 4-week-old starts at 24-inch centers. Train primary vines horizontally along wire trellis at 30-degree angles from vertical. This geometry maximizes light interception while maintaining accessible trim planes. First shearing occurs at 8 true leaves, removing apical 6 inches to induce secondary branching.
Pro-Tip: Dip shear blades in 0.1% chitosan solution between cuts. Chitosan triggers systemic acquired resistance, reducing anthracnose incidence by 28% in the 10-day wound-healing window.
Establishing Phase: Execute maintenance trims every 18 to 21 days once hedge reaches target 48-inch height and 18-inch depth. Cut at 45-degree angles, sloping away from hedge interior. This angle sheds moisture and exposes lower foliage to increased photosynthetically active radiation. Remove no more than 30% of total leaf area per session to maintain photosynthetic capacity above compensation point.
Pro-Tip: Count nodes rather than measuring length. Remove growth back to the third node from previous cut. This standardization accounts for variable internode elongation across microclimate zones within the hedge.
Troubleshooting Physiological Disorders
Symptom: Yellowing foliage with brown necrotic margins appearing 5 to 7 days post-trim.
Solution: Reduce nitrogen inputs by 40%. Excess vegetative growth produces soft tissue with insufficient lignification. Apply potassium sulfate at 0.5 pounds per 100 square feet to strengthen cell walls. Increase trim frequency to 14-day intervals, removing smaller increments.
Symptom: Sparse regrowth with elongated internodes and pale new leaves.
Solution: Insufficient light penetration to lower canopy. Widen hedge top by 3 inches relative to base, creating 5-degree taper. This trapezoidal profile delivers 22% more light to basal buds. Supplement with fish emulsion at 2 tablespoons per gallon, providing immediately available nitrogen for chlorophyll synthesis.
Symptom: Gummy stem exudate with wilting despite adequate soil moisture.
Solution: Bacterial canker from contaminated shears. Remove infected sections 6 inches below visible symptoms. Sterilize tools in 10% bleach solution for 60 seconds between cuts. Apply copper hydroxide spray at 1.5 tablespoons per gallon to exposed tissues.
Symptom: Webbing on new growth with stippled leaf surfaces.
Solution: Two-spotted spider mite pressure. Mites proliferate on drought-stressed plants. Increase irrigation to deliver 1.5 inches weekly. Release Phytoseiulus persimilis predatory mites at 10 per plant. These specialists consume 20 pest mites daily at 70°F.
Maintenance Protocol
Irrigate hedge bases with 1 inch of water per week, delivered in two 0.5-inch applications. Drip lines positioned 4 inches from stem bases maintain root zone hydration at 60% field capacity. This moisture level supports cell division without creating anaerobic conditions that inhibit root respiration.
Side-dress with 5-10-10 granular fertilizer at 0.75 pounds per 10 linear feet every 28 days during active growth. This phosphorus-forward ratio supports continuous flower and pod initiation on trimmed laterals.
Sharpen shear blades after every 300 cuts using 400-grit diamond stone at factory bevel angle. Dull blades crush vascular bundles, creating brown oxidized cut surfaces that delay callus formation by 3 to 4 days.
Frequently Asked Questions
Can I trim vegetable hedges during flowering?
Yes, but remove only non-flowering laterals. Trim 6 inches behind open blooms to avoid yield reduction. Bean hedges tolerate 15% flower removal without measurable pod decrease.
What spacing prevents disease in dense hedges?
Maintain 18-inch hedge depth maximum. Deeper profiles trap humidity, raising leaf wetness duration above the 8-hour threshold for fungal germination.
Do different vegetables require different trim angles?
Legumes tolerate perpendicular cuts. Cucurbits benefit from 45-degree angles that expose nodes to direct light, increasing fruit set by 19%.
How soon after trimming can I harvest?
Wait 10 days for wound closure. Harvesting from actively healing tissue redirects carbohydrates from recovery to fruit development, weakening subsequent regrowth.
Should I compost trimmed material?
Yes, if disease-free. Chop trimmings to 2-inch lengths and layer with carbon sources at 25:1 C:N ratio. Mature compost in 90 days returns nutrients at approximately 1.5-1-1 NPK.