9 Yield Steps on How to Prepare Your Soil for a High-Yield Summer Vegetable Patch
The soil beneath your fingernails holds the future of your August harvest. How to prepare a garden for a summer vegetable patch begins not with seed packets but with microbial architecture and mineral balance. Successful preparation transforms inert dirt into a biological engine that channels nitrogen, phosphorus, and potassium directly into fruit production. Every spadeful turned three weeks before your last frost date builds cation exchange capacity that will feed tomatoes through July heat.
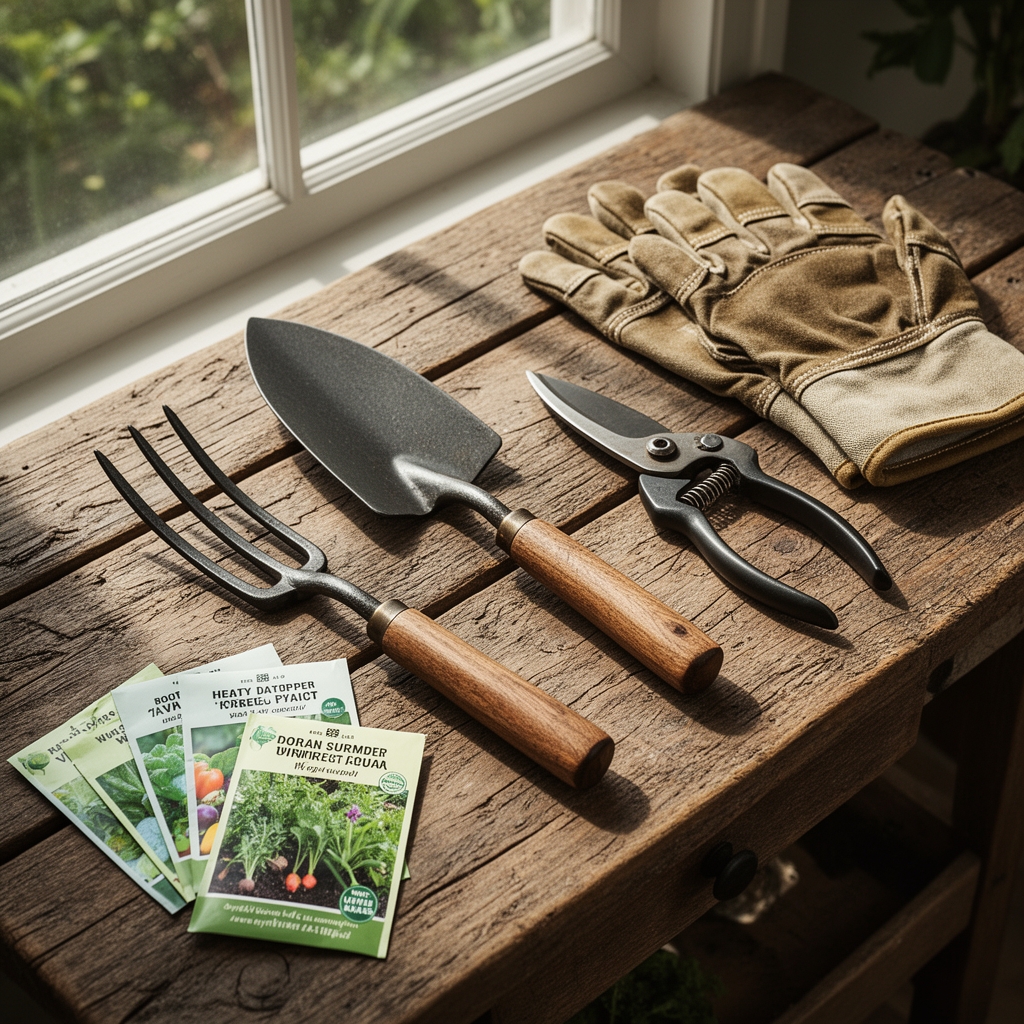
Materials
Begin with a soil test reporting pH between 6.2 and 6.8 for optimal nutrient availability. Amend acidic soils (below 6.0) with dolomitic limestone at 5 pounds per 100 square feet to raise pH by 0.5 units. For alkaline soils (above 7.2), incorporate elemental sulfur at 1 pound per 100 square feet.
Balanced organic amendments with NPK ratios of 4-4-4 or 5-5-5 provide slow-release nutrition. Apply composted poultry manure at 2 cubic feet per 100 square feet for nitrogen-hungry crops like corn and leafy greens. Bone meal (3-15-0) at 3 pounds per 100 square feet delivers phosphorus for root development in transplants. Kelp meal (1-0-2) supplies trace minerals and natural auxins that regulate cell elongation.
Mix in 3 inches of finished compost to increase organic matter content above 5 percent. This raises water-holding capacity and feeds beneficial bacteria populations that cycle nutrients. Add mycorrhizal fungi inoculant at package rates during final soil preparation. These symbiotic organisms extend root surface area by up to 1000 percent.
Timing
Hardiness Zones 7 through 10 can begin soil preparation in mid-March for summer vegetable patches. Zones 5 and 6 should wait until early April when soil temperatures stabilize above 45°F at 4-inch depth. Cold soil inhibits microbial activity and delays nutrient mineralization.
Turn amendments into the top 8 inches of soil exactly three weeks before your last expected frost date. This window allows organic matter to begin decomposing and pH adjustments to stabilize. Planting into freshly amended soil can burn roots with concentrated nutrients and excess salts.
In Zone 8b, last frost typically occurs March 15, making February 20 the optimal preparation date. Zone 5b gardeners work April 10 soil for a May 1 frost-free date. Verify your microclimate frost dates through county extension records spanning at least 30 years.
Phases
Sowing Phase
Direct-sow warm-season crops when soil reaches 60°F for beans, 70°F for cucurbits, and 75°F for okra. Use a soil thermometer at 9 AM to measure accurate planting temperatures. Plant seeds at depths equal to three times their diameter. Space rows 24 inches apart for determinate varieties, 36 inches for indeterminate types that require staking.
Pro-Tip: Dust legume seeds with Rhizobium inoculant before planting. This nitrogen-fixing bacteria colonizes root nodules and can contribute 50 to 150 pounds of nitrogen per acre season-long.
Transplanting Phase
Harden off seedlings for seven days before transplanting. Move containers outdoors for progressively longer periods, starting with two hours of morning sun. This acclimatization strengthens cuticle wax layers and increases chlorophyll density.
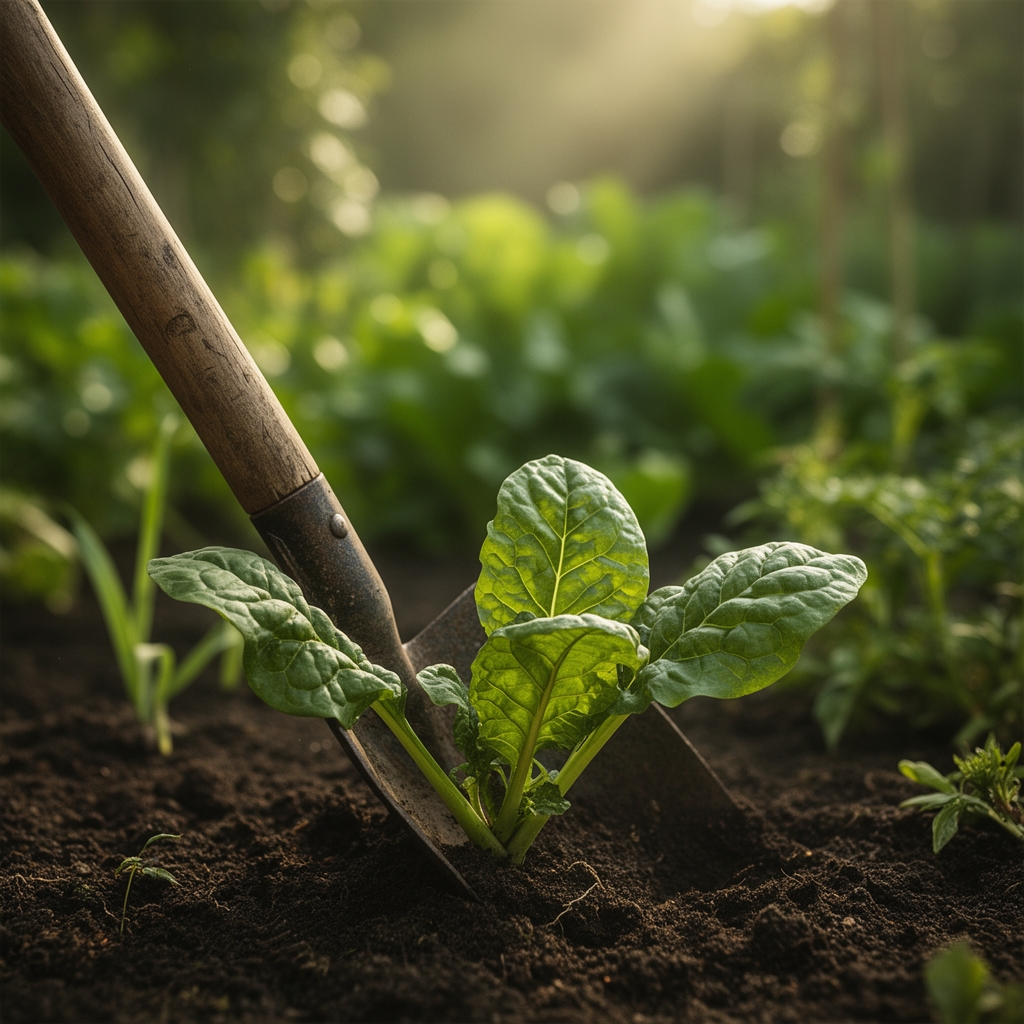
Dig transplant holes twice the root ball width. Set tomatoes, peppers, and eggplants at the same depth they grew in containers. Bury tomato stems up to the first true leaves to encourage adventitious root formation along buried portions. Water transplants with a high-phosphorus starter solution (1-3-1 ratio) at half strength to stimulate root growth without excess vegetative growth.
Pro-Tip: Transplant during overcast afternoons or after 4 PM to minimize transplant shock. Full sun immediately after transplanting increases water stress and wilting.
Establishing Phase
Apply 2 inches of organic mulch around established plants after soil warms to 70°F. Earlier mulching insulates cold soil and delays crop maturity. Use straw, shredded leaves, or compost as mulch materials. Maintain a 3-inch gap between mulch and plant stems to prevent collar rot.
Side-dress heavy feeders with additional fertilizer when plants reach half their mature height. Apply 2 tablespoons of 5-10-10 granular fertilizer per plant in a 6-inch band 4 inches from stems. Water thoroughly to move nutrients into the root zone.
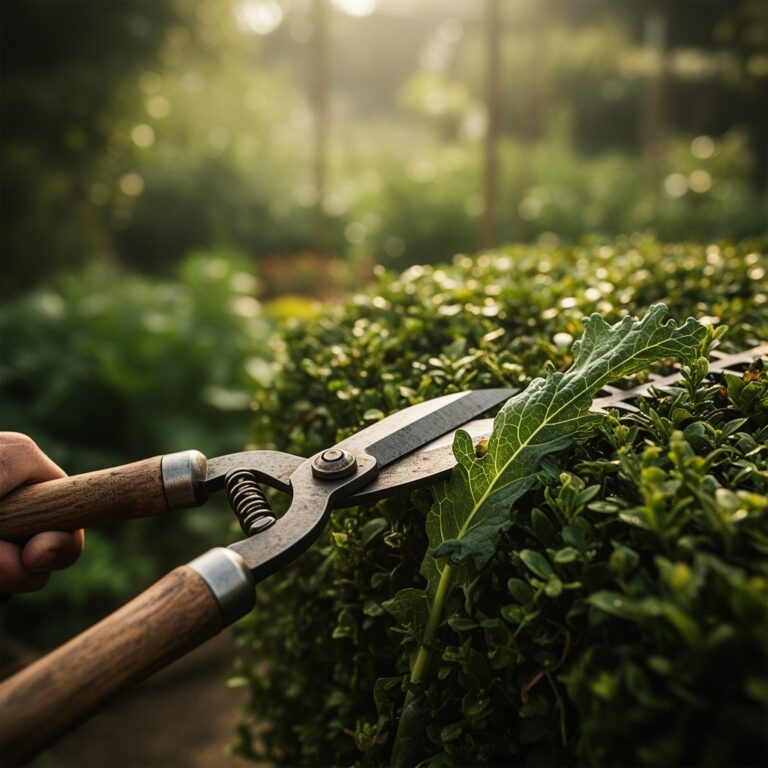
Pro-Tip: Prune tomato suckers at 45-degree angles when they reach 2 inches long. This angle sheds water and prevents fungal infection at wound sites.
Troubleshooting
Symptom: Blossom end rot appears as sunken brown lesions on tomato, pepper, and squash fruits.
Solution: This calcium deficiency results from inconsistent watering, not soil calcium levels. Apply 1 inch of water weekly in a single deep soaking rather than frequent shallow watering. Maintain consistent soil moisture to improve calcium uptake.
Symptom: Interveinal chlorosis shows yellow leaves with green veins on new growth.
Solution: Iron deficiency occurs in alkaline soils above pH 7.5. Foliar spray chelated iron (Fe-EDDHA) at 0.5 ounce per gallon weekly until green color returns. Apply sulfur to gradually lower soil pH.
Symptom: Cupped leaves with purple undersides indicate phosphorus deficiency.
Solution: Cold soil below 55°F prevents phosphorus uptake even in phosphorus-rich soils. Cover soil with black plastic mulch to raise temperatures 10°F. Side-dress with bone meal once soil warms.
Symptom: Powdery white coating on leaf surfaces spreads rapidly in humid conditions.
Solution: Powdery mildew thrives in temperatures between 60°F and 80°F with high humidity. Spray weekly with 1 tablespoon baking soda plus 1 teaspoon horticultural oil per gallon of water. Improve air circulation by spacing plants wider.
Symptom: Holes in leaves with shiny slime trails appear overnight.
Solution: Slugs feed after dark in moist conditions. Apply iron phosphate bait at 1 pound per 1000 square feet. This organic molluscicide remains effective through rain and breaks down into soil nutrients.
Maintenance
Water summer vegetables with 1 inch per week measured with rain gauges. Clay soils require one deep watering per week. Sandy soils need 0.5 inch twice weekly. Drip irrigation delivers water at 0.6 gallons per hour per emitter directly to root zones with minimal evaporation loss.
Fertilize every three weeks with liquid fish emulsion (5-1-1) at 2 tablespoons per gallon. Alternate with compost tea brewed for 24 hours with active aeration. These biological solutions feed both plants and soil organisms.
Scout for pests twice weekly in early morning when insects are least active. Remove and destroy affected leaves showing more than 30 percent damage. Bacillus thuringiensis (Bt) applied at 1 tablespoon per gallon controls caterpillar pests without harming beneficial insects.
Harvest tomatoes, peppers, and eggplants when fully colored but still firm. Pick beans and squash every two days to prevent over-maturity that signals plants to stop production. Continuous harvest extends yields six to eight weeks longer than allowing fruits to fully mature on plants.
FAQ
When should I start preparing soil for summer vegetables?
Begin soil preparation three weeks before your last expected frost date. This allows amendments to integrate and pH to stabilize before planting.
What is the ideal soil pH for summer vegetables?
Most summer vegetables perform best between pH 6.2 and 6.8. This range maximizes nutrient availability and microbial activity.
How deep should I work amendments into the soil?
Incorporate compost and fertilizers into the top 8 inches of soil. This depth encompasses the primary feeder root zone for most vegetables.
Can I plant immediately after adding compost?
Wait three weeks after amendment application. Fresh organic matter can temporarily tie up nitrogen during initial decomposition and burn tender roots with excess salts.
How often do I need to fertilize during the growing season?
Apply supplemental liquid fertilizer every three weeks throughout the growing season for optimal production. Heavy feeders like tomatoes and peppers benefit from biweekly applications.