6 Productive Benefits of Specialized Herb Soil
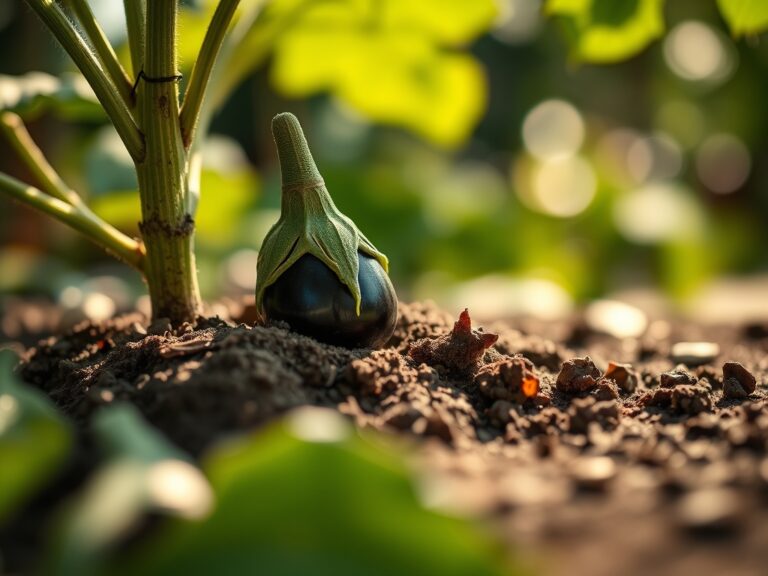
Crush a single leaf of Ocimum basilicum between your thumb and forefinger to release the volatile oils. The immediate olfactory hit is the result of secondary metabolites concentrated within the glandular trichomes of the plant. High turgor pressure keeps the stem rigid; a lack of cellular water results in immediate wilting. Achieving this level of physiological health begins at the rhizosphere. Using a specialized herb soil ensures that the root system is not merely anchored but is actively engaged in nutrient uptake through an optimized Cation Exchange Capacity (CEC). Standard potting mixes often lack the specific drainage and mineral profile required for Mediterranean or woody perennials. By selecting a substrate tailored to the unique metabolic demands of herbs, you provide the precise balance of aeration and moisture retention needed to prevent root hypoxia. This technical approach shifts the focus from simple survival to maximum essential oil production and biomass accumulation. The following data outlines how to manipulate soil physics and chemistry to achieve professional grade results in your herb garden.
Materials:
The foundation of herb cultivation is a friable loam with high porosity. For most culinary herbs, target a soil pH between 6.0 and 7.0. This range ensures maximum bioavailability of macronutrients. The NPK ratio must be specific to the growth stage. For vegetative growth, a ratio of 3-1-2 is standard; however, excessive nitrogen can dilute the concentration of essential oils.
A specialized substrate should contain:
- Perlite or Pumice: 20 percent by volume to ensure oxygen diffusion to the roots.
- Coir or Peat Moss: 50 percent for moisture retention without compaction.
- Aged Compost: 30 percent to provide a slow release of organic matter.
- Specific NPK: Aim for a base level of 150 ppm Nitrogen, 50 ppm Phosphorus, and 100 ppm Potassium.
Timing:
Hardiness Zones dictate the window for success. In Zones 7 through 10, many herbs can be treated as short lived perennials. In Zones 3 through 6, the growing season is restricted to the period between the last spring frost and the first autumn freeze. Monitor soil temperatures closely. Do not transplant until the soil consistently reaches 60 degrees Fahrenheit (15.5 degrees Celsius).
The biological clock of the plant is governed by the photoperiod. As days lengthen, herbs like cilantro (Coriandrum sativum) will transition from the vegetative stage to the reproductive stage, known as bolting. Using a specialized herb soil with a high thermal mass can help buffer root temperatures, delaying this transition and extending the harvest period for foliage.
Phases:
Sowing
Start seeds in a sterile, fine textured medium. Maintain a consistent temperature of 70 degrees Fahrenheit. Cover seeds to a depth of twice their diameter.
Pro-Tip: Maintain high humidity to trigger the breakdown of the seed coat. This process, known as imbibition, is the first step in activating the metabolic processes required for germination.
Transplanting
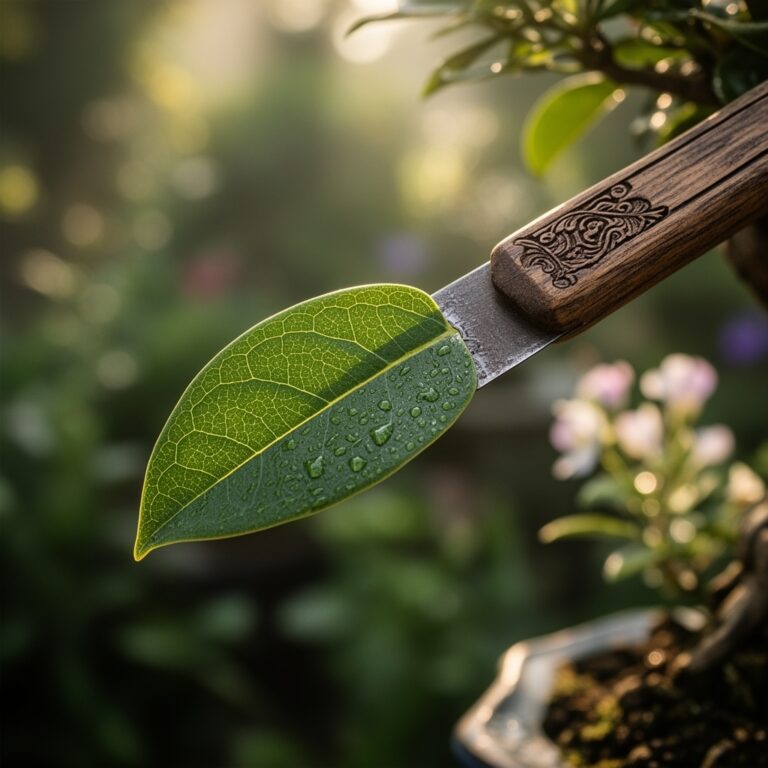
Move seedlings when they have developed at least two sets of true leaves. Dig a hole twice the width of the root ball using a hori-hori knife. Ensure the crown of the plant sits flush with the soil surface to prevent stem rot.
Pro-Tip: Inoculate the planting hole with mycorrhizal fungi. This symbiotic relationship expands the root surface area, allowing the plant to access phosphorus and water that would otherwise be out of reach.
Establishing
During the first 14 to 21 days, focus on root development. Avoid high nitrogen fertilizers that force rapid top growth at the expense of the root system.
Pro-Tip: Practice auxin suppression by pinching off the terminal buds. This redirects the plant's growth hormones to lateral buds, creating a bushier, more productive architecture through apical dominance disruption.
The Clinic:
Physiological disorders often mimic disease but are usually rooted in environmental or nutritional imbalances.
- Symptom: Interveinal Chlorosis. The leaves turn yellow while the veins remain green. This is a sign of Magnesium deficiency. Fix-It: Apply a foliar spray of Epsom salts (1 tablespoon per gallon of water).
- Symptom: Tip Burn. New growth appears scorched or deformed. This indicates Calcium deficiency, often caused by inconsistent watering. Fix-It: Maintain steady moisture levels to ensure calcium, which is non-mobile, reaches the growing tips.
- Symptom: Purpling of Lower Leaves. This is a classic sign of Phosphorus deficiency, common in cold soils. Fix-It: Increase soil temperature or apply a water soluble high phosphorus fertilizer.
- Symptom: Leaf Drop. Sudden loss of foliage usually points to root hypoxia from overwatering. Fix-It: Improve drainage by adding perlite to the mix and allow the top 2 inches of soil to dry before re-watering.
Maintenance:
Precision is the difference between a hobbyist and a professional. Deliver 1.5 inches of water per week at the drip line. Use a soil moisture meter to verify that the root zone is hydrated but not saturated. For woody herbs like rosemary or lavender, reduce watering to 0.5 inches per week once established.
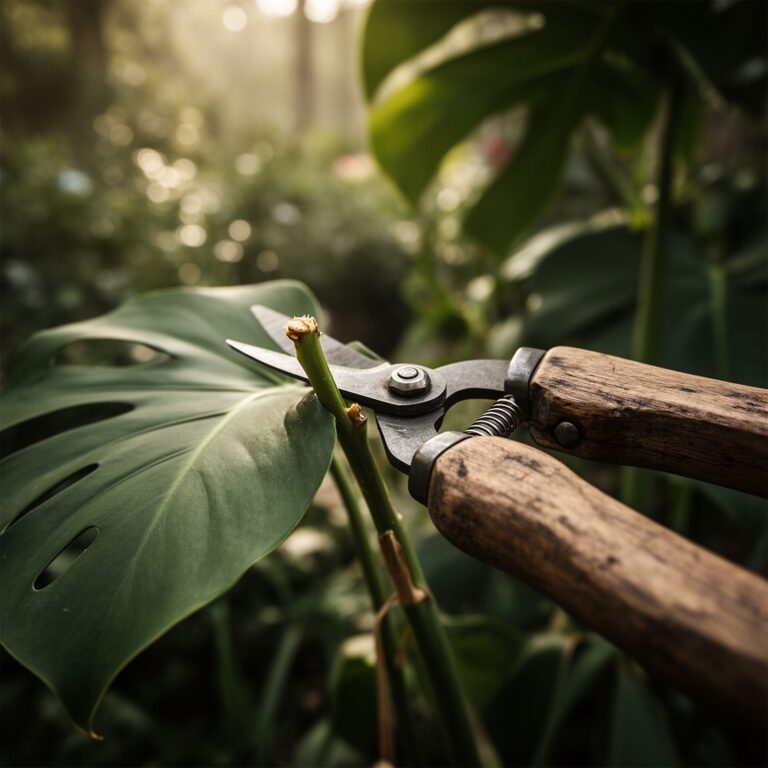
Pruning is essential for airflow. Use bypass pruners to make clean cuts at a 45 degree angle just above a node. This prevents water from pooling on the wound and reduces the risk of fungal pathogens. Remove any yellowing or senescent leaves immediately to prevent the spread of Botrytis cinerea.
The Yield:
Harvesting should occur in the early morning after the dew has evaporated but before the sun reaches its zenith. This is when essential oil concentration is at its peak. For leafy herbs, never remove more than one third of the plant at a single time to avoid stalling growth.
Once harvested, place the stems in a glass of water or wrap them in a damp paper towel and refrigerate at 40 degrees Fahrenheit. This maintains cell turgidity and prevents the degradation of volatile compounds. For woody herbs, hanging them in a dark, well ventilated area at 70 degrees Fahrenheit will preserve the oils for long term storage.
FAQ:
Can I use standard garden soil for herbs?
Standard garden soil is too dense for containers and lacks the porosity required for herb root systems. It often leads to compaction and root rot. Using a specialized herb soil provides the necessary aeration and drainage for optimal growth.
How often should I fertilize my herbs?
Apply a balanced, organic liquid fertilizer every 4 to 6 weeks during the active growing season. Avoid over-fertilizing, as excess nitrogen can reduce the concentration of essential oils, resulting in less flavorful leaves and diminished aromatic qualities.
What is the ideal pH for an herb garden?
Most culinary herbs thrive in a soil pH between 6.0 and 7.0. This slightly acidic to neutral range ensures that essential micronutrients like iron and manganese remain chemically available for uptake by the plant's root hairs.
Why are my herb leaves turning yellow?
Yellowing, or chlorosis, is typically caused by nitrogen deficiency or overwatering. If the soil is soggy, oxygen is cut off from the roots. If the soil is dry, the plant likely requires a nitrogen boost to support chlorophyll production.