8 Humidity Steps for Repotting a Calathea for Soil Balance
The smell of damp, anaerobic peat signals a failing rhizosphere; the sharp, metallic scent of fresh minerals indicates a healthy substrate. When you touch a Calathea leaf, the turgor pressure should feel rigid and cool. If the foliage feels limp or the margins show desiccated brown tissue, the plant is likely suffering from salt accumulation or root constriction. Execution of the correct steps for repotting a calathea requires more than a larger vessel. It demands a recalibration of the soil chemistry and moisture retention levels to mimic the humid forest floor. You are managing a delicate hydraulic system where the transpiration rate must remain in equilibrium with the root intake capacity. Failure to maintain this balance during the transition results in immediate leaf senescence. Success is found in the technical details of the transition; specifically, the preservation of the fine root hairs that facilitate nutrient uptake through cation exchange.
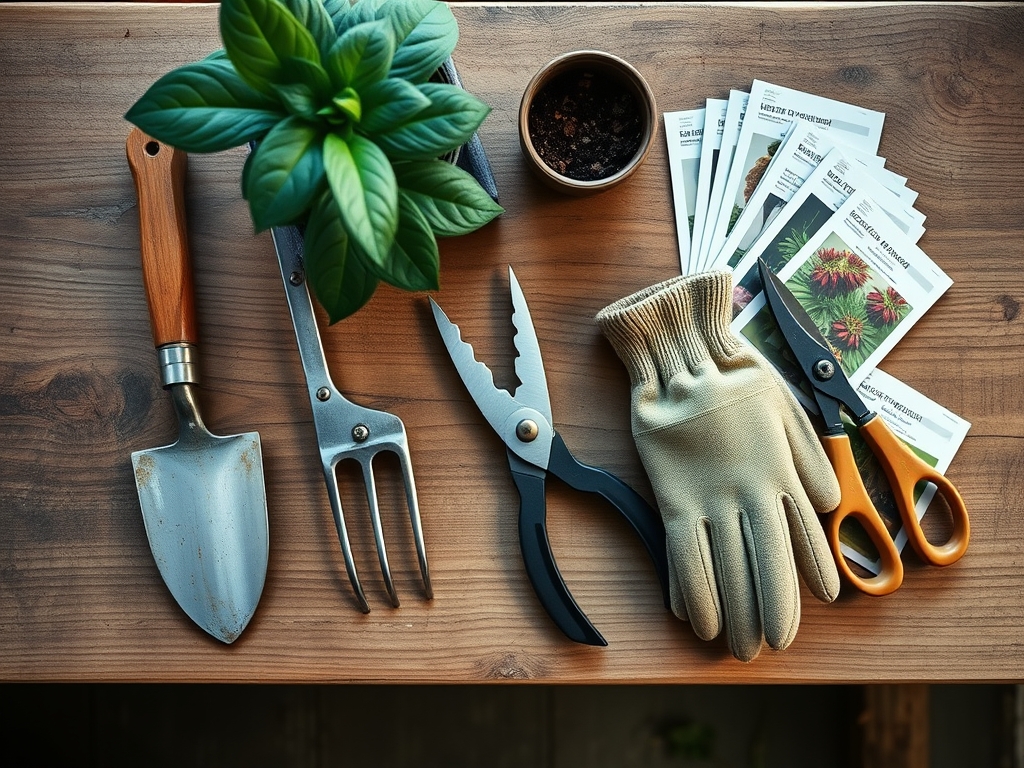
Materials:
The substrate must be a friable loam with high porosity to prevent oxygen deprivation. Standard potting soils are often too dense for the Marantaceae family. Aim for a pH level between 5.5 and 6.5 to ensure micronutrient availability.
- Base Media: 50 percent orchid bark or coco coir for aeration; 30 percent high-quality compost; 20 percent perlite or pumice.
- Nutrient Profile: A low-salt, slow-release fertilizer with an NPK ratio of 3-1-2. Excessive nitrogen can lead to weak, elongated petioles, while high phosphorus may interfere with iron uptake.
- Cation Exchange Capacity (CEC): High organic matter content is essential to hold onto positively charged ions like Calcium (Ca2+) and Magnesium (Mg2+).
- Container: A pot only 1 to 2 inches wider than the current root ball. Use terracotta for high-moisture environments or plastic/ceramic to retain humidity in drier climates.
Timing:
Calathea species are native to tropical regions and do not have a true dormancy, but they follow a biological clock dictated by light intensity. In Hardiness Zones 10 through 12, they can be repotted year-round if temperatures remain above 65 degrees Fahrenheit. For growers in temperate zones, the window for the steps for repotting a calathea opens in late spring when the photoperiod exceeds 12 hours. This ensures the plant is in a vigorous vegetative state. Avoid repotting during the winter solstice when low light levels reduce the metabolic rate; the plant will lack the energy to repair root tissue damaged during the move.
Phases:
Sowing the Foundation
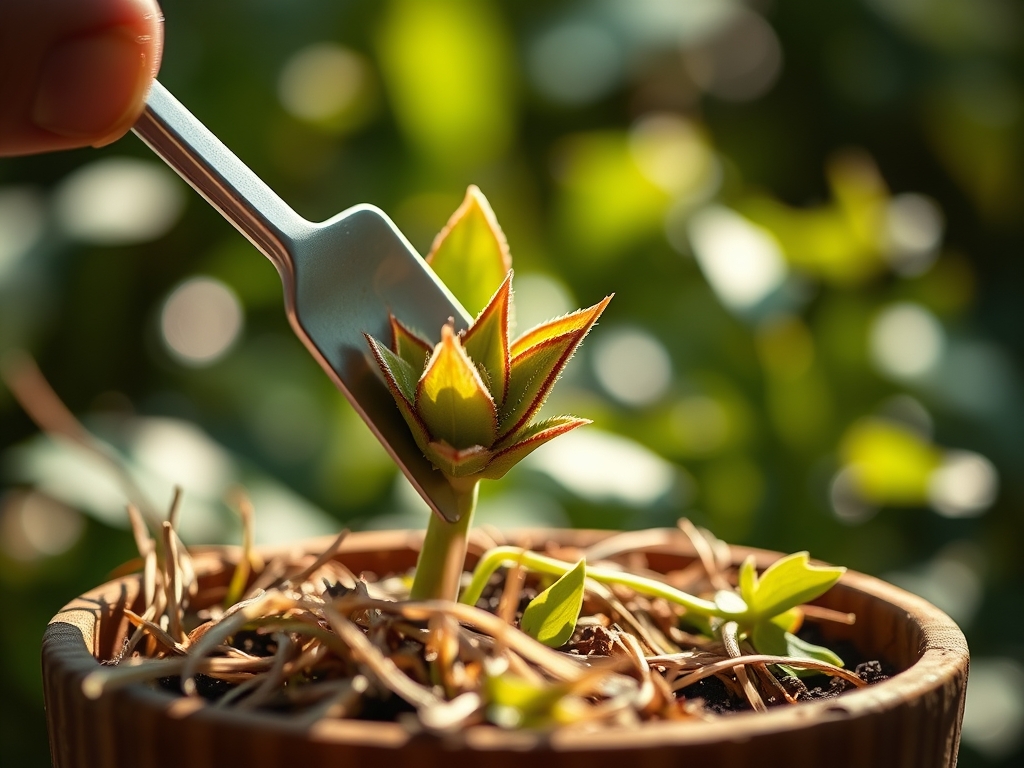
Before extraction, hydrate the plant 24 hours in advance to maximize cell turgidity. Prepare the new vessel by placing a layer of the friable mix at the bottom. Do not use "drainage rocks" at the base; this creates a perched water table that saturates the root zone. Instead, ensure the drainage holes are unobstructed.
Pro-Tip: Mycorrhizal fungi inoculation during this phase improves the rhizosphere efficiency. These symbiotic fungi extend the reach of the root system, increasing the surface area for water absorption by up to 100 times.
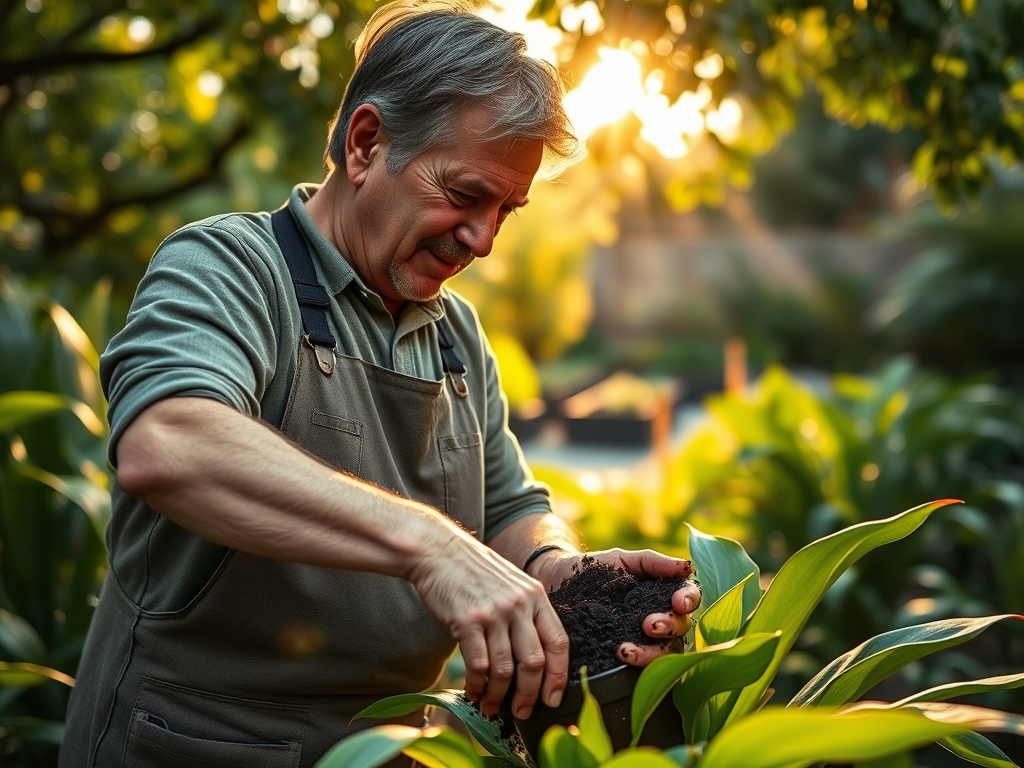
Transplanting and Root Inspection
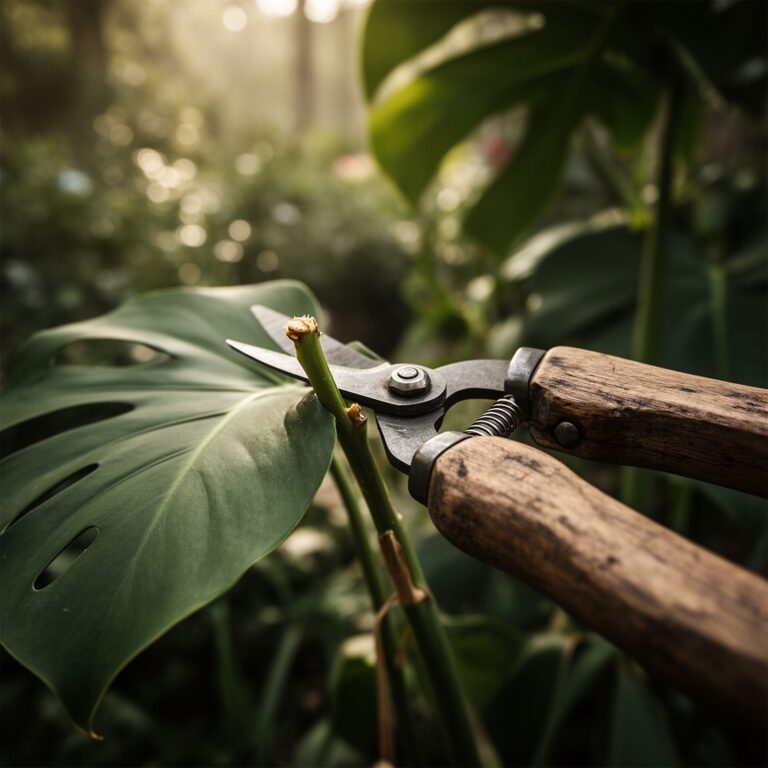
Gently invert the plant and slide it from the container. Inspect the roots for signs of rot; healthy roots are firm and tan or white. Use a sterilized hori-hori knife to prune any soft, black necrotic tissue. If the plant is root-bound, lightly tease the outer roots to break the circular growth pattern.
Pro-Tip: Minimizing root disturbance prevents auxin suppression. Auxins are hormones that promote root growth; when roots are severed or stressed, auxin flow is interrupted, leading to a temporary halt in new leaf development.
Establishing and Humidity Regulation
Center the plant and fill the voids with the new substrate. Press down lightly to remove large air pockets but do not compress the soil. The soil line should remain at the same level as the previous pot. Immediate irrigation with distilled or filtered water is mandatory to settle the soil around the roots.
Pro-Tip: High ambient humidity (above 60 percent) reduces the vapor pressure deficit (VPD). A lower VPD prevents the plant from losing water faster than the disturbed roots can replace it, preventing transplant shock.
The Clinic:
Physiological disorders in Calathea are often misdiagnosed as pathogens. Most issues stem from water quality or mineral imbalances.
- Symptom: Interveinal chlorosis (yellowing between green veins).
- Solution: This indicates a Magnesium or Iron deficiency. Check the soil pH; if it is above 7.0, the plant cannot absorb these minerals. Lower the pH using elemental sulfur.
- Symptom: Necrotic leaf margins (brown, crispy edges).
- Solution: This is typically caused by fluoride or chlorine toxicity from tap water. Switch to rainwater or distilled water to flush the accumulated salts from the substrate.
- Symptom: Leaf curling and drooping.
- Solution: This is a defense mechanism against low humidity or underwatering. Use a soil moisture meter to ensure the root zone stays consistently moist but not saturated.
- Fix-It for Nitrogen Chlorosis: If the oldest leaves turn uniformly pale yellow, apply a liquid fertilizer with a diluted 10-10-10 NPK at quarter strength to restore nitrogen levels without burning the roots.
Maintenance:
Post-repotting care requires precision. Monitor the soil daily with a soil moisture meter. The goal is to maintain a moisture level of 6 or 7 on a 10-point scale. Provide approximately 1 cup of water per gallon of soil volume every 5 to 7 days, depending on evaporation rates. Use bypass pruners to remove any leaves that undergo senescence during the transition; this redirects energy to new growth. Position the plant in a location with indirect light (75 to 200 foot-candles). Direct solar radiation will cause photo-oxidation, bleaching the intricate leaf patterns.
The Yield:
While Calathea are grown for foliage rather than harvest, the "yield" is measured in leaf count and size. A successful repotting results in the emergence of new "spears" (unfurling leaves) within 21 to 30 days. To maintain day-one freshness, wipe the leaves weekly with a damp microfiber cloth. This removes dust that blocks the stomata, ensuring maximum gas exchange and photosynthetic efficiency.
FAQ:
When should I follow the steps for repotting a calathea?
Repot when roots emerge from drainage holes or the soil dries out in less than two days. This typically occurs every 12 to 18 months. Spring is the optimal season for rapid root recovery.
What is the best soil for a Calathea?
A well-draining, porous mix with a pH of 5.5 to 6.5. Use a blend of coco coir, orchid bark, and perlite. This ensures high oxygen availability in the rhizosphere while retaining necessary moisture.
Why are my Calathea leaves turning brown after repotting?
This is likely transplant shock or low humidity. Ensure the ambient humidity is above 60 percent. Avoid using tap water containing fluoride or chlorine, as Calathea are highly sensitive to mineral salts in the root zone.
Do Calatheas like to be root bound?
No. While they prefer snug quarters, being severely root-bound leads to nutrient lockout and water stress. Transition to a pot only one size larger to maintain the correct water-to-soil ratio and prevent root rot.
How much light does a Calathea need?
Calatheas thrive in medium, indirect light. Avoid direct sunlight, which causes leaf scorch. A north or east-facing window providing 75 to 200 foot-candles is ideal for maintaining leaf pigmentation and preventing cellular damage.