8 Steps to Prepare a Garden for a Flagstone Path
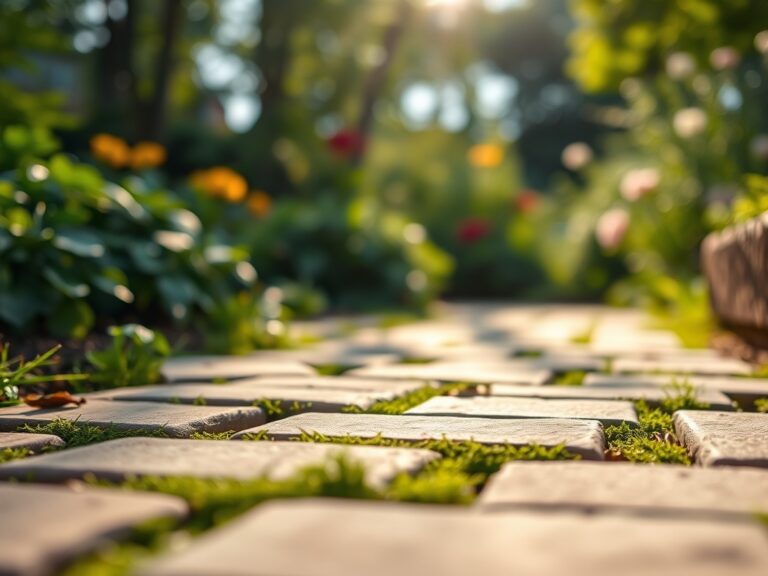
Understanding how to prepare a garden for a flagstone path transforms raw soil into a stable, permeable foundation that drains freely while supporting the structural integrity of each stone. The scent of turned earth mingles with cool stone as you map the route, marking where foot traffic will compress clay particles and where roots must be severed. Proper preparation prevents settling, eliminates weed pressure for three growing seasons, and creates a microclimate along the path's edges that favors drought-tolerant perennials. The process requires physical excavation, amendment of native substrate, and deliberate manipulation of soil structure to achieve a compaction index between 85 and 90 percent.
Materials
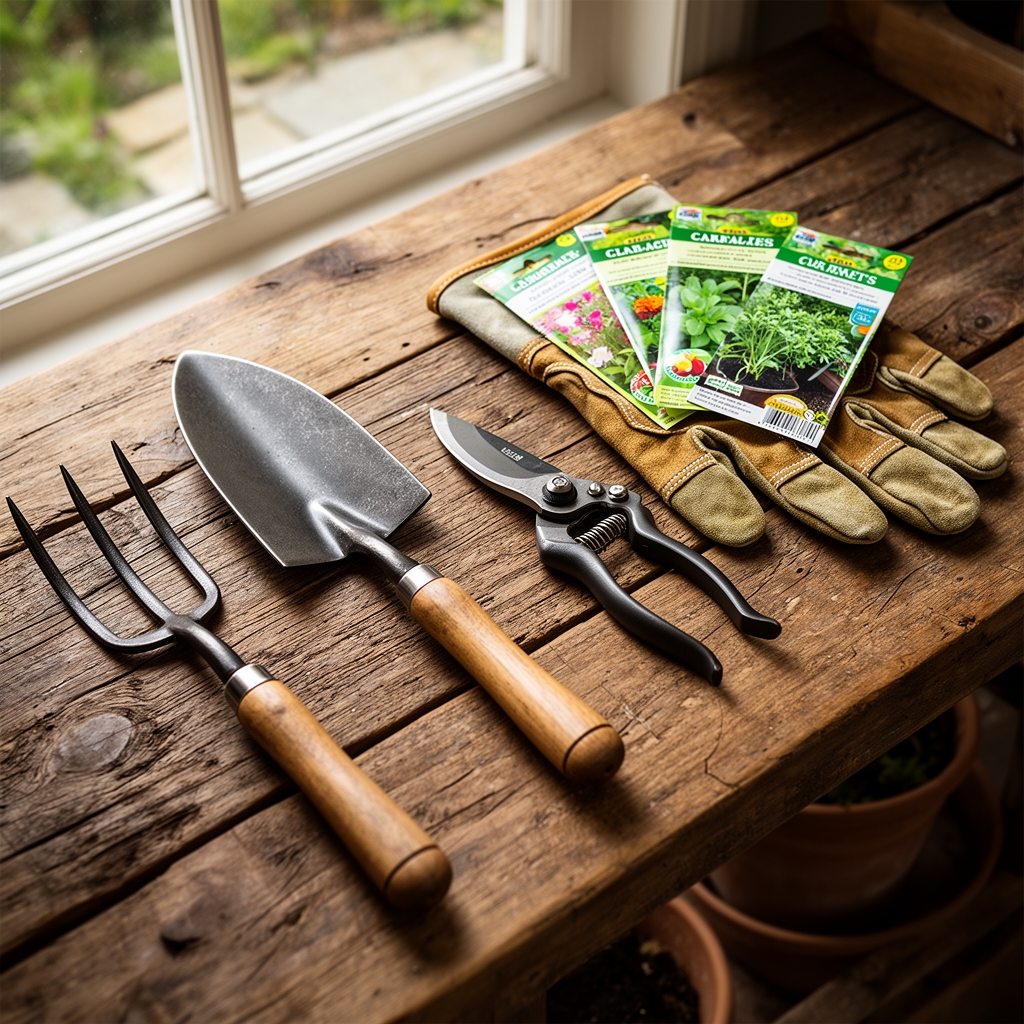
Assemble materials based on your soil's existing pH and texture. For base layers, crushed limestone screenings (0.25-inch minus) offer natural pH buffering toward 7.2 and superior interlock compared to pea gravel. If native soil registers below pH 6.0, incorporate dolomitic lime at 5 pounds per 100 square feet to raise cation exchange capacity and improve calcium availability.
For organic amendment in planting pockets adjacent to the path, use a 4-4-4 balanced organic meal combining feather meal, bone meal, and kelp. This ratio supports mycorrhizal fungi colonization without excessive nitrogen that promotes rank vegetative growth. Avoid high-phosphorus blends (10-20-10) in established gardens where phosphorus saturation already limits micronutrient uptake.
Additional materials include landscape fabric rated at 3.2 ounces per square yard for weed suppression, a 4-foot builder's level, a plate compactor generating 3,000 to 5,000 pounds of centrifugal force, and polymeric sand for joint stabilization. Secure flagstones between 1.5 and 2.5 inches thick to resist fracture under freeze-thaw cycling.
Timing
Execute excavation and base installation between hardiness zone-specific soil workability windows. In Zones 5 and 6, mid-April to late May offers soil moisture content between 18 and 22 percent, the ideal range for compaction without creating impermeable layers. Zones 7 and 8 permit work from late March onward, provided soil temperature at 4-inch depth exceeds 50°F to avoid structural damage to clay colloids.
Avoid installation during active freeze-thaw cycles. When daytime temperatures oscillate above and below 32°F, ice lens formation disrupts compacted base layers and causes differential heaving. Schedule path construction at least six weeks before first expected frost to allow settlement and permit one heavy rain event to reveal drainage failures.
Phases

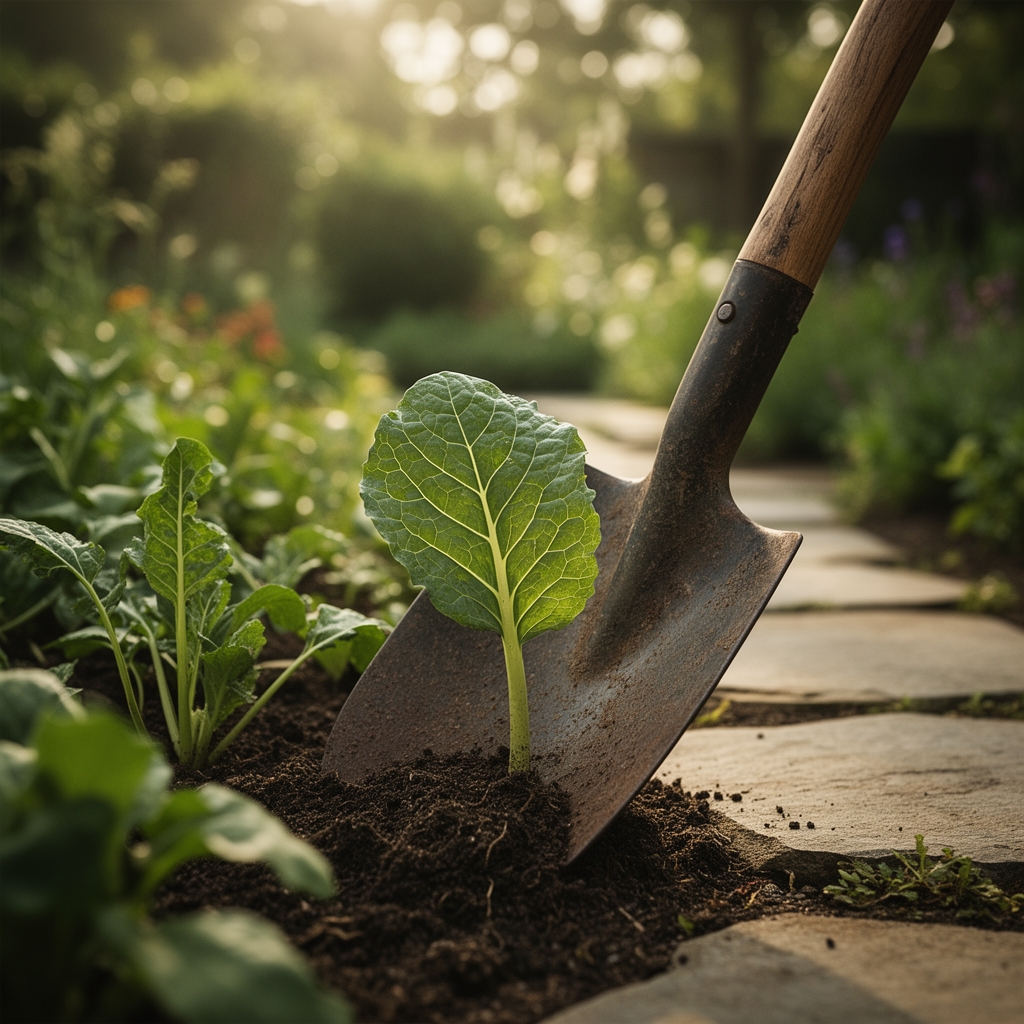
Excavation Phase: Remove vegetation and excavate to 6 inches below final path grade for dry-laid installations, 8 inches for mortared applications. Sever perennial roots cleanly with a sharpened spade to minimize auxin-driven resprouting. Slope the excavation 2 percent (0.25 inch per foot) away from structures to direct surface water.
Pro-Tip: Preserve topsoil separately. Screen it through 0.5-inch hardware cloth to remove root fragments and stones, then amend with aged compost at a 3:1 ratio for use in adjacent planting beds.
Base Installation Phase: Spread crushed limestone screenings in two 3-inch lifts. Compact each lift with three overlapping passes of a plate compactor, moistening the material to achieve 10 percent moisture content by weight. This moisture level optimizes particle interlock without creating a slurry that dries to concrete-like impermeability.
Test compaction with a soil probe. Properly compacted base accepts the probe 0.5 inch under firm hand pressure. If the probe sinks deeper, add additional material and re-compact.
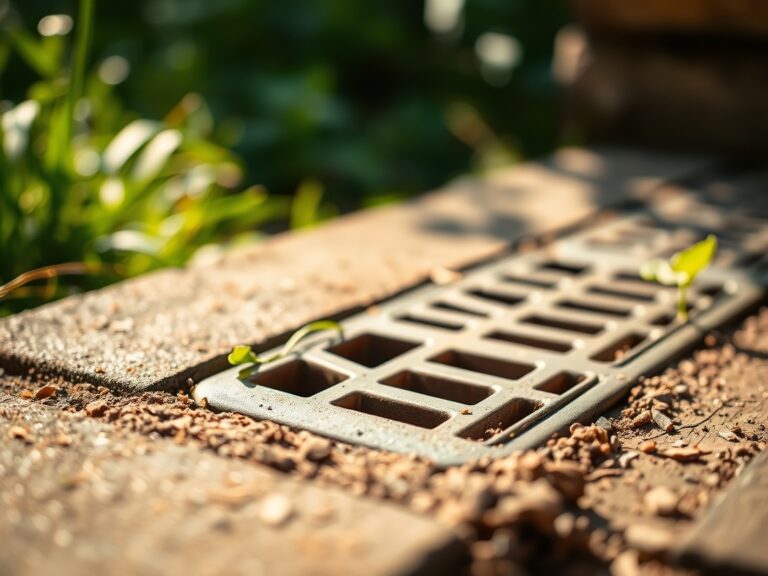
Pro-Tip: Install perforated drain tile at the excavation's lowest point if clay content exceeds 35 percent or if seasonal water tables rise within 18 inches of the surface.
Stone Setting Phase: Place flagstones with 0.75- to 1-inch joints. Set each stone in a 1-inch leveling bed of coarse sand, tapping with a rubber mallet to achieve consistent surface plane. Check every third stone with a 4-foot level. Variations exceeding 0.25 inch over 4 feet create trip hazards and accelerate edge spalling.
Pro-Tip: Orient stones with their natural cleaving plane horizontal. Vertical orientation of sedimentary layers causes delamination within two to three freeze-thaw seasons.
Troubleshooting
Symptom: Stones rock or settle unevenly after installation.
Solution: Insufficient base compaction. Lift affected stones, add additional screenings, re-compact to 90 percent density, and reset.
Symptom: Weeds emerge through joints within the first season.
Solution: Landscape fabric tears or insufficient overlap. Repair with patches extending 8 inches beyond tears. Apply pre-emergent containing prodiamine at 0.5 pound active ingredient per acre in early spring.
Symptom: White efflorescence appears on stone surfaces.
Solution: Soluble salts migrating from mortar or concrete aggregates. Scrub with a solution of 1 part white vinegar to 3 parts water. Seal stones with penetrating silane/siloxane sealer.
Symptom: Moss colonizes joints in shaded sections.
Solution: Excess moisture retention. Improve drainage, reduce irrigation to 0.5 inch per week, and increase joint width to 1.5 inches to enhance evaporation.
Symptom: Frost heave displaces stones in winter.
Solution: Inadequate excavation depth in fine-textured soils. In Zones 4 and 5, excavate to 10 inches and increase base thickness to prevent freezing below stone level.
Maintenance
Apply 1 inch of water weekly during establishment if rainfall is insufficient. Once settled, the path requires no irrigation. Sweep polymeric sand into joints annually each April to replace material lost to wind and foot traffic. Re-compact settled areas with a hand tamper if depressions exceeding 0.5 inch develop.
Edge the path twice per growing season, severing roots that creep beneath stones. Roots of aggressive spreaders like Aegopodium podagraria penetrate 0.125-inch gaps and displace stones within 18 months. Apply glyphosate at 2 percent solution to cut root ends to prevent regeneration.
Remove fallen leaves weekly in autumn. Decomposing organic matter raises pH in joints to 8.5, creating conditions that favor annual bluegrass germination. Accumulated leaf litter retains moisture against stone undersides, promoting freeze damage.
FAQ
How deep should I excavate for a flagstone path?
Excavate 6 inches for pedestrian paths on well-draining soil, 8 inches for clay soils or vehicular access.
Can I install flagstones directly on soil?
Direct soil installation causes 40 percent of stones to settle or tip within two years due to inadequate load distribution.
What prevents weeds most effectively?
Combination of landscape fabric, compacted base, and polymeric sand joints reduces weed emergence by 95 percent over three seasons.
Should I use sand or gravel under flagstones?
Crushed limestone screenings compact to 90 percent density. Sand compacts to only 75 percent and permits excessive movement.
How do I fix sunken flagstones?
Lift stone, add compacted screenings to restore grade, and reset. Address drainage issues causing base erosion.