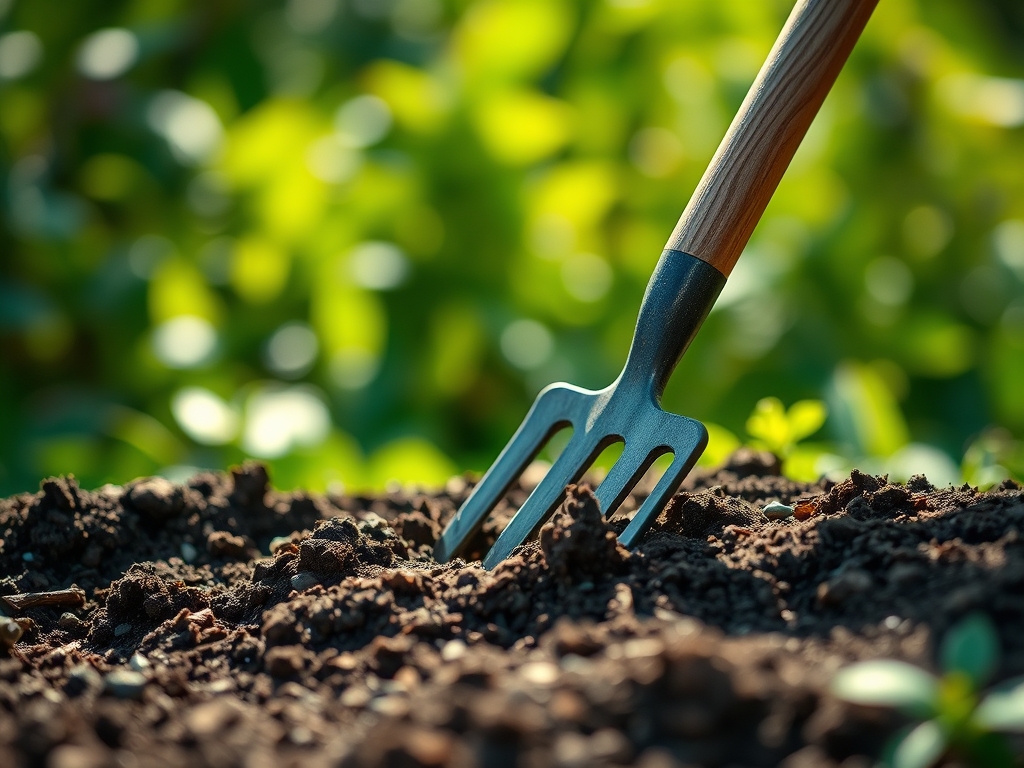
9 Tips to Use a Garden Rake for Smoothing Soil
Using a rake for leveling garden soil transforms rough, clumped earth into a fine seedbed that allows oxygen to reach root zones and moisture to distribute evenly across the planting surface. The teeth of a bow rake, spaced 1.5 to 2 inches apart, break apart aggregates larger than 0.5 inches while preserving the soil structure necessary for beneficial mycorrhizal fungi colonization. Smooth soil improves seed-to-soil contact by 40 percent compared to unraked beds, directly increasing germination rates for fine-seeded crops like carrots and lettuce. A properly leveled bed also prevents water from pooling in depressions where anaerobic conditions can inhibit root respiration and encourage damping-off pathogens.
Materials
Select a 16-tine bow rake with a head width of 14 to 16 inches for beds narrower than 4 feet. For larger plots, use a 36-inch landscape rake to cover more ground per pass. Apply compost aged for 6 to 12 months at a rate of 1 cubic yard per 100 square feet to increase cation exchange capacity to 15 meq/100g or higher. Incorporate a 4-4-4 organic meal blend (blood meal, bone meal, and kelp) at 2 pounds per 100 square feet for neutral pH soils between 6.5 and 7.0. For acidic soils below pH 6.0, add dolomitic lime at 5 pounds per 100 square feet and retest after 4 weeks. Use a soil thermometer with a 6-inch probe to verify the top layer has reached 50°F before final raking, as working wet soil destroys aggregates and compacts the seed zone.
Timing
Rake soil in Zones 5 through 7 between 2 weeks before the last frost date and the first week of June for warm-season crops. In Zones 8 and 9, prepare beds from late February through March. Cold-season crops like peas and spinach require raking when soil temperature reaches 40°F, typically 4 to 6 weeks before the last frost. Avoid raking during active freeze-thaw cycles, which create ice lenses that disrupt the soil profile. Schedule final leveling on a day when the top 2 inches of soil crumbles freely in your hand without forming a sticky ball.
Phases

Sowing Phase
Begin with a coarse rake pass to remove debris larger than 1 inch, including root clumps and stones. Hold the rake at a 30-degree angle and pull in overlapping rows to create a uniform surface plane. Measure height variation with a 4-foot level; deviations should not exceed 0.5 inches across the bed width. Flip the rake and use the flat back to tamp the surface lightly, settling soil particles without compaction.
Pro-Tip: Broadcast Rhizophagus irregularis spores (mycorrhizal fungi) at 0.1 ounces per 10 square feet onto the raked surface before seeding to colonize root zones within 14 days of germination.
Transplanting Phase
After placing transplants, rake the soil around each root ball to fill air pockets that desiccate fine root hairs. Draw soil toward the stem base at a 45-degree angle using short, controlled strokes. Leave a 1-inch shallow depression around each plant to channel water directly to the root zone during the establishment period. For brassicas and tomatoes, firm the soil with the rake back using 5 pounds of pressure per square inch.
Pro-Tip: Prune lateral roots at a 60-degree angle before transplanting to stimulate auxin distribution and encourage fibrous root development within 10 days.
Establishing Phase
Two weeks after planting, use a hand rake with 8-inch tines to cultivate the top 0.5 inches between rows. This shallow raking severs emerging weed seedlings before their taproots extend beyond 1 inch. Avoid disturbing soil deeper than 1 inch to preserve mycorrhizal networks. Rake mulch pathways to redistribute wood chips or straw, maintaining a 3-inch layer that moderates soil temperature fluctuations by 8°F.
Pro-Tip: Apply a 0-10-10 liquid fertilizer diluted to 200 ppm phosphorus immediately after establishing-phase raking to accelerate root hair proliferation in phosphorus-limited soils.
Troubleshooting
Symptom: Hardpan layer at 4 to 6 inches prevents rake penetration.
Solution: Use a broadfork to fracture the compacted zone before raking. Insert tines 12 inches deep on 6-inch centers and rock the tool back 20 degrees.
Symptom: Soil crusts after irrigation, forming a 0.25-inch sealed layer.
Solution: Lightly rake the surface to a depth of 0.125 inches within 6 hours of watering to restore gas exchange. Apply gypsum at 2 pounds per 100 square feet to improve aggregate stability in sodium-rich soils.
Symptom: Clods larger than 2 inches remain after raking.
Solution: Allow soil to dry for 24 hours, then rake when moisture content drops to 60 percent of field capacity. Break clods manually if they contain more than 35 percent clay.
Symptom: Slug trails appear on smoothed soil surface.
Solution: Rake in diatomaceous earth at 1 pound per 50 square feet, targeting the top 0.5 inches where slugs travel at night.
Maintenance
Rake established beds every 3 weeks during the growing season to prevent surface sealing. Apply 1 inch of water per week and rake lightly 12 hours after irrigation to prevent crust formation. Side-dress rows with a 5-10-5 granular fertilizer at 1 pound per 100 feet of row, then rake into the top 1 inch of soil. Monitor for compaction by inserting a wire flag; if resistance increases at depths shallower than 8 inches, rake and add 0.5 inches of compost.
FAQ
How often should I rake garden soil?
Rake once before planting, then every 3 to 4 weeks during active growth to control weeds and maintain surface porosity.
Can I rake wet soil?
No. Wet soil forms clods and loses structure. Wait until a handful crumbles at 60 percent field capacity.
What rake angle is best for leveling?
Hold the rake at 30 degrees for initial leveling, then flatten to 15 degrees for final smoothing passes.
Does raking harm earthworms?
Shallow raking to 1 inch depth does not significantly disturb earthworm populations, which inhabit zones below 3 inches.
Should I rake before or after adding compost?
Add compost first, then rake to incorporate the top 2 to 3 inches and create a uniform planting surface.