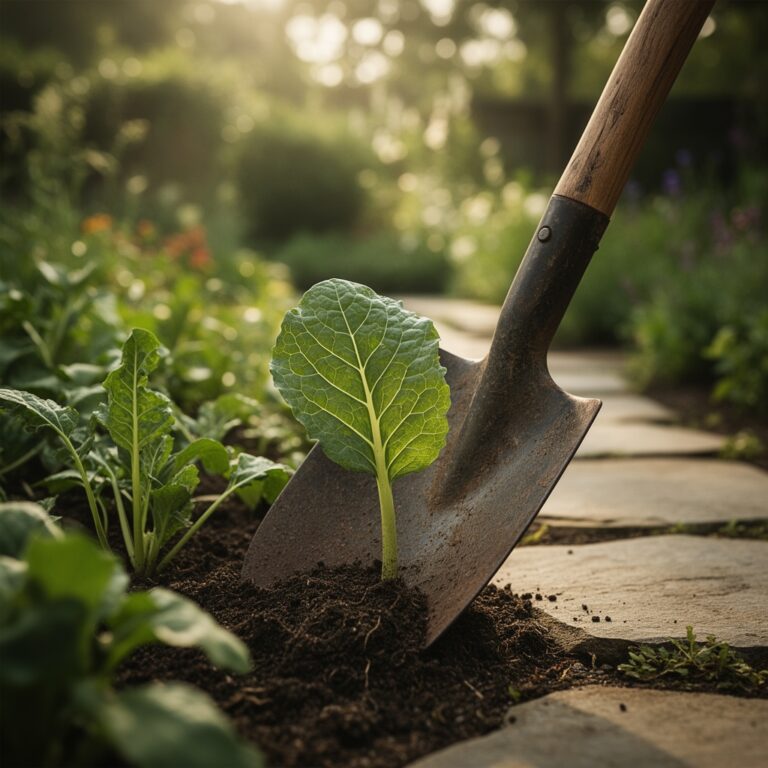
9 Steps to Prepare a Garden Retaining Wall Site
Retaining walls fail when builders skip site preparation. The soil behind an unprepared wall settles unevenly, water pools against the base, and roots undermine the footing. Understanding how to prepare a garden for a retaining wall means addressing drainage, compaction, and root zones before the first block goes down. The site must support thousands of pounds while managing runoff and protecting existing plant systems. Proper preparation reduces wall movement by 70% over ten years.
Materials
Gather marking flags, a soil pH meter (accurate to 0.1 units), and a spade with a 48-inch handle for leverage. Procure 2-4 inches of crushed limestone aggregate (3/4-inch minus) per linear foot for drainage layers. Select geotextile fabric with a minimum puncture resistance of 125 pounds and a permeability rate of 140 gallons per minute per square foot.
For soil amendment, use composted pine bark fines at a 2:1 ratio with native soil to improve cation exchange capacity in clay-heavy substrates. Add granular sulfur at 1.2 pounds per 100 square feet if pH exceeds 7.2. Apply a balanced organic fertilizer rated 4-4-4 at three pounds per 100 square feet to support root establishment in disturbed zones. Include mycorrhizal fungi inoculant (minimum 150 propagules per gram) for woody ornamentals near the wall line.
Rent a plate compactor rated for 5,000 pounds of force. Obtain perforated 4-inch drainage pipe with a slope coefficient of at least 2%. Stock backfill soil that matches the existing loam structure but drains at 1-2 inches per hour.
Timing
Execute site preparation in USDA Hardiness Zones 3-9 between four weeks after the last spring frost and eight weeks before the first fall frost. This window ensures soil temperatures above 50°F at 6-inch depth, promoting microbial activity and root recovery in transplanted specimens.
In Zones 3-5, schedule work from mid-May through late August. Zones 6-7 extend the window from late April to mid-September. Zones 8-9 allow March through October preparation but avoid July and August when soil dries too quickly for compaction testing.
Avoid preparation within 48 hours of heavy rainfall. Soil moisture content above 22% causes smearing during excavation, reducing drainage efficiency by 40%. Use a tensiometer to confirm moisture at 15-18% before beginning excavation.
Phases

Marking and Excavation
Drive marking flags every 4 feet along the proposed wall line. Extend flags 3 feet behind the wall to outline the drainage trench. Remove all vegetation within this zone, cutting woody plants at ground level and grinding stumps to 8 inches below grade. Excavate to 12 inches below the planned wall base. Slope the trench floor at 2% away from structures.
Pro-Tip: Preserve feeder roots of trees outside the excavation by cutting vertically with a sharp spade rather than tearing roots with machinery. Clean cuts compartmentalize wounds and stimulate auxin distribution to lateral roots.
Drainage Installation
Spread 4 inches of crushed limestone in the trench base. Compact in 2-inch lifts using the plate compactor, making four passes per lift. Lay geotextile fabric across the compacted stone, extending 18 inches up the back slope. Position perforated drainage pipe along the trench bottom with perforations facing down. Connect pipe sections with coupling cement rated for soil burial.
Pro-Tip: Install cleanout access points every 40 feet by running 4-inch solid pipe vertically to grade. Cap with removable lids for future rodding if sediment accumulates.
Backfill and Compaction
Layer backfill soil in 6-inch lifts. Compact each lift to 90% standard Proctor density. Test density using a nuclear gauge or sand cone method every 20 feet. Mix amended soil into the top 8 inches to create a transition zone. Inoculate this layer with mycorrhizal fungi at manufacturer-specified rates before planting.
Pro-Tip: Water each compacted lift with 0.5 inches before adding the next layer. Moisture activates soil particle binding and reveals low spots that require additional fill.
Troubleshooting
Symptom: Standing water in excavation 24 hours after rain.
Solution: Extend drainage trench 6 feet beyond the wall end. Install a gravel-filled dry well at the pipe terminus if groundwater is within 3 feet of the surface.
Symptom: Soil crumbles excessively during compaction testing.
Solution: Increase moisture content by 3-4%. Mix water uniformly through the lift using a rotary tiller set to 6-inch depth before re-compacting.
Symptom: Nearby shrubs show wilting 10-14 days post-excavation.
Solution: Root damage has exceeded 30% of the absorptive zone. Apply 2 gallons of water per inch of trunk diameter daily for three weeks. Prune canopy by 20% to balance transpiration loss.
Symptom: Geotextile fabric tears during backfill.
Solution: Replace with fabric rated for 175-pound puncture resistance. Place 2 inches of sand directly against fabric before dumping coarse backfill.
Maintenance
Apply 1 inch of water weekly to the prepared zone during the first growing season. Measure using rain gauges placed at 10-foot intervals. Irrigate in the morning to reduce foliar disease pressure on adjacent plantings.
Inspect drainage pipe outflow monthly. Clear debris if flow rate drops below 2 gallons per minute during moderate rain events. Top-dress the transition zone with 1/4 inch of compost each spring to maintain organic matter at 4-6%.
Monitor soil pH annually. Apply elemental sulfur at 0.8 pounds per 100 square feet if pH drifts above 7.0 in alkaline parent material. Reapply mycorrhizal fungi every three years at half the initial rate to sustain colonization in high-traffic zones.
FAQ
How deep should excavation go for a 3-foot retaining wall?
Excavate 12 inches below the wall base plus 4 inches for the aggregate layer. Total depth is 16 inches below final grade.
Can I prepare the site in stages over multiple weekends?
Yes. Complete excavation and drainage in one stage. Backfill and compaction can follow within four weeks without compromising structural integrity.
What if I encounter clay hardpan at 8 inches?
Break hardpan with a ripper attachment or jackhammer. Mix removed clay 50/50 with sand and compost before using as backfill. Pure clay reduces drainage and increases lateral pressure on walls.
Should I relocate perennials before or after excavation?
Transplant perennials six weeks before excavation when roots are dormant or just breaking dormancy. Water transplants with a starter solution containing phosphorus at 10-52-10 ratio.
How do I prevent erosion on the slope above the wall during construction?
Install silt fencing at the upslope edge. Seed disturbed areas with annual ryegrass at 8 pounds per 1,000 square feet. Ryegrass germinates in seven days and stabilizes soil within three weeks.