9 Simple Steps to Grow Shallot Bulbs
Damp earth clings to the skin with a cold, metallic scent while the turgor of a firm, dormant bulb promises future structural integrity. Success in the garden is not found in luck but in the precise execution of physiological requirements. To master the steps to grow shallot bulbs, a cultivator must understand the intersection of soil chemistry and photoperiodism. These alliums require a specific sequence of thermal triggers and nutrient availability to transition from a single dormant clove into a nested cluster of high-density bulbs.
The process begins with the selection of high-quality sets, which are small bulbs rather than seeds. This ensures a genetic clone of the parent plant and provides the necessary carbohydrate reserves for early root development. Precision in the early stages dictates the final weight and storage life of the harvest. By adhering to a rigorous schedule of soil preparation and moisture management, you ensure the plant maintains maximum photosynthetic efficiency throughout its life cycle.
Materials:

The foundation of shallot production is a friable loam with high porosity to prevent root anoxia. You must target a soil pH between 6.0 and 7.0 to ensure maximum nutrient bioavailability. In soils with a low Cation Exchange Capacity (CEC), nutrients leach quickly; therefore, incorporating organic matter is non-negotiable.
Required inputs include:
- Nitrogen (N): Apply a 5-10-10 or 10-10-10 NPK ratio at planting. Excessive nitrogen late in the season leads to thick necks and poor storage capability.
- Phosphorus (P): Essential for root elongation and bulb formation.
- Potassium (K): Critical for regulating stomatal conductance and water potential.
- Sulfur: Vital for the synthesis of allyl sulfides, which provide the characteristic pungency.
- Substrate: Avoid heavy clays. If the soil does not crumble when squeezed, amend it with sharp sand or aged compost to improve drainage.
Timing:
Shallots are photoperiod-sensitive organisms. Most varieties are "long-day" plants, requiring 14 to 16 hours of daylight to initiate bulb swelling. In USDA Hardiness Zones 4 through 10, timing is dictated by the frost cycle. For northern climates (Zones 4 to 6), plant in early spring as soon as the soil can be worked, typically 4 to 6 weeks before the last frost.
In southern climates (Zones 7 to 10), autumn planting is preferred. This allows the plant to establish a robust root system during the cool months. The "Biological Clock" of the shallot involves a vernalization period; exposure to temperatures between 32 and 50 degrees Fahrenheit for several weeks triggers the reproductive drive to divide the main bulb into multiple daughter cloves. Failure to meet these thermal requirements results in a single, oversized bulb rather than a cluster.
Phases:

Sowing and Spacing
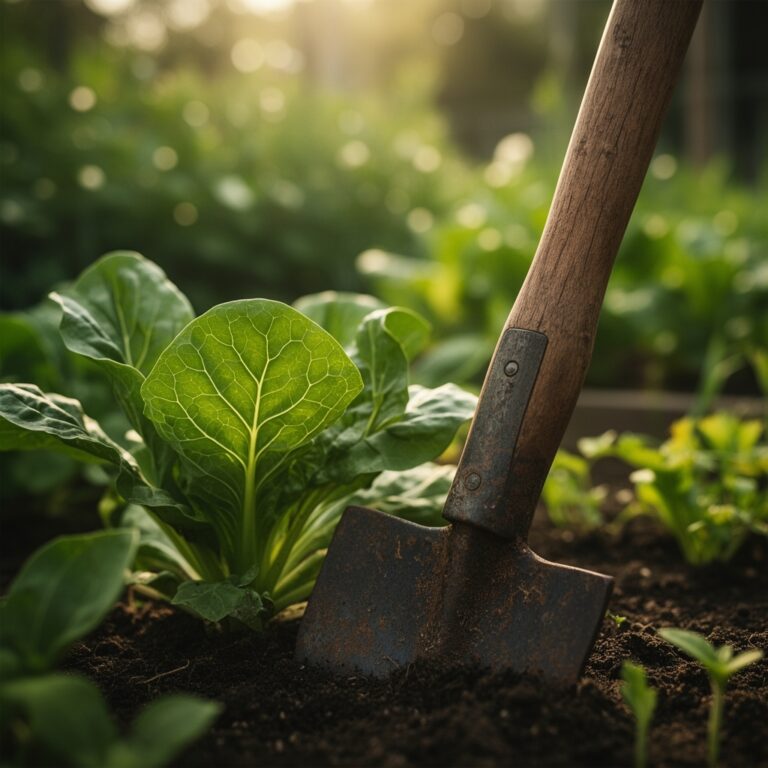
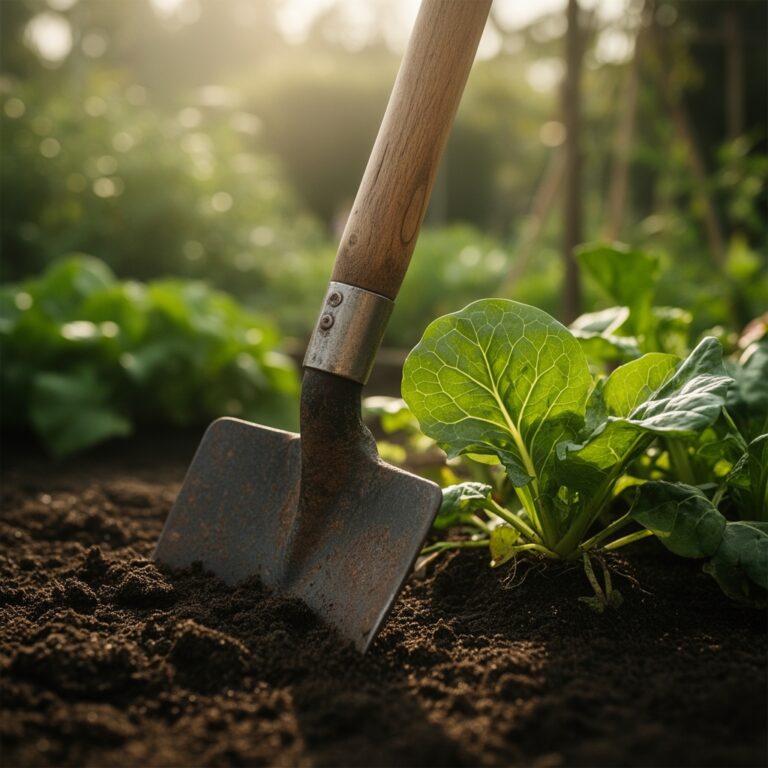
Place individual cloves into the soil with the apical bud (the pointed end) facing upward. Set the bulbs so the tips are just visible at the soil surface or covered by no more than 0.5 inches of soil. Space cloves 6 to 8 inches apart within rows spaced 12 inches apart. This geometry allows for adequate airflow and minimizes competition for soil nitrates.
Pro-Tip: Proper orientation is essential because of negative geotropism. If planted upside down, the plant expends critical carbohydrate reserves redirecting the shoot toward the surface, resulting in a stunted yield.
Transplanting and Establishing
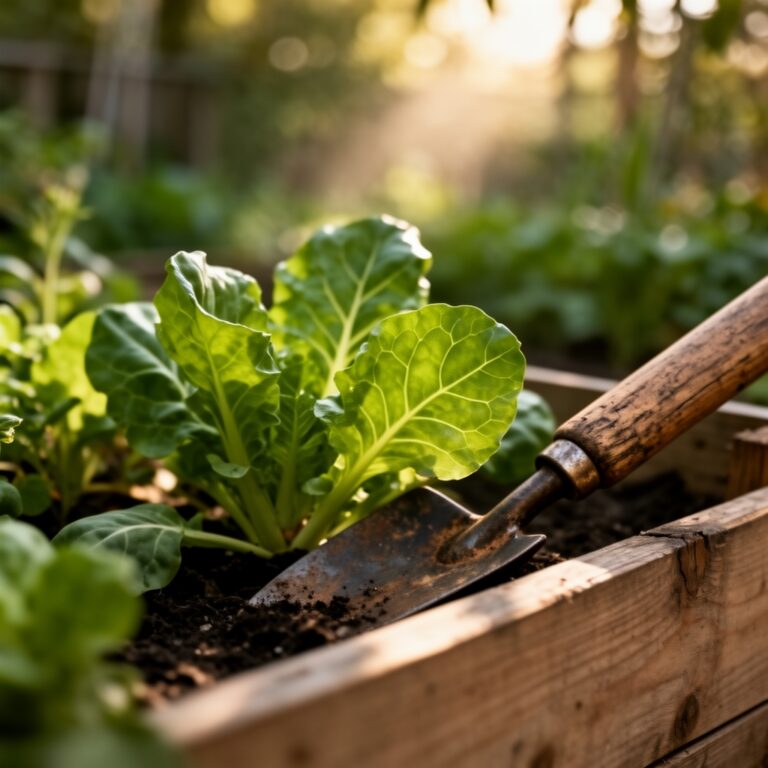
If starting shallots in modular trays, transplant them when they reach 4 inches in height. Ensure the rhizosphere remains intact during the move to prevent transplant shock. Firm the soil around the base to eliminate air pockets that cause root desiccation.
Pro-Tip: Inoculating the roots with mycorrhizal fungi during transplanting increases the effective surface area of the root system. This symbiosis improves the uptake of immobile phosphorus and enhances drought resistance.
Vegetative Growth and Bulbing
As the photoperiod lengthens, the plant shifts energy from leaf production to bulb expansion. Maintain consistent moisture during this phase. If the plant experiences drought stress, it may enter premature senescence, halting bulb development.
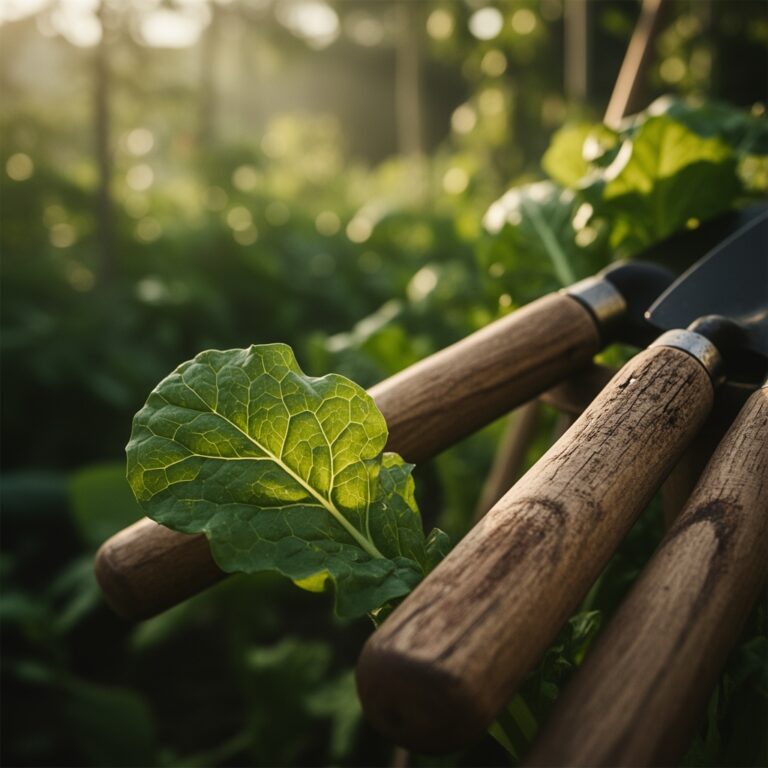
Pro-Tip: Avoid deep cultivation near the base of the plant. Shallots have a shallow, fibrous root system. Use a hori-hori knife only for precision weeding to avoid mechanical damage to the developing bulb scales.
The Clinic:
Physiological disorders often mimic disease but are usually rooted in environmental or nutritional imbalances.
- Symptom: Yellowing of older leaves (Chlorosis).
- Solution: This indicates Nitrogen deficiency. Apply a side-dressing of blood meal or a high-nitrogen liquid fertilizer, but stop all nitrogen applications once bulbing begins to prevent neck rot.
- Symptom: Tip burn on new growth.
- Solution: Often a Calcium deficiency or inconsistent watering. Ensure the soil remains evenly moist to facilitate calcium transport through the xylem.
- Symptom: Premature flowering (Bolting).
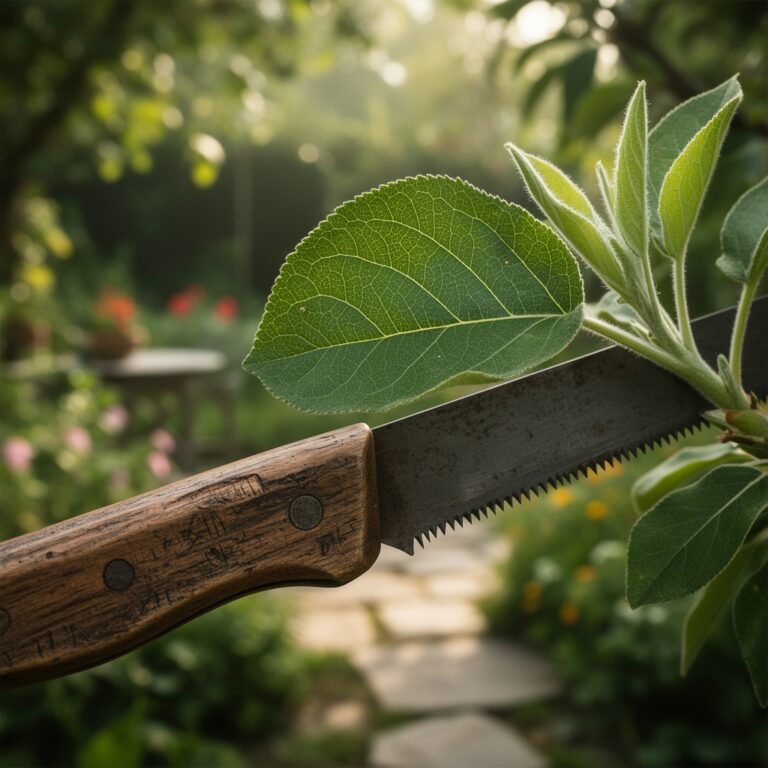
- Solution: Caused by sudden temperature fluctuations or stress. Snip the flower stalks immediately using bypass pruners to redirect energy back to the bulbs.
- Symptom: Stunted growth and purple tint on leaves.
- Solution: Phosphorus deficiency, common in cold, wet soils where P-uptake is chemically inhibited.
Maintenance:
Precision hydration is the hallmark of a professional grower. Shallots require approximately 1.5 inches of water per week delivered at the drip line. Use a soil moisture meter to verify that the top 4 inches of soil are moist but not saturated. Over-saturation leads to root rot and anaerobic conditions.
Weed management is critical. Shallots do not compete well with aggressive grasses or broadleaf weeds for light or nutrients. Mulching with clean straw or shredded leaves can suppress weed germination and regulate soil temperature. Monitor the plants daily for signs of thrips; these small insects rasp the leaf surface, reducing the plant's ability to photosynthesize. If detected, use a forceful stream of water or insecticidal soap to manage populations.
The Yield:
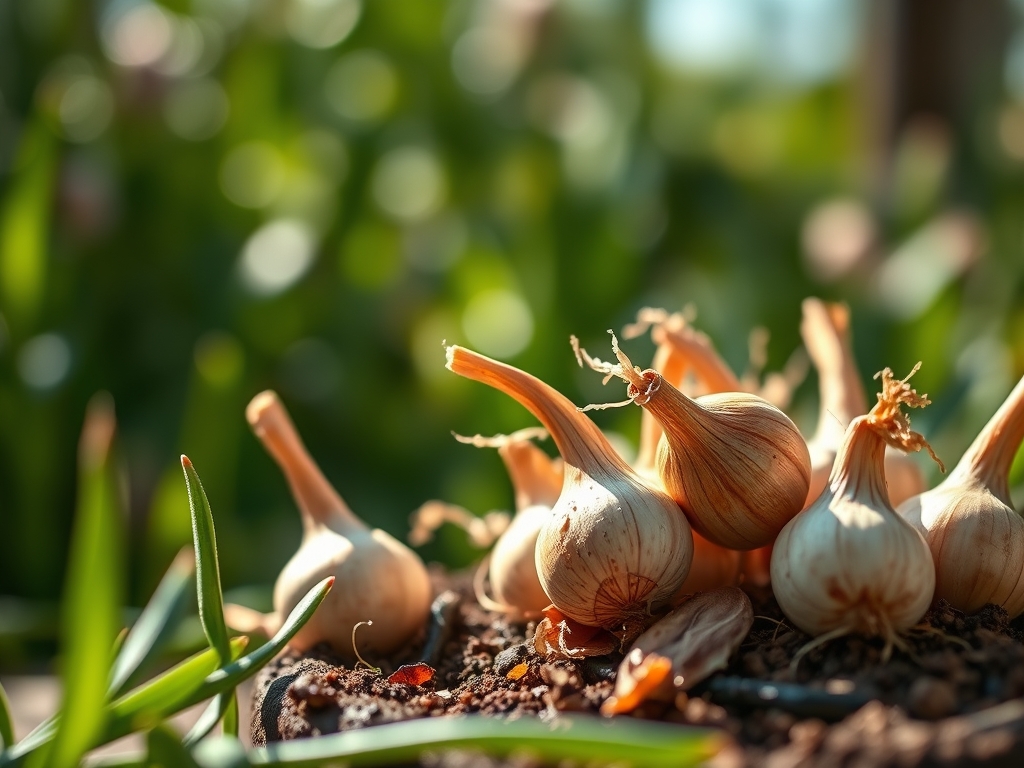
Harvesting begins when the tops lose turgor pressure and fall over, a process known as "lodging." This signals that the plant has reached physiological maturity and the neck has constricted. Wait until 50 to 70 percent of the tops have turned yellow and collapsed.
Use a garden fork to gently lift the clusters from the soil; do not pull them by the leaves, as this can damage the neck and invite fungal pathogens. Move the bulbs to a shaded, well-ventilated area for curing. This process takes 2 to 4 weeks. Curing allows the outer scales to dry and harden, creating a protective barrier for long-term storage. Once the necks are completely dry and brittle, trim the roots and tops to 1 inch and store in a cool, dark location with 60 percent humidity.
FAQ:
How deep should I plant shallot bulbs?
Plant cloves with the apical tip just at the soil surface or covered by 0.5 inches of soil. Planting too deep can inhibit bulb expansion and lead to fungal issues in the neck.
Why are my shallots not dividing?
Failure to divide usually results from a lack of vernalization. Shallots require a period of cold temperatures (below 50 degrees Fahrenheit) to trigger the biological shift from a single bulb into a cluster.
Can I grow shallots from grocery store bulbs?
It is not recommended. Commercial bulbs are often treated with growth inhibitors to prevent sprouting. Always purchase certified disease-free sets from a reputable horticultural supplier to ensure genetic vigor.
When should I stop watering shallots?
Cease irrigation approximately 2 weeks before harvest, or when the leaves begin to yellow and collapse. This allows the outer skins to begin drying and prevents rot during the curing process.