9 Quick Steps to Plant Chive Herbs
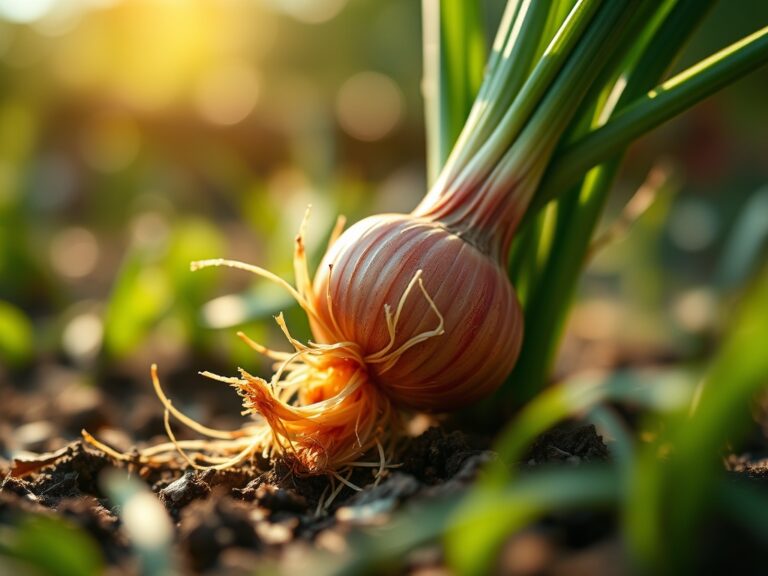
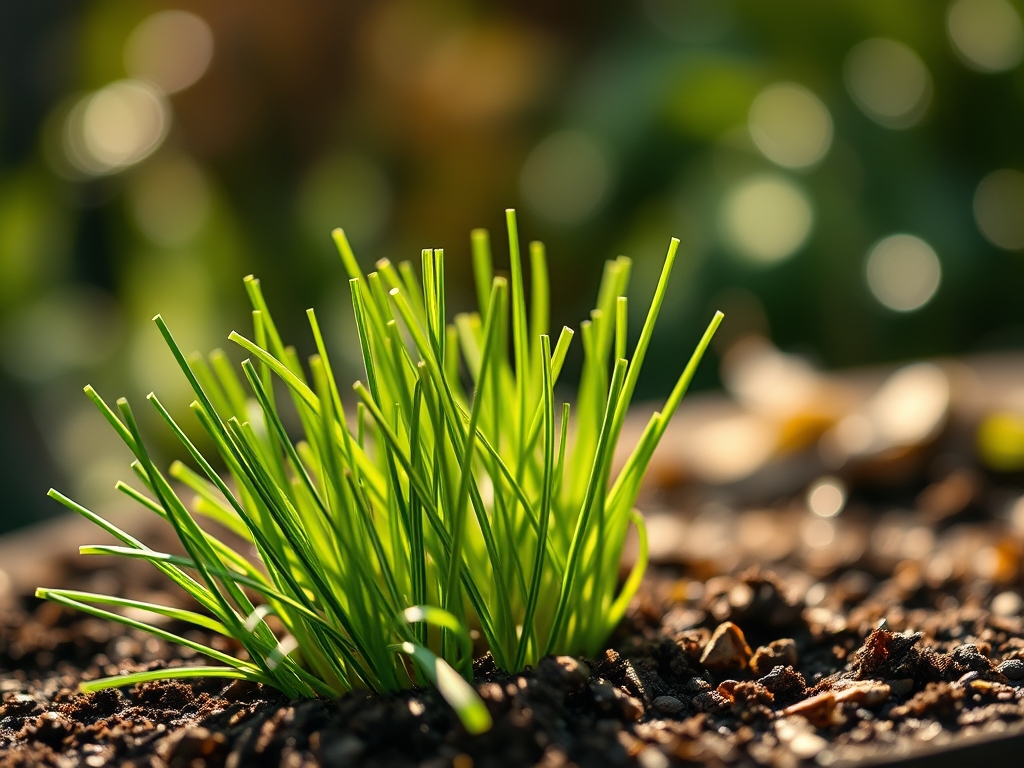
The scent of crushed Allium schoenoprasum is sharp and sulfuric; it is the smell of high-quality organic matter being converted into cellular energy. When you press a firm chive blade between your fingers, you feel the turgor pressure of a plant at its physiological peak. Success in the garden depends on precision. Following the correct steps to plant chive herbs ensures a robust root system capable of overwintering in harsh climates. These perennials are not mere garnishes; they are resilient biological machines that thrive when the rhizosphere is optimized for nutrient uptake. Achieving this requires a transition from casual gardening to applied horticultural science. You must focus on soil density, thermal windows, and the specific chemical requirements of the Allium family. By mastering the steps to plant chive herbs, you establish a permanent colony that provides consistent yields for years. This process begins with the preparation of the substrate and ends with the strategic management of the plant's reproductive cycle.
Materials:
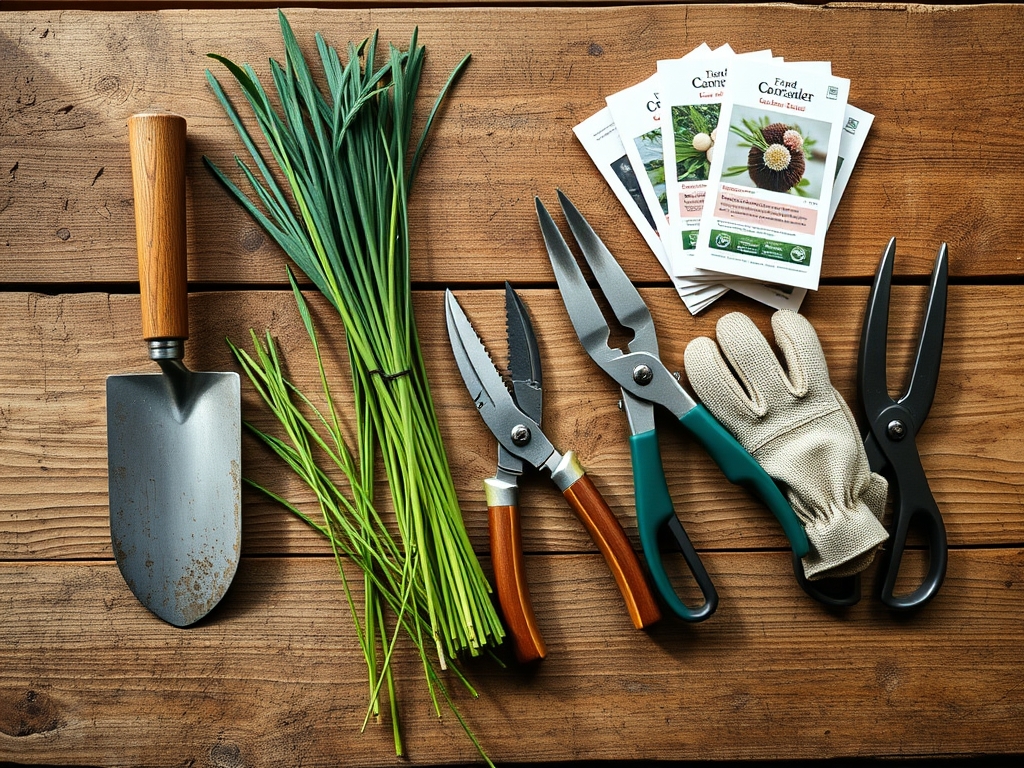
To initiate the steps to plant chive herbs, you must secure a substrate that facilitates rapid cation exchange. Chives demand a **friable loam** with a high percentage of decomposed organic matter to maintain moisture without inducing root hypoxia.
- Soil pH: Target a range of 6.0 to 7.0. Use elemental sulfur to lower pH or calcitic lime to raise it if your baseline testing deviates.
- NPK Ratio: Incorporate a balanced, slow-release fertilizer with a 5-10-5 or 10-10-10 ratio into the top six inches of the bed. Phosphorous is critical during the initial establishment phase to drive root elongation.
- Texture: The soil must be loose enough to allow the small bulbs to expand. Avoid heavy clays that compress the root zone and limit oxygen diffusion.
- Drainage: Ensure the planting site has a percolation rate of at least one inch per hour.
Timing:
Chives are remarkably hardy, thriving in USDA Hardiness Zones 3 through 9. The biological clock of the chive plant is governed by soil temperature and photoperiod. For optimal germination and growth, initiate planting when soil temperatures reach a consistent 60 to 70 degrees Fahrenheit.
In colder zones, start seeds indoors 6 to 8 weeks before the last predicted spring frost. The transition from the vegetative stage to the reproductive stage (flowering) is triggered by increasing day length and rising temperatures in late spring. If you plant too late in the season, the high thermal energy of mid-summer can induce premature senescence or dormancy in young seedlings. Early spring planting allows the root system to establish before the plant allocates energy toward flower production.
Phases:
Sowing and Germination
Sow seeds at a depth of 1/4 inch. Space rows 12 inches apart to allow for adequate airflow and to prevent fungal pathogens from colonizing the leaf canopy. Chive seeds are recalcitrant if kept too dry; maintain a consistent moisture level until the first green loops emerge from the soil.
Pro-Tip: Maintain dark conditions for the seeds during the first 48 hours. Biological Why: Chive seeds exhibit negative photoblastism; exposure to direct light can inhibit the hormonal triggers required for the radicle to break the seed coat.
Transplanting and Spacing
If you are moving indoor starts or divided clumps to the garden, dig a hole twice the width of the root ball. Set the plant so the base of the stems sits exactly at the soil line. Spacing should be 8 to 12 inches between individual plants.
Pro-Tip: Use a hori-hori knife to slice through the root mass when dividing older clumps. Biological Why: Slicing the roots stimulates the production of auxins at the wound site, which encourages the development of new lateral roots and prevents the plant from becoming root-bound in its new location.
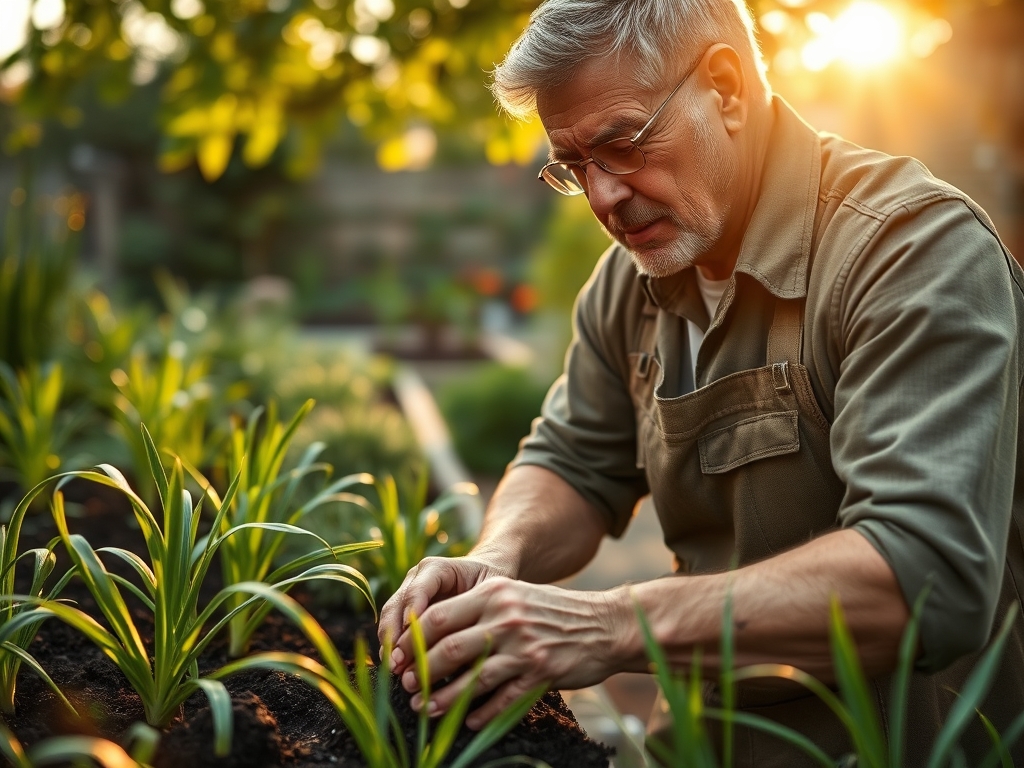
Establishing the Colony
During the first six weeks, focus on biomass accumulation. Do not harvest more than 10 percent of the leaf area during this window. Use a soil moisture meter to ensure the top two inches of soil remain hydrated but not saturated.
Pro-Tip: Apply a thin layer of organic mulch around the base of the plants. Biological Why: Mulching stabilizes soil temperature and supports mycorrhizal symbiosis; these beneficial fungi extend the reach of the chive roots, allowing for more efficient phosphorus and water absorption.
The Clinic:
Physiological disorders in chives are often the result of environmental stressors or nutrient imbalances rather than pathogens.
- Symptom: Yellowing of older leaves starting at the tips (Chlorosis).
- Solution: This indicates a Nitrogen deficiency. Nitrogen is a mobile nutrient; the plant pulls it from old growth to support new leaves.
- Fix-It: Apply a liquid seaweed extract or a high-nitrogen organic tea to the rhizosphere for immediate uptake.
- Symptom: Leaf tips turning brown and brittle during high heat.
- Solution: This is a sign of excessive transpiration. The plant is losing water through its stomata faster than the roots can replace it.
- Fix-It: Increase irrigation frequency and provide 30 percent shade cloth during peak afternoon sun.
- Symptom: Stunted growth and purple tinting on the underside of leaves.
- Solution: This is a classic sign of Phosphorus deficiency, often caused by cold soil temperatures which lock out the nutrient.
- Fix-It: Side-dress with bone meal and ensure the soil pH is not below 6.0.
Maintenance:
Precision maintenance is the difference between a surviving plant and a thriving one. Chives require 1.5 inches of water per week delivered at the drip line. Avoid overhead irrigation; wet foliage is a primary vector for downy mildew. Use bypass pruners to remove spent flower stalks at the base. This prevents the plant from diverting carbohydrates into seed production, a process known as reproductive sink strength.
Every three years, the colony will become overcrowded. Dig up the entire clump in early spring and divide it into sections of 5 to 10 bulbs. This process rejuvenates the stand and prevents the center of the clump from dying out due to nutrient depletion and lack of oxygen in the root zone.
The Yield:
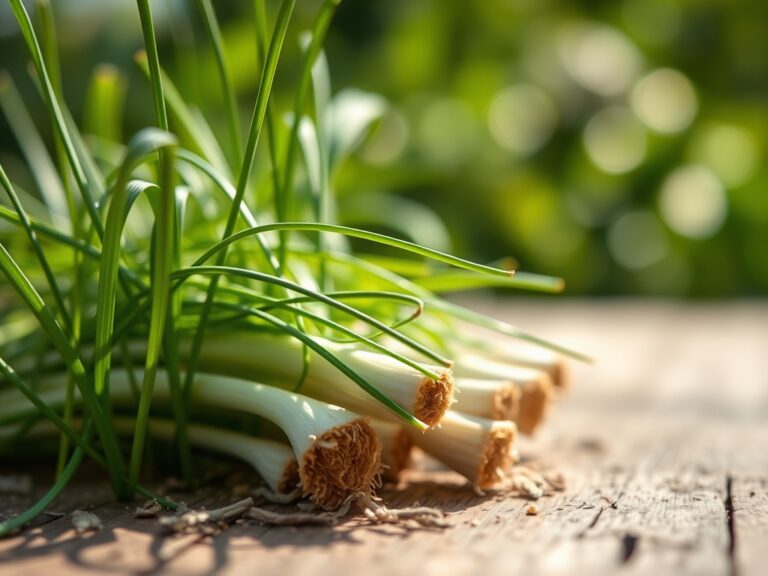
Harvesting begins once the plants reach 6 inches in height. Use sharp shears to cut the leaves 2 inches above the soil line. Never scalp the plant to the ground; leaving the basal growth intact allows the plant to continue photosynthesis and recover quickly.
For "day-one" freshness, harvest in the early morning when turgor pressure is at its maximum. If you cannot use the chives immediately, stand the cut ends in a shallow glass of water or wrap them in a damp paper towel and refrigerate. To preserve the flavor profile, avoid high-heat drying; instead, freeze the chopped blades in ice cube trays with a small amount of water to lock in the volatile oils.
FAQ:
How much sun do chives need daily?
Chives require a minimum of 6 to 8 hours of direct sunlight. While they can tolerate partial shade, insufficient light leads to weak, spindly growth and reduced oil concentration within the leaves.
Can I grow chives in containers?
Yes. Use a pot at least 6 inches deep with excellent drainage. Container-grown chives require more frequent irrigation and monthly fertilization with a balanced water-soluble formula due to the limited soil volume.
Why are my chives flowering so early?
Early flowering is usually a stress response to high temperatures or drought. The plant attempts to complete its life cycle rapidly to ensure seed dispersal before it expires. Consistent watering can delay this process.
Do chives come back every year?
Chives are perennial herbs. They go dormant in the winter, with the foliage dying back to the ground. The underground bulbs survive freezing temperatures and will resume vegetative growth as soon as the soil warms in spring.