8 Tips to Use a Spirit Level for Professional Landscaping
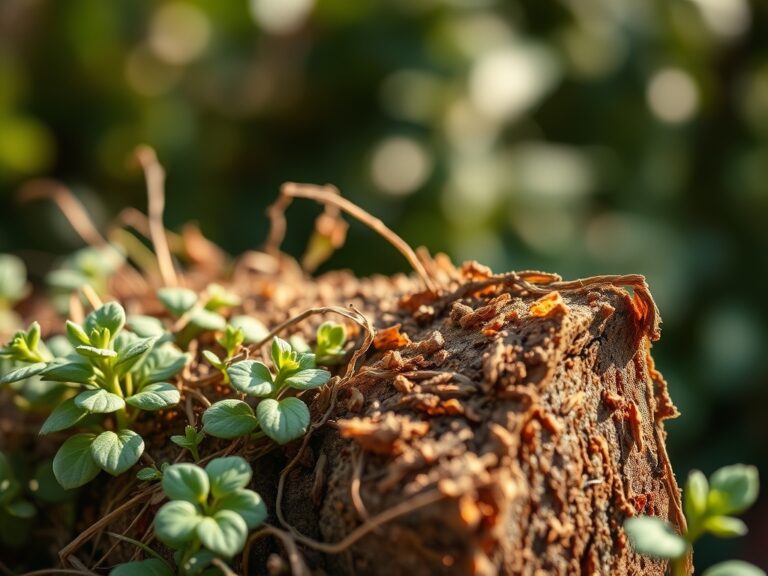
The scent of damp, disturbed earth and the high turgor pressure of a healthy plant depend entirely on the precision of the ground plane. Using a level for landscaping is the difference between a garden that drains efficiently and a stagnant marsh that invites root rot. When water sits against a foundation or pools in a depression, the rhizosphere suffers from anaerobic conditions; this lack of oxygen prevents roots from performing essential cellular respiration. A professional landscape requires a controlled grade to manage hydraulic pressure and ensure nutrient delivery. Without a true horizontal or a calculated pitch, gravity works against the gardener. Success starts with the physics of the site. Every retaining wall, patio, and drainage trench must be calibrated to the millimeter to prevent soil erosion and structural failure. A spirit level serves as the primary tool for verifying that the structural skeleton of the garden supports the biological life within it. Precision in the early stages of grading ensures that moisture moves through the soil profile at a rate that maintains cellular hydration without drowning the plant.
Materials:

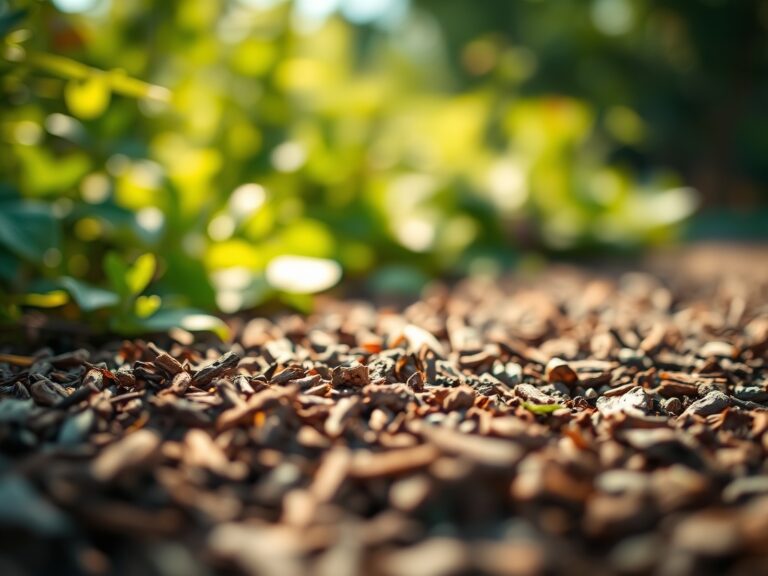
Professional landscaping requires a substrate with a **pH between 6.0 and 7.0** to maximize the Cation Exchange Capacity (CEC). This range ensures that essential ions like ammonium and potassium are available for root uptake. The ideal physical texture is a **friable loam**, consisting of roughly 40 percent sand, 40 percent silt, and 20 percent clay. This composition prevents the compaction that often occurs during heavy grading. For establishing new growth after leveling, use a starter fertilizer with an **NPK ratio of 10-20-10**. The high phosphorus content supports rapid root development and ATP production during the initial establishment phase. Ensure the soil has an organic matter content of at least 5 percent to support the microbial populations necessary for nutrient cycling.
Timing:
Hardiness Zones 4 through 8 require specific windows for major earthmoving and leveling. The ideal time for using a level for landscaping is during the dormant season or early spring before the "Biological Clock" triggers the transition from vegetative to reproductive stages. In most temperate regions, this occurs when soil temperatures reach a consistent 55 degrees Fahrenheit. Working the soil before this window prevents the destruction of soil aggregates. Avoid leveling during peak senescence in late autumn, as the lack of active root growth leaves the newly graded soil vulnerable to erosion. Aim for a window at least four weeks before the average last frost date to allow for soil settling and the establishment of early season ground covers.
Phases:

Sowing and Grading
Before seeds hit the ground, use a 4 foot or 6 foot spirit level to verify a 2 percent slope away from permanent structures. This ensures that surface runoff does not overwhelm the delicate seeds of a new lawn or meadow.
Pro-Tip: Proper grading prevents localized flooding which causes seed "washout." This is essential because excessive water triggers anaerobic stress, halting the metabolic processes required for germination.
Transplanting and Alignment
When installing large specimens or hedge rows, use a line level stretched between two stakes to ensure all root balls are set at the same elevation. The top of the root flare must be exactly level with or slightly above the surrounding grade.
Pro-Tip: Maintaining a consistent elevation prevents deep planting, which can lead to stem girdling. Proper alignment also maximizes phototropism, ensuring that plants grow vertically toward the light source rather than leaning to compensate for uneven ground.
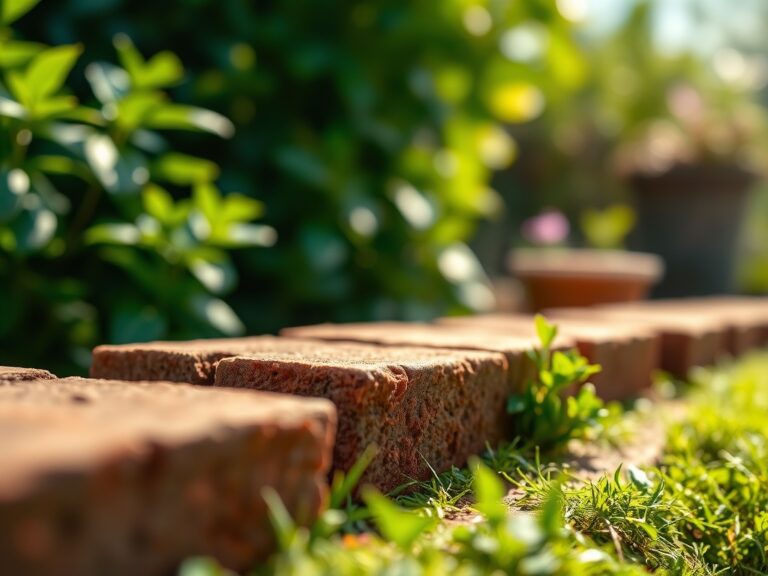
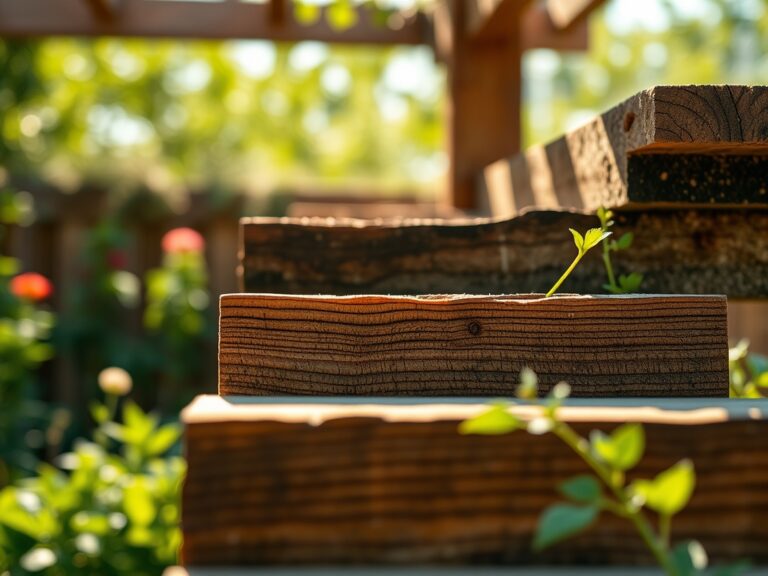
Establishing Structural Hardscapes
When building retaining walls or raised beds, check for level every two courses of stone or timber. A wall that is out of plumb by even 0.5 inches will experience uneven lateral earth pressure, leading to eventual collapse.
Pro-Tip: Leveling the base layer of a raised bed encourages uniform mycorrhizal symbiosis. When the bed is level, water distributes evenly, allowing beneficial fungi to colonize the entire root zone rather than just the lowest, wettest point.
The Clinic:
Physiological disorders often stem from poor leveling and drainage. Monitor your plants for these specific symptoms.
Symptom: Interveinal chlorosis in new growth.
Solution: This is often a sign of Iron deficiency caused by high soil pH or waterlogged conditions. Check the grade with a level to ensure water is not pooling. Apply chelated iron and adjust the slope to improve drainage.
Symptom: Marginal leaf burn or necrosis.
Solution: This indicates Potassium deficiency or salt buildup. If the area is a low spot, salts accumulate as water evaporates. Use a level to identify depressions and fill them with friable loam to normalize the grade.
Symptom: Stunted growth and purple-tinted foliage.
Solution: This is a classic Phosphorus deficiency. In cold, wet soils caused by poor leveling, phosphorus becomes immobile. Improve the pitch of the land to allow the soil to warm up faster in the spring.
Fix-It for Nitrogen Chlorosis: If older leaves turn pale yellow, the plant lacks nitrogen. This often happens in over-saturated soils where denitrification occurs. Level the ground to prevent standing water and apply a high-nitrogen fertilizer (e.g., 21-0-0) to restore chlorophyll production.
Maintenance:
Ongoing care requires precision. Most established landscapes need 1.5 inches of water per week delivered at the drip line. Use a soil moisture meter to verify that water is penetrating at least 6 inches into the soil profile. For pruning, use sharp bypass pruners to make clean cuts at a 45 degree angle, which prevents water from sitting on the wound and inviting fungal pathogens. When planting or weeding, a hori-hori knife is the professional choice for measuring depth and slicing through stubborn root mats without disturbing the surrounding soil structure. Check the level of your decorative paths and stone borders annually; frost heave can shift these elements by several centimeters, disrupting the intended drainage patterns.
The Yield:
When harvesting flowers or herbs from a perfectly leveled garden, timing is critical. Harvest in the early morning when turgor pressure is at its peak. Use a sharp knife to avoid crushing the vascular tissue (xylem and phloem). For "day-one" freshness, immediately plunge the stems into water chilled to 40 degrees Fahrenheit. This rapid cooling slows the rate of respiration and extends the post-harvest life of the plant material. For woody perennials, ensure you leave at least one third of the current season's growth to maintain the plant's energy reserves for the following year.
FAQ:
How do I check the grade over a long distance?
Use a string line and a line level. Stretch the string tight between two stakes. Hang the level in the center of the string. Measure the height from the string to the ground at both ends to calculate the slope.
What is the best slope for a patio?
A professional standard is a 1/4 inch drop for every 1 foot of distance. This creates a 2 percent grade. This slope is steep enough to shed water but shallow enough to feel level to the human eye.
Why does my spirit level give different readings?
Check for debris on the leveling surface or the tool itself. Turn the level 180 degrees; if the bubble does not land in the same spot, the tool is out of calibration and must be replaced for accurate work.
Can I use a level for planting trees?
Yes. Place a straight board across the planting hole and put the level on top. This ensures the root flare sits exactly at the soil surface. This prevents deep planting, which is a leading cause of tree mortality.