8 Growth-Control Steps to Prune a Monstera Deliciosa
The aerial roots of Monstera deliciosa can extend over 6 feet in a single growing season when left unpruned, quickly overwhelming interior spaces designed for compact specimens. Understanding the steps for pruning a Monstera deliciosa transforms an unruly tropical climber into a sculptural houseplant while redirecting auxin distribution toward fenestrated leaf production rather than vertical stem elongation. This guide provides eight growth-control interventions grounded in apical dominance theory and wound-response physiology.
Materials
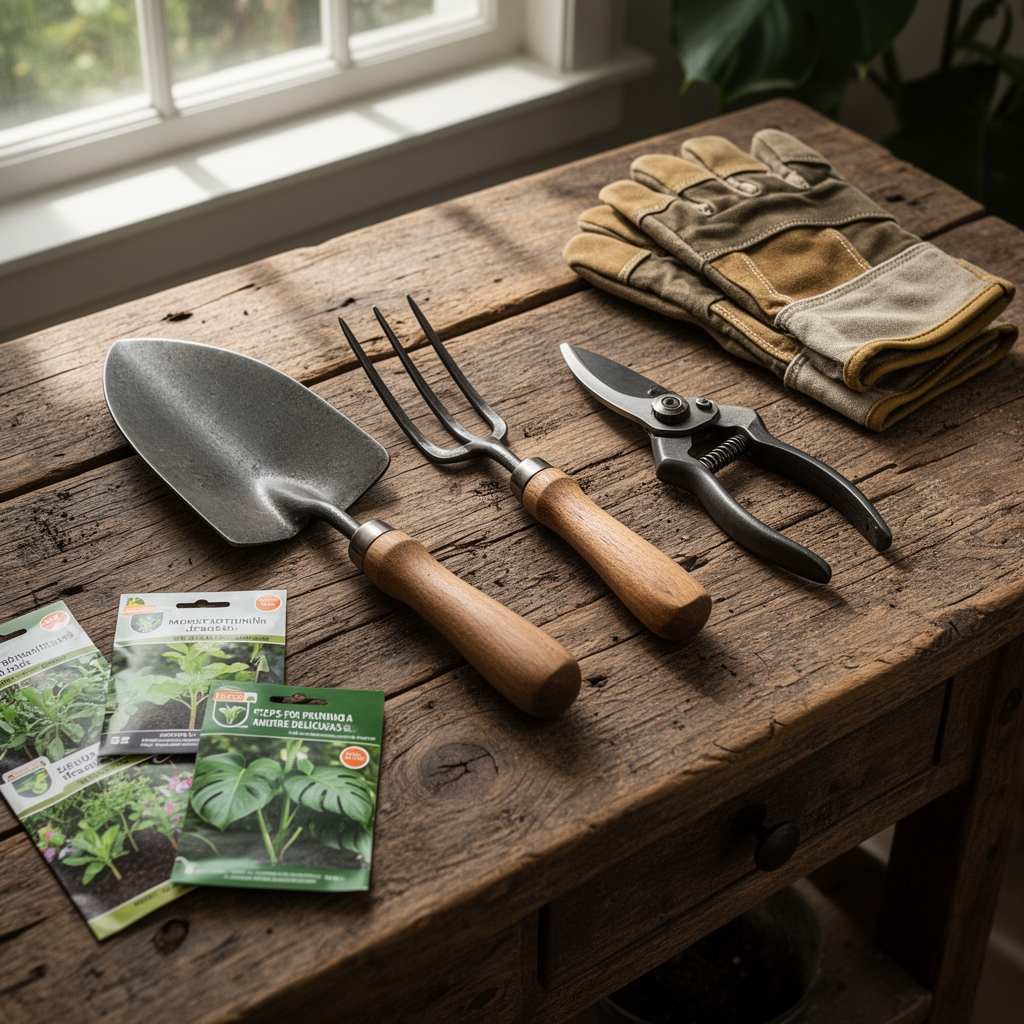
Sharp bypass pruners sterilized in 10% bleach solution prevent bacterial soft rot (Erwinia species) at cut sites. Isopropyl alcohol at 70% concentration serves as an alternative disinfectant between cuts. Rooting hormone containing 0.1% indole-3-butyric acid (IBA) accelerates adventitious root formation on cuttings. Ground cinnamon powder acts as a natural anti-fungal desiccant for fresh wounds.
For post-pruning recovery, apply a balanced 4-4-4 organic fertilizer (blood meal, bone meal, and kelp meal blend) to compensate for reduced photosynthetic surface area. Maintain substrate pH between 5.5 and 7.0 to optimize cation exchange capacity in peat-based mixes. Mycorrhizal fungi inoculant (Glomus species) enhances phosphorus uptake during the stress recovery phase.
Timing
Execute major pruning during active growth periods between USDA Hardiness Zones 10-12 equivalent indoor conditions, typically March through July when ambient temperatures remain above 65°F. Avoid pruning within 6 weeks of the first frost date if transitioning plants outdoors. Indoor specimens tolerate year-round maintenance cuts, but wound callusing accelerates 40% faster when day length exceeds 12 hours.
Monstera deliciosa enters semi-dormancy when temperatures drop below 55°F. Pruning during this metabolic slowdown increases susceptibility to Xanthomonas leaf spot. Schedule growth-control work when new leaf primordia emerge from the cataphyll, indicating peak auxin production in apical meristems.
Phases
Initial Assessment Phase
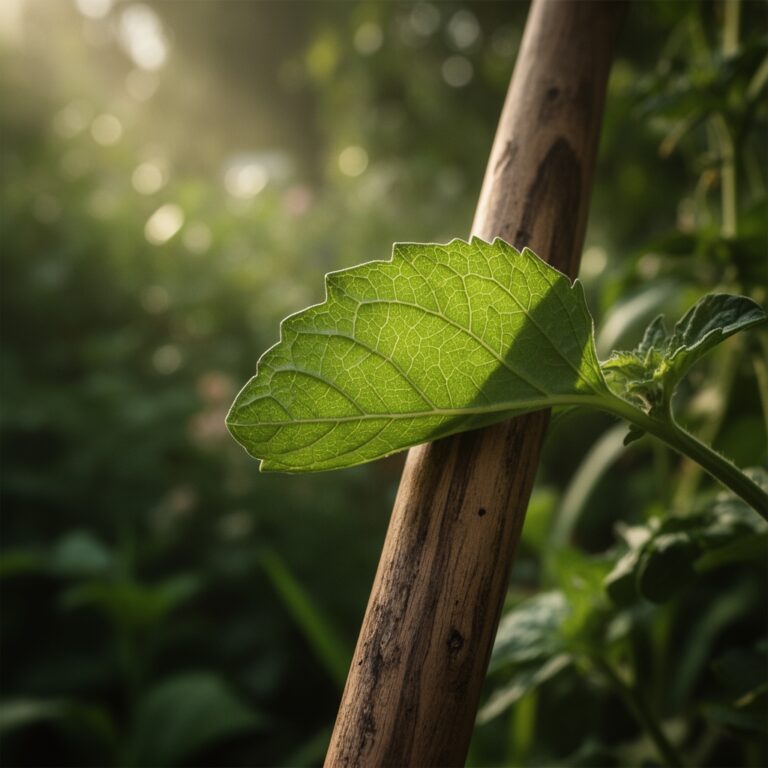
Identify the dominant apical meristem, the primary growth point producing the tallest stem. Trace each petiole to its node, noting internode length. Stems with internodes exceeding 4 inches indicate etiolation from insufficient light. Mark leggy stems for removal at 45-degree angles 1/4 inch above nodes.
Pro-Tip: Count back three nodes from undesired growth to preserve latent axillary buds that will activate post-pruning.
Execution Phase
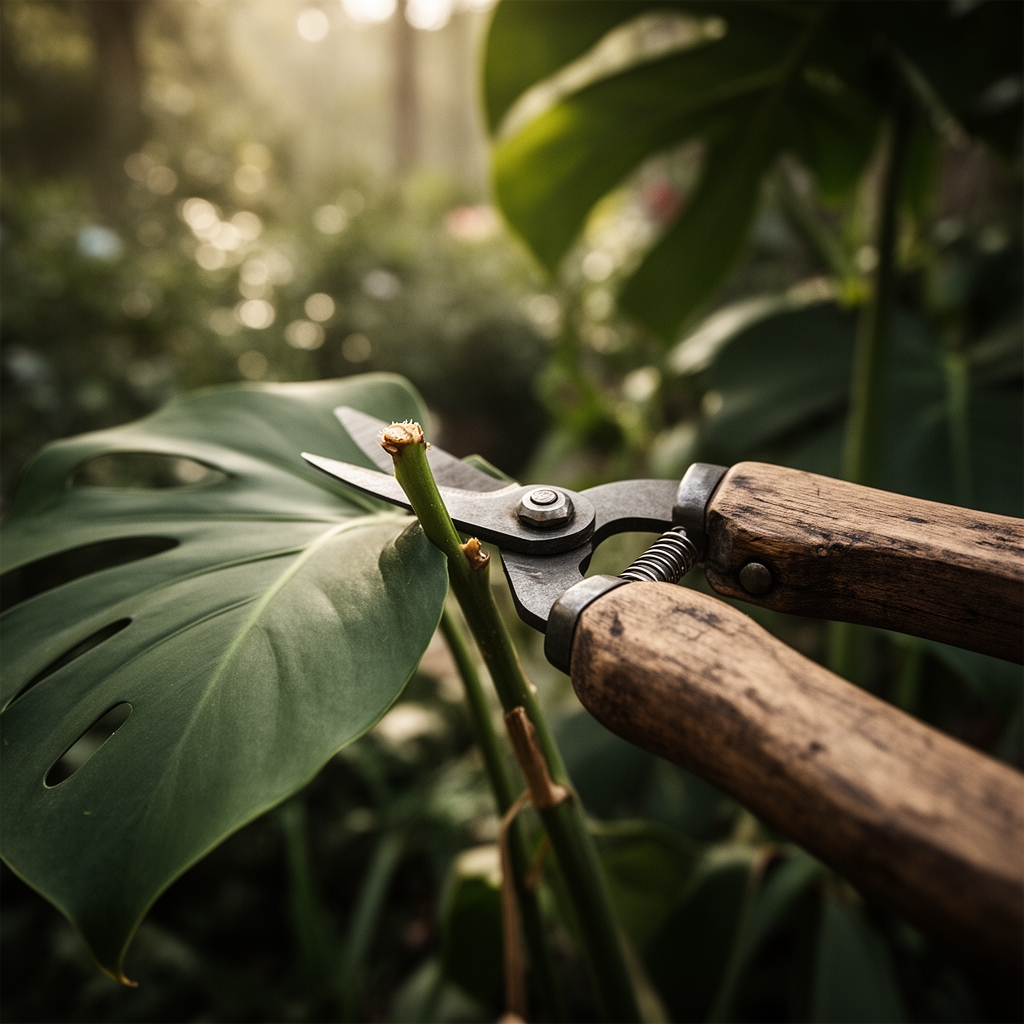
Remove no more than 30% of total leaf mass in a single session to prevent shock-induced leaf abscission. Cut through stems in one smooth motion to avoid crushing vascular tissue. Aerial roots attached to removed sections remain viable for propagation when kept in contact with sphagnum moss at 80% humidity.
Redirect growth by removing the terminal bud from vertical stems, breaking apical dominance and forcing lateral bud break within 3-4 weeks. Apply rooting hormone to nodes on cuttings intended for propagation. Insert cuttings into a 50/50 perlite-peat mix with bottom heat at 75°F.
Pro-Tip: Prune stems 1/8 inch above nodes at 45-degree angles to prevent water accumulation that fosters fungal colonization.
Recovery Phase
Reduce watering frequency by 25% for two weeks post-pruning to account for decreased transpirational demand. Monitor cut sites for clear exudate, normal wound response containing phenolic compounds. Brown or black discoloration indicates infection requiring re-cutting 1 inch below the affected area.
New lateral shoots emerge 18-25 days after apical meristem removal. Once shoots reach 3 inches, resume standard fertilization at half-strength 10-10-10 liquid formula every 14 days. Full-strength feeding resumes when new leaves unfurl completely and develop characteristic fenestrations.
Pro-Tip: Supplement with foliar kelp spray (0-0-1 NPK ratio) containing cytokinins to accelerate axillary bud activation.
Troubleshooting
Symptom: Yellow halos around cut sites with water-soaked tissue.
Solution: Bacterial infection. Remove affected tissue 2 inches below symptoms. Spray with copper-based bactericide (0.5% copper sulfate pentahydrate). Reduce humidity below 60%.
Symptom: Black, dry edges spreading from pruning wounds.
Solution: Excessive wound desiccation or anthracnose fungus. Apply ground cinnamon to wounds. Increase ambient humidity to 50-60% without misting leaves directly.
Symptom: No lateral bud break 5 weeks after apical removal.
Solution: Insufficient stored carbohydrates or inadequate light. Increase light intensity to 200-400 foot-candles. Apply 15-5-10 fertilizer to boost nitrogen reserves.
Symptom: Spindly growth from newly activated lateral buds.
Solution: Light starvation triggering shade-avoidance response. Position plant within 3 feet of south-facing window or provide 12-14 hours of supplemental LED grow lights at 6000K color temperature.
Maintenance
Provide 1 inch of water weekly, allowing the top 2 inches of substrate to dry between irrigations. Measure soil moisture with a probe at 4-inch depth; maintain readings between 4-6 on a 10-point scale. Prune maintenance growth every 8-10 weeks during active growth, removing individual leaves that yellow or stems that revert to non-fenestrated juvenile foliage.
Wipe leaf surfaces monthly with distilled water to maintain stomatal function and light absorption. Rotate containers 90 degrees every two weeks to promote symmetrical growth and prevent phototropic leaning. Stake stems longer than 18 inches using coir poles to mimic natural hemiepiphytic climbing behavior.
FAQ
How often should I prune Monstera deliciosa?
Prune every 6-8 weeks during spring and summer for size control. Annual heavy pruning in early March maintains compact form.
Can I propagate cuttings from pruned stems?
Yes. Cuttings with at least one node and aerial root root within 3-4 weeks in moist sphagnum moss.
Will pruning increase fenestration?
Indirectly. Removing apical dominance redirects resources to leaf development, but fenestration requires high light (300+ foot-candles) and maturity.
What causes leaf tears after pruning?
Mechanical damage during handling. Support large leaves from the petiole base when repositioning pruned plants.
Should I prune aerial roots?
Trim only roots that interfere with aesthetics. Each root contributes to nutrient absorption and structural stability.