8 Best Durable Bricks for Landscape Paths and Borders
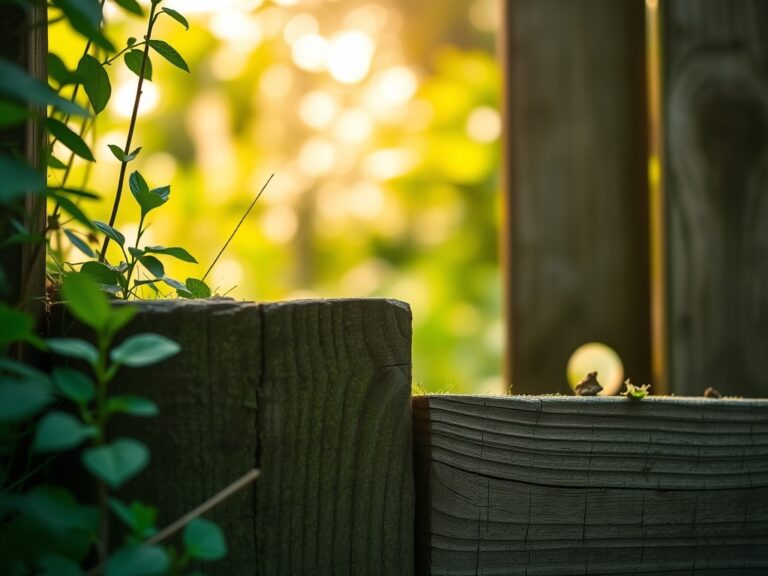
The scent of damp, anaerobic clay mixed with the iron tang of a wet shovel signals the start of a permanent installation. Successful hardscaping requires more than aesthetic choice; it demands an understanding of how mineral structures interact with the rhizosphere. Selecting the best bricks for landscaping involves calculating the compressive strength and water absorption rates necessary to withstand the freeze-thaw cycles of your specific climate. When you press a brick into a bed of coarse sand, you are managing the structural integrity of the soil profile. A brick with high porosity will succumb to spalling within three seasons, whereas a high-density, kiln-fired unit maintains its turgor-like stability against the lateral pressure of expanding roots. You must account for the Cation Exchange Capacity (CEC) of the surrounding soil, as high-alkalinity mortars can leach salts into the root zones of acid-loving specimens, causing localized nutrient lockout.
Materials:

Before laying a single unit, analyze the substrate. The ideal base is a **friable loam** with a **pH between 6.0 and 7.0** to prevent chemical erosion of the brick face. For the eight best durable bricks, look for these specific classifications:
- SX Grade Engineering Bricks: These have a water absorption rate of less than 4.5 percent.
- Reclaimed Paving Bricks: Dense, weathered clay that has already survived decades of compaction.
- Fire Bricks: High alumina content, ideal for borders near outdoor kilns or fire pits.
- Concrete Pavers: High compressive strength, often exceeding 8,000 PSI.
- Sand-Struck Bricks: Textured for grip in high-moisture zones.
- Extruded Wire-Cut Bricks: Uniform dimensions for tight, 1/8-inch joints.
- Glazed Headers: Impermeable to water, perfect for decorative moisture barriers.
- Blue Stafforshire Bricks: Chemically resistant with a vitrified surface.
If planting alongside these borders, ensure your soil NPK ratio is balanced at 10-10-10 for general establishment. High nitrogen (N) levels can accelerate the growth of moss and algae on the brick surface, leading to biological degradation of the mortar.
Timing:
Hardiness Zones 3 through 9 dictate your installation window. You must complete all masonry work at least 30 days prior to the first hard frost. This allows the substrate to settle and any mortar to reach full tensile strength before the biological clock of the garden shifts from the vegetative to the dormant stage. In spring, wait until the soil temperature reaches a consistent 55 degrees Fahrenheit at a depth of four inches. Working in saturated, cold soil leads to compaction, which destroys the macropores necessary for oxygen exchange in the soil. Observe the photoperiod; shorter days in autumn signal the plant's transition to senescence, making it the ideal time to install borders without disrupting active transpiration cycles.
Phases:

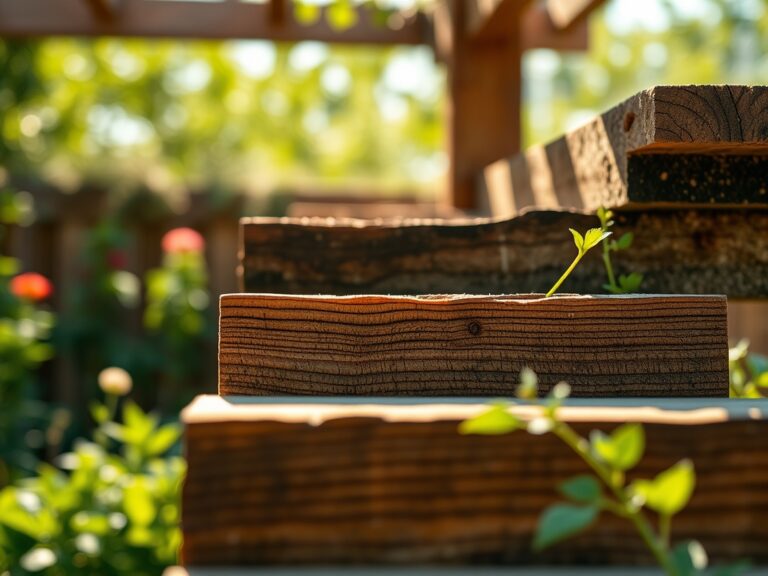
Sowing the Foundation
Excavate a trench 8 inches deep. Fill the first 4 inches with crushed limestone (3/4-inch minus). Compact this layer until it is rock-hard. This prevents the "pumping" action of wet soil that displaces bricks.
Pro-Tip: Use a soil moisture meter to ensure the base is not saturated. Excess water during compaction leads to "smearing," which creates an impermeable layer that prevents mycorrhizal symbiosis from extending beneath the path.
Transplanting the Units
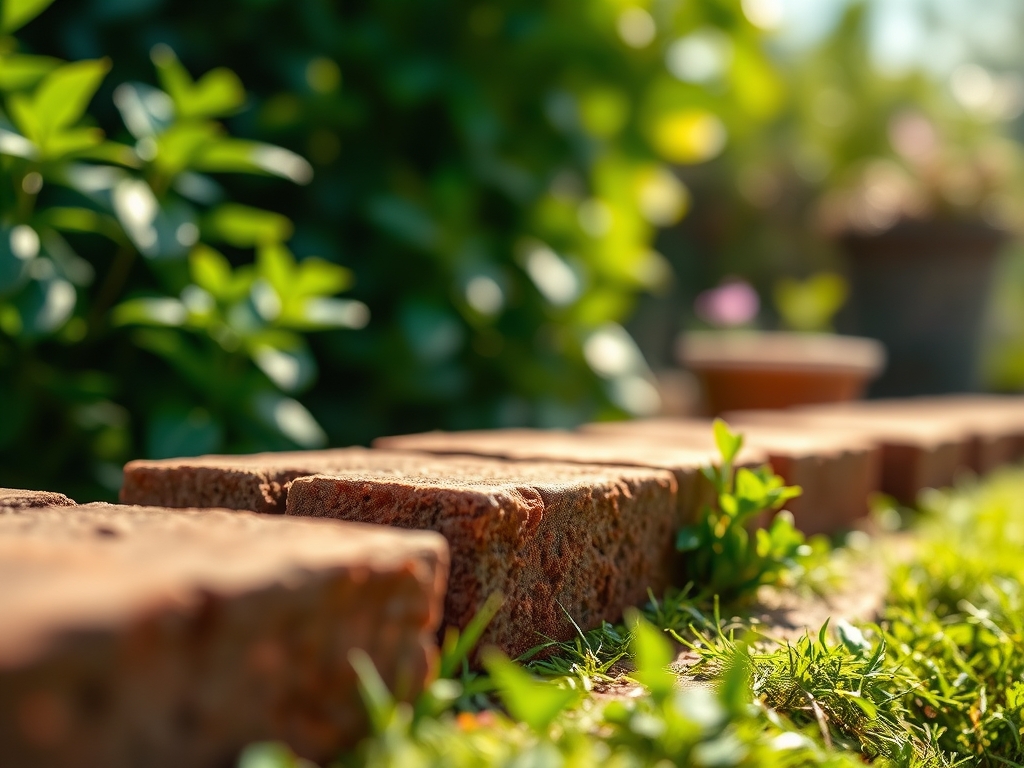
Lay your bricks in a "running bond" or "herringbone" pattern. Leave a 2mm gap between units for polymeric sand. This sand creates a flexible joint that moves with the earth.
Pro-Tip: If installing near trees, leave a 3-foot radius to avoid auxin suppression. Compacting soil over structural roots triggers a stress response that can lead to canopy dieback within two years.
Establishing the Border
Once laid, sweep fine-grained sand into the joints and vibrate the surface with a plate compactor. Mist the area lightly to settle the particles without washing them away.
Pro-Tip: Maintaining a slight 1-percent grade away from plant stems prevents crown rot. This utilizes gravity to manage turgor pressure by ensuring the root flare does not sit in standing water.
The Clinic:
Physiological disorders in the landscape often stem from poor drainage or chemical leaching from hardscaping materials.
- Symptom: Efflorescence (white powdery substance on bricks).
- Solution: This is a salt migration issue. Scrub with a stiff brush and ensure the soil pH is not excessively alkaline (above 7.5).
- Symptom: Nitrogen Chlorosis in border plants (yellowing of older leaves).
- Solution: Apply a blood meal or urea-based fertilizer to restore the N in the NPK balance. Bricks can sometimes trap heat, accelerating the metabolic rate of soil microbes which deplete nitrogen.
- Symptom: Iron Deficiency (interveinal chlorosis in new growth).
- Fix-It: Check the brick mortar. If it is high-lime, it may be raising the local pH. Apply chelated iron to the soil to bypass the lockout.
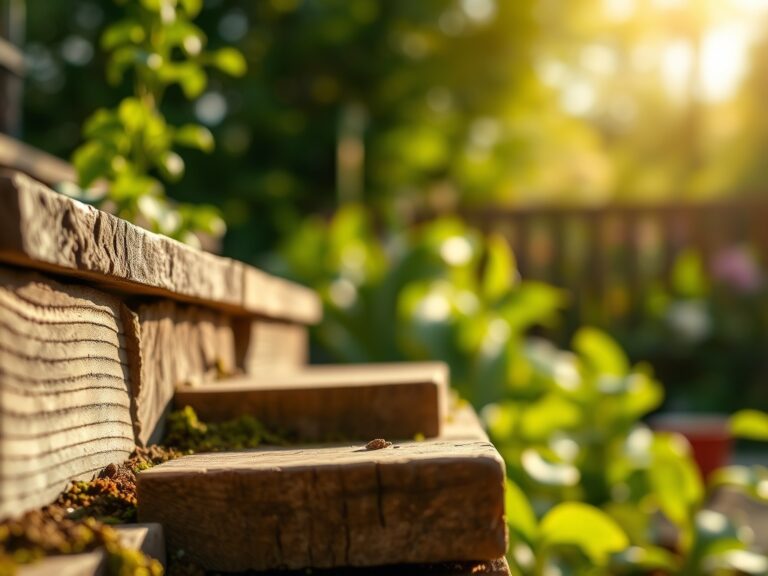
Maintenance:
Precision is mandatory for longevity. Use a soil moisture meter weekly to check the hydration levels beneath the bricks. If the soil dries out completely, it can shrink, causing the path to shift. Aim for 1.5 inches of water per week delivered via drip irrigation at the edge of the brick line.
Use a hori-hori knife to remove any deep-rooted weeds that penetrate the joints; do not pull them by hand as this can dislodge the sand base. For nearby shrubs, use bypass pruners to maintain a 6-inch clearance between foliage and brick to allow for airflow. This prevents the buildup of humidity that encourages fungal pathogens. Every three years, inspect the joints and replenish polymeric sand to maintain the structural integrity of the best bricks for landscaping.
The Yield:
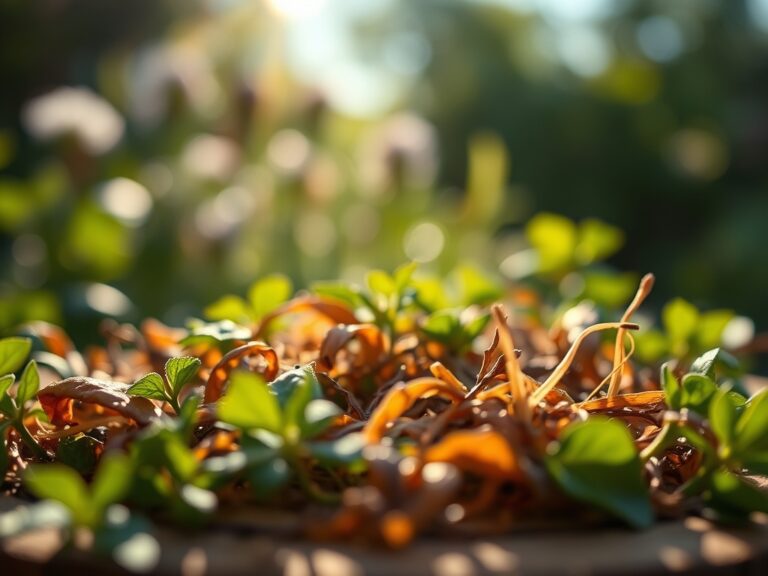
If your brick borders frame an edible garden, the thermal mass of the clay can extend your harvest. Bricks absorb solar radiation during the day and release it at night, keeping the rhizosphere 3 to 5 degrees warmer than open soil. Harvest leafy greens in the early morning when turgor pressure is at its peak. Use a sharp blade to make clean cuts, then immediately submerge the produce in 40-degree water. This "hydro-cooling" process halts the enzyme activity associated with senescence, ensuring the harvest remains crisp.
FAQ:
What is the most durable brick for a high-traffic path?
SX Grade Engineering bricks are the most durable due to their low water absorption (under 4.5%) and high compressive strength. They resist cracking during extreme freeze-thaw cycles and withstand significant weight without shifting or spalling over time.
Can I use standard house bricks for landscaping?
No. Standard "face bricks" are too porous for ground contact. They absorb groundwater, which expands when frozen, causing the brick to shatter. Always select bricks rated for "severe weathering" (SW) or paving-grade units for any landscape project.
How do bricks affect soil pH?
New mortar and certain concrete-based bricks contain lime, which can leach into the soil and raise the pH level. This makes the soil more alkaline, potentially causing nutrient deficiencies in acid-loving plants like azaleas or blueberries.
How do I prevent weeds from growing between bricks?
Use polymeric sand in the joints. When misted with water, the polymers bind the sand particles together, creating a firm but flexible barrier. This prevents seeds from reaching the soil and inhibits the growth of root systems between units.