7 Steps to Prepare a Scenic Permanent Garden Bench Site
The scent of geosmin rising from disturbed soil signals the start of a serious structural project. When you press your thumb against a leaf and feel the high turgor pressure of a well hydrated plant, you know the surrounding environment is stable enough for permanent fixtures. Learning how to prepare a site for a garden bench requires more than just leveling the ground; it demands an understanding of the local pedology and the hydrological impact on the rhizosphere. A bench is a heavy load that can compact soil, crushing the delicate pore spaces needed for oxygen and water transport to nearby roots. By following a scientific approach to site preparation, you ensure the bench remains level while the surrounding flora thrives. You must account for the Cation Exchange Capacity (CEC) of the soil to ensure that any runoff from treated wood or stone does not negatively alter the nutrient availability for adjacent specimens. Proper preparation involves clearing a footprint that extends 12 inches beyond the bench legs to prevent root encroachment and facilitate drainage.
Materials:
The ideal substrate for the area surrounding your bench is a **friable loam** consisting of **40 percent sand, 40 percent silt, and 20 percent clay**. This balance prevents the soil from becoming anaerobic under the weight of the structure. For the immediate footprint, you will need a base of **crushed limestone (3/4-inch minus)** to provide structural stability and high drainage.
Before installation, test the soil pH. Most ornamental plants surrounding a bench prefer a pH of 6.2 to 6.8. If you are planting heavy feeders nearby, incorporate a slow-release fertilizer with an NPK ratio of 10-10-10 into the top 6 inches of the surrounding soil. For flowering perennials that provide the backdrop, a ratio of 5-10-5 is preferable to encourage phosphorus-driven root and bloom development without excessive vegetative growth that might obstruct the seating area.
Timing:
Timing is dictated by the thermal properties of your soil. In Hardiness Zones 4 through 7, site preparation should occur at least four weeks before the first autumn frost or three weeks after the final spring frost. This window ensures that any disturbed roots of nearby plants have time to recover before the onset of dormancy or the high-stress period of summer transpiration.
Observe the "Biological Clock" of your garden. Avoid major site excavation during the peak reproductive stage (flowering) of adjacent plants, as the metabolic energy is diverted away from root repair. The transition from the vegetative stage to the reproductive stage is a period of high hormonal activity; disturbing the soil then can trigger premature senescence in sensitive species. Aim for the early vegetative phase when auxin production is high, favoring rapid root regeneration.
Phases:
Sowing the Perimeter
If you are establishing a ground cover around the bench, sow seeds at a depth of 0.25 inches in the prepared loam. Use a seed mix that tolerates partial shade and moderate foot traffic. Ensure the soil temperature is at least 55 degrees Fahrenheit for optimal germination.
Pro-Tip: Maintaining soil contact is vital for moisture uptake. This is due to capillary action, where the narrow spaces between soil particles draw water toward the seed coat, triggering the metabolic processes required for the radicle to emerge.
Transplanting Buffer Plants
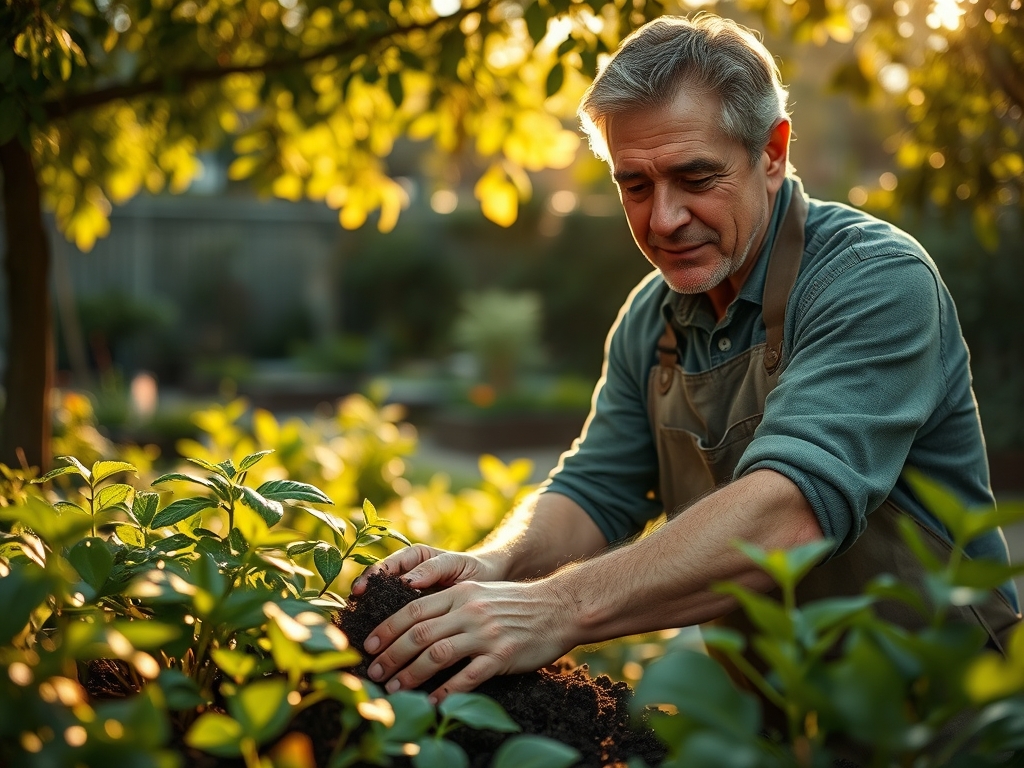
When placing shrubs or perennials behind the bench site, dig holes twice as wide as the root ball. Ensure the crown of the plant sits 0.5 inches above the soil line to prevent crown rot. Backfill with the native soil to maintain consistent osmotic potential.
Pro-Tip: Inoculate the transplant holes with mycorrhizal fungi. This establishes a symbiotic relationship where the fungi extend the root system's reach, increasing the uptake of phosphorus and water, which is critical for plants near compacted bench sites.
Establishing the Base
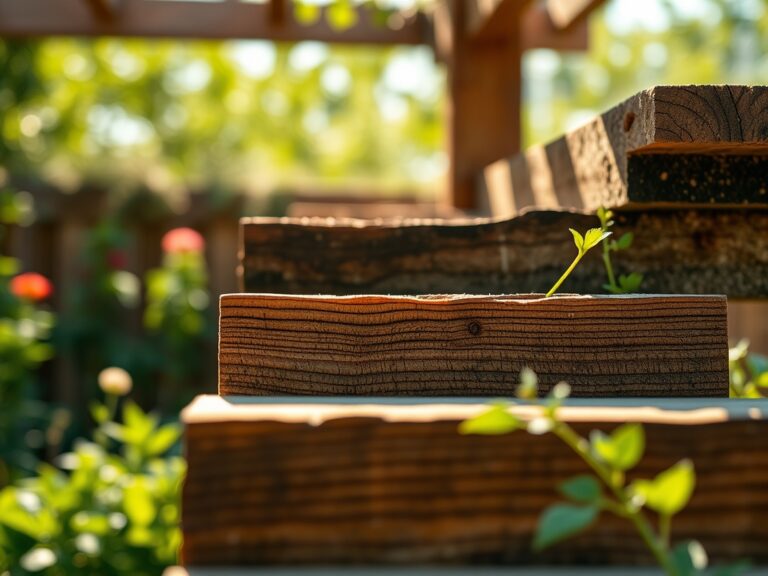
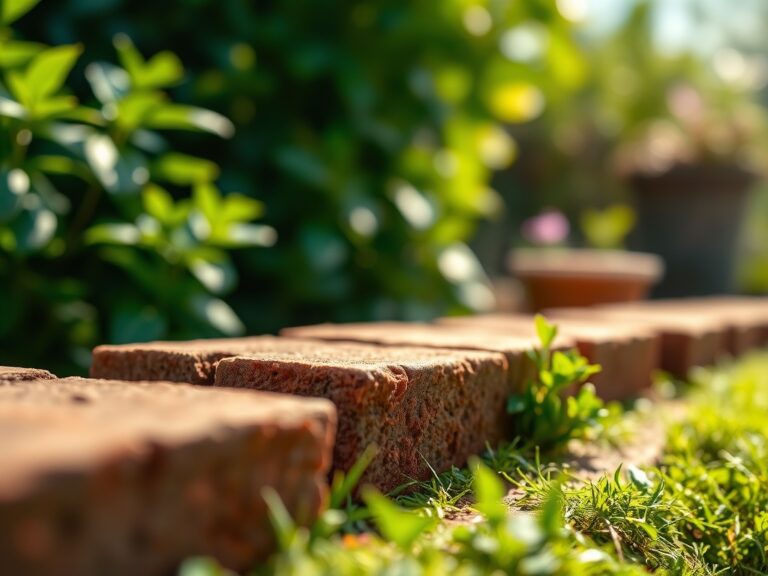
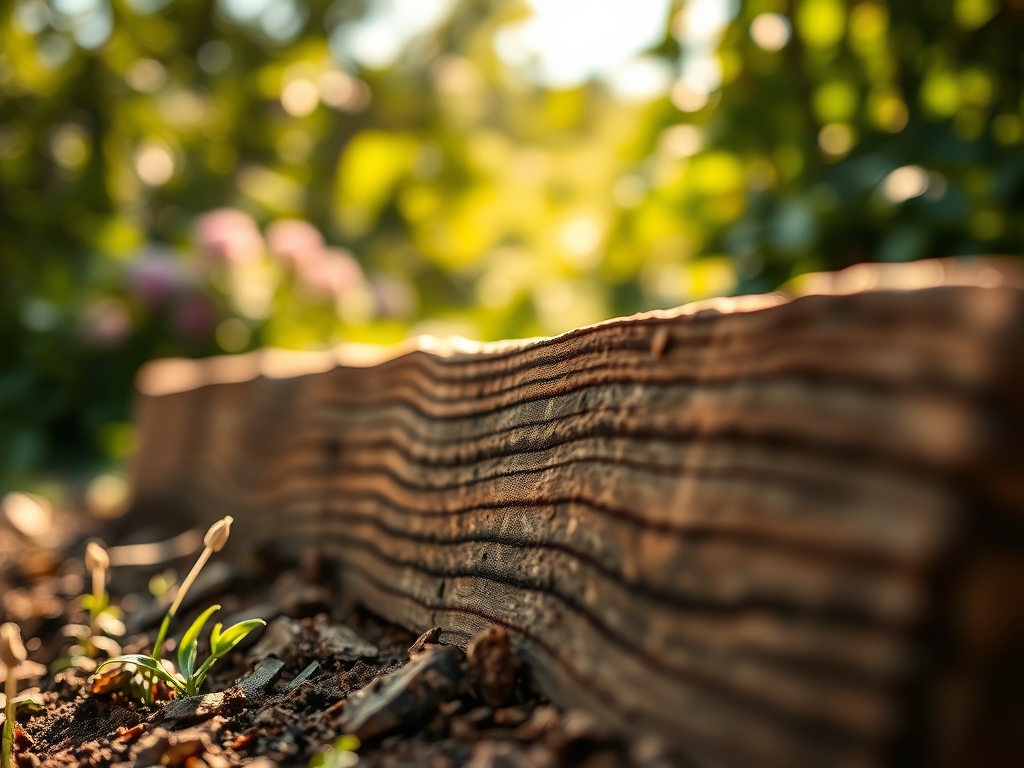
Excavate the bench footprint to a depth of 6 inches. Lay a geotextile fabric to prevent soil mixing. Fill with 4 inches of compacted gravel followed by 2 inches of leveling sand or decorative stone. Use a carpenter's level to ensure a 0.5 percent slope away from the center to prevent water pooling.
Pro-Tip: Proper leveling prevents localized soil saturation. If water collects under the bench, it creates an anaerobic environment that kills beneficial aerobic bacteria and promotes the growth of pathogenic fungi like Phytophthora.
The Clinic:
Physiological disorders often arise from the localized compaction and shade created by a garden bench. Monitor the following symptoms:
-
Symptom: Interveinal Chlorosis. The leaves of nearby plants turn yellow while veins remain green.
Solution: This is often a sign of Iron deficiency caused by high pH. Apply chelated iron and check if the bench material (like concrete) is leaching lime into the soil. -
Symptom: Leaf Scorch. Brown, crispy edges on leaves of plants located in the "heat sink" area behind the bench.
Solution: Increase irrigation to 2 inches per week to compensate for the radiant heat reflected off the bench surface. -
Symptom: Stunted Growth. New leaves are small and dark green, or purple-tinted.
Solution: This indicates Phosphorus deficiency, often exacerbated by cold, compacted soils. Use a hori-hori knife to aerate the soil around the bench and apply a high-phosphate starter fertilizer.
Fix-It Section: For Nitrogen chlorosis (uniform yellowing of older leaves), apply a liquid seaweed extract or a high-nitrogen (20-0-0) fertilizer to quickly restore chlorophyll production and photosynthetic efficiency.
Maintenance:
A permanent bench site requires rigorous moisture management. Use a soil moisture meter to check the hydration levels at a depth of 4 inches every three days during the first growing season. Plants located at the drip line of the bench backrest require 1.5 inches of water per week, delivered directly to the root zone to avoid foliar diseases.
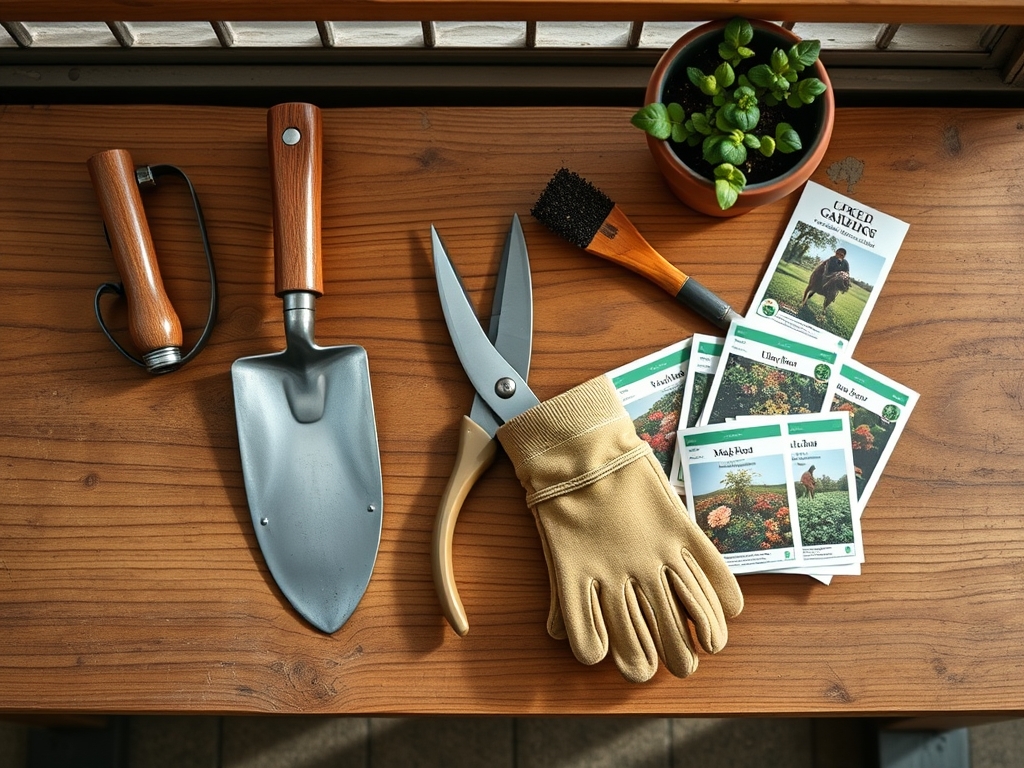
Use bypass pruners to maintain a 6-inch clearance between the bench and any woody stems. This prevents mechanical damage to the bark, which can serve as an entry point for wood-boring insects. Every spring, use a hori-hori knife to slice through any "girdling roots" that may be attempting to grow into the gravel base of the bench.
The Yield:
If your bench is flanked by lavender or culinary herbs, harvest during the "morning surge" when terpene and essential oil concentrations are at their peak. Cut stems at a 45-degree angle just above a node to encourage lateral branching. To maintain "day-one" freshness, immediately place the cut ends in 40-degree Fahrenheit water to maintain turgidity and slow the rate of respiration. For flowers, remove the lower foliage to prevent bacterial buildup in the vase water, ensuring the vascular system remains unclogged.
FAQ:
How deep should the gravel base be for a garden bench?
Excavate to a depth of 6 inches. Fill with 4 inches of compacted 3/4-inch crushed stone and 2 inches of leveling sand. This depth ensures structural stability and prevents frost heaving in colder climates.
Can I put a bench directly on the grass?
Placing a bench on turf leads to soil compaction and anaerobic conditions. The grass will succumb to crown rot within weeks. Always create a dedicated pad using gravel, pavers, or thickened mulch to protect soil structure.
What is the best soil pH for plants near a bench?
Aim for a pH of 6.2 to 6.8. This range optimizes the Cation Exchange Capacity, ensuring that essential macronutrients like Nitrogen and Phosphorus remain bioavailable to the root systems of your ornamental perimeter.
How do I prevent weeds from growing under the bench?
Install a heavy-duty geotextile weed barrier beneath your gravel or stone base. This fabric allows for gas exchange and water drainage while blocking the photoperiodism triggers required for weed seed germination in the soil below.