7 Steps to Build a Classic Outdoor Dining Patio
The smell of damp earth after a heavy rain reveals the true structure of your soil; it is the scent of geosmin produced by Actinomycetes. When the turgor pressure in surrounding vegetation is high, the leaves stand rigid and the ecosystem is ready for structural intervention. Mastering the steps for building a garden patio requires more than aesthetic planning. It demands an understanding of soil compaction, drainage physics, and the biological needs of the surrounding rhizosphere. A patio is not merely a hardscape feature; it is a thermal mass that influences the microclimate of your entire garden. Proper installation prevents soil anaerobic conditions and ensures that nearby root systems continue to thrive despite the introduction of non-porous surfaces. This guide provides the technical framework to integrate stone and soil without compromising the physiological health of your landscape.
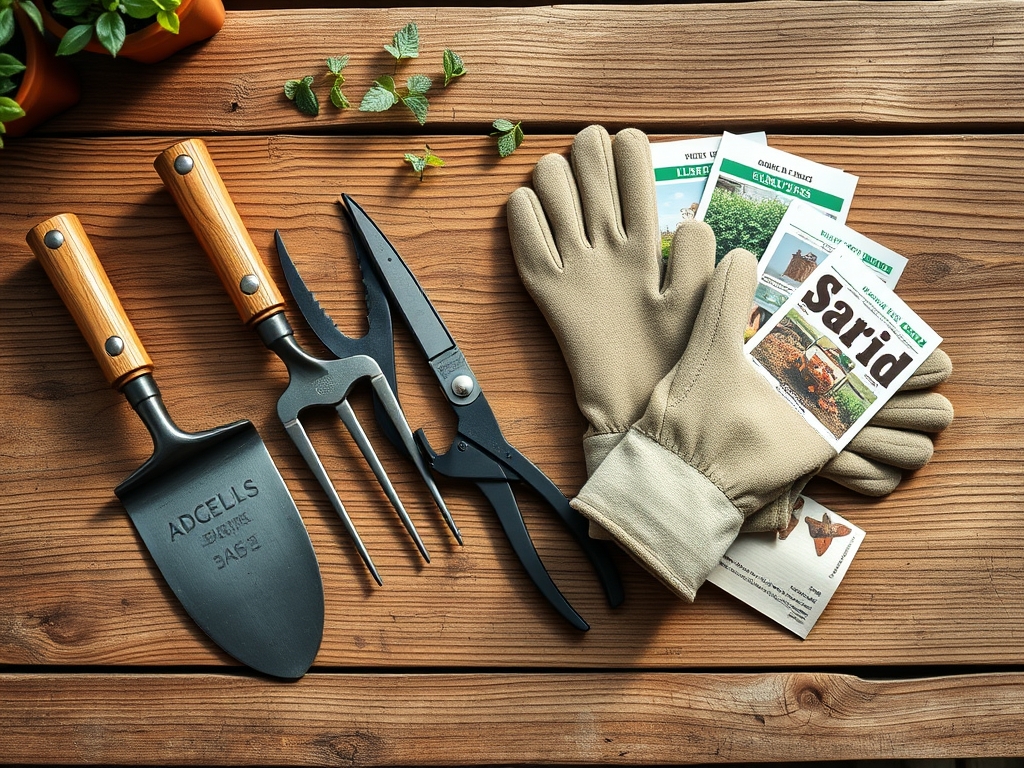
Materials:
Substrate integrity is the foundation of any long-term hardscape. The ideal soil profile surrounding your patio should be a **friable loam**, consisting of roughly **40% sand, 40% silt, and 20% clay**. This balance ensures a high **Cation Exchange Capacity (CEC)**, allowing the soil to retain essential nutrients like potassium and magnesium.
Before excavation, test the soil pH. Most temperate garden plants thrive in a pH range of 6.0 to 7.0. If your soil is too acidic, incorporate pelletized lime; if too alkaline, use elemental sulfur. When planting the perimeter of your patio, utilize specific NPK ratios to support establishment. Use a 10-20-10 starter fertilizer to provide high phosphorus levels for root development. For the base of the patio itself, you require crushed limestone (3/4-inch minus) and washed sharp sand. These materials provide the structural stability needed to prevent shifting during freeze-thaw cycles while maintaining enough porosity to prevent localized flooding.
Timing:
Hardscape installation is dictated by the Biological Clock of your local flora. In Hardiness Zones 4 through 7, the optimal window for construction is late autumn or early spring when plants are in a state of senescence or just breaking dormancy. Excavating during the height of the summer growth phase can cause extreme moisture stress and hydraulic failure in nearby perennials.
Construction should begin at least four weeks before the first hard frost to allow the ground to settle. In the spring, wait until the soil temperature reaches a consistent 50 degrees Fahrenheit at a depth of four inches. Working with saturated, cold soil destroys the soil structure by collapsing the macropores, leading to permanent compaction. By timing your build with the transition from the vegetative to the reproductive stages of your garden, you minimize the risk of root shock and ensure the surrounding biology can adapt to the new drainage patterns created by the stone surface.
Phases:

Sowing the Perimeter
Once the hardscape is set, the transition zone must be replanted. Use a seed mix or plugs that are adapted to the specific light levels of the site. For sun-exposed edges, focus on species with high drought tolerance. Ensure the soil is loosened to a depth of 6 inches to allow for rapid radicle penetration.
Pro-Tip: Focus on mycorrhizal symbiosis. Inoculating the soil with arbuscular mycorrhizal fungi during planting increases the surface area of the root system, allowing plants to scavenge phosphorus and water more efficiently in the disturbed soil.
Transplanting Specimen Plants
Move larger shrubs or decorative plants into the patio margins during the early morning hours to reduce transpiration rates. Dig a hole twice as wide as the root ball but no deeper. Ensure the root flare remains visible at the soil surface to prevent stem rot and oxygen deprivation.
Pro-Tip: Manage auxin suppression. When transplanting, avoid heavy pruning of the canopy. The terminal buds produce auxins that signal the roots to grow. Removing too much top growth can stall root establishment during the critical first month.
Establishing the Microclimate
The finished patio acts as a heat sink, absorbing solar radiation and releasing it at night. This can extend the growing season but also increases the rate of evaporation. Monitor the turgor pressure of nearby plants daily. If leaves begin to flag, the plant is losing water faster than the roots can provide it.
Pro-Tip: Account for phototropism. Plants located on the north side of a new patio may begin to lean toward the stone to capture reflected light. Position taller structural plants to the north to utilize this light without causing leggy, unstable growth in smaller specimens.
The Clinic:
Physiological disorders often manifest shortly after hardscape construction due to changes in soil hydrology and chemistry.
-
Symptom: Interveinal Chlorosis. The leaves turn yellow while the veins remain green.
-
Solution: This is often a sign of Iron or Manganese deficiency caused by a high pH (alkalinity) from the concrete or limestone base leaching into the soil. Apply a chelated iron drench to lower the localized pH and restore nutrient availability.
-
Symptom: Marginal Leaf Burn. The edges of the leaves turn brown and crisp.
-
Solution: This indicates Salt Toxicity or extreme dehydration. If de-icing salts were used on the patio, they may have accumulated in the root zone. Flush the area with 2 inches of water to leach the salts below the rhizosphere.
-
Symptom: Stunted Growth and Blue-Green Foliage.
-
Solution: This is a classic Phosphorus deficiency. Cold soil or compacted earth around the patio prevents phosphorus uptake. Use a soil moisture meter to ensure the area isn't waterlogged and apply a high-phosphorus liquid feed.
Fix-It for Nitrogen Chlorosis: If the entire leaf turns pale green or yellow, the plant lacks nitrogen. Apply a blood meal or urea-based fertilizer (46-0-0) at a rate of 0.5 pounds per 100 square feet to rapidly increase chlorophyll production.
Maintenance:
Precision maintenance ensures the longevity of both the stone and the surrounding biology. Apply exactly 1.5 inches of water per week at the drip line of all perimeter plants. Use a soil moisture meter to verify that the water is penetrating at least 8 inches deep; surface watering encourages shallow, weak root systems.
Keep a hori-hori knife sharpened for weeding between pavers; this tool allows you to extract the entire taproot without disturbing the leveling sand. Use bypass pruners to maintain a 6-inch clearance between foliage and the patio surface to ensure airflow and prevent fungal pathogens. Every two years, check the levels of the patio. If settling occurs, it may indicate a drainage issue or a pocket of decomposing organic matter beneath the base.
The Yield:
If your patio includes integrated herb planters or edible borders, harvesting must be timed to peak essential oil concentration. For woody herbs like rosemary or thyme, harvest just before flowering when the plant's metabolic energy is concentrated in the foliage.
Use sharp snips to take no more than one-third of the plant at a time to avoid physiological stress. For "day-one" freshness, harvest in the cool of the morning when cell turgidity is at its highest. Immediately submerge the stems in cool water or wrap them in a damp cloth to slow the rate of senescence and preserve the volatile compounds.
FAQ:
How deep should I excavate for a garden patio?
Excavate to a depth of 7 to 9 inches. This allows for a 4-inch compacted gravel base, a 1-inch sand setting bed, and the thickness of the pavers. Proper depth ensures structural stability and prevents frost heave.
What is the best sand for patio joints?
Use polymeric sand for joints. It contains additives that harden when misted with water, preventing weed germination and ant infestations while remaining flexible enough to accommodate thermal expansion and contraction of the stone units.
Can I build a patio over tree roots?
Avoid building within the Drip Line of established trees. Covering more than 20% of a tree's root zone with impermeable material causes oxygen deprivation and root dieback, eventually leading to the death of the specimen.
How do I prevent weeds between pavers?
Maintain a compacted base and use polymeric sand in the joints. Ensure the patio has a 1% to 2% slope to prevent standing water, as excess moisture creates an ideal environment for moss and liverwort growth.