7 Best Potting Benches for Mess-Free Indoor Maintenance
The scent of damp potting mix drifts through your home every time you repot a houseplant. Soil particles scatter across hardwood floors. Water pools on furniture surfaces. The best potting benches for indoor use solve these persistent problems by containing mess within a designated work zone while providing organized storage for amendments, containers, and hand tools. A properly designed bench transforms chaotic repotting sessions into controlled horticultural operations.
Materials
Select benches constructed from moisture-resistant materials. Cedar and composite lumber resist decay when exposed to water and soil microbes. Galvanized steel frames provide structural integrity under loads exceeding 200 pounds. Work surfaces should feature raised edges measuring 2-3 inches to prevent substrate spillage during mixing operations.
Match your potting media to container plant requirements. Epiphytic species require bark-based mixes with pH 5.5-6.5 and minimal nutrient load (2-1-2 ratio). Tropical foliage performs well in peat-based blends with dolomitic limestone added to stabilize pH at 6.0-6.5. Incorporate controlled-release fertilizers at 14-14-14 NPK for general indoor collections. Cactus and succulent media demand coarse sand and perlite to achieve rapid drainage with pH 6.0-7.0.
Store amendments in labeled containers mounted beneath the work surface. Perlite improves aeration. Vermiculite enhances cation exchange capacity and moisture retention. Horticultural charcoal absorbs excess minerals and prevents anaerobic conditions in poorly-draining containers. Keep bone meal (3-15-0) and blood meal (12-0-0) separated to prevent cross-contamination and pest attraction.
Timing
Indoor repotting follows active growth cycles rather than outdoor frost dates. Most tropical houseplants enter rapid growth from March through August when photoperiods extend and ambient temperatures reach 65-75°F. Schedule repotting operations for early spring when root systems initiate new growth and can rapidly colonize fresh substrate.
Temperature-sensitive species require specific timing windows. Orchids respond best to repotting immediately after flowering when new root tips emerge green and plump. Cacti tolerate root disturbance during their rest period from November through February. African violets accept repotting year-round if maintained under artificial lighting with 14-hour photoperiods.
Hardiness zone considerations apply to benches positioned near windows or unheated spaces. Zone 5-6 gardeners must protect benches from freezing temperatures that crack galvanized metal and warp wooden surfaces. Position benches 4-6 feet from southern exposures to prevent soil media from desiccating under intense solar radiation.
Phases
Sowing Phase: Fill seed trays with sterile starting mix composed of fine sphagnum peat, vermiculite, and perlite at 2:1:1 ratio. Surface-sow fine seeds like begonia and peperomia without covering. Press medium-sized seeds to substrate contact depth. Maintain 70-75°F bottom heat using thermostatically controlled heating mats placed beneath trays.
Pro-Tip: Inoculate seed starting mix with Trichoderma harzianum at 1 teaspoon per gallon to suppress damping-off fungi while promoting robust root development.
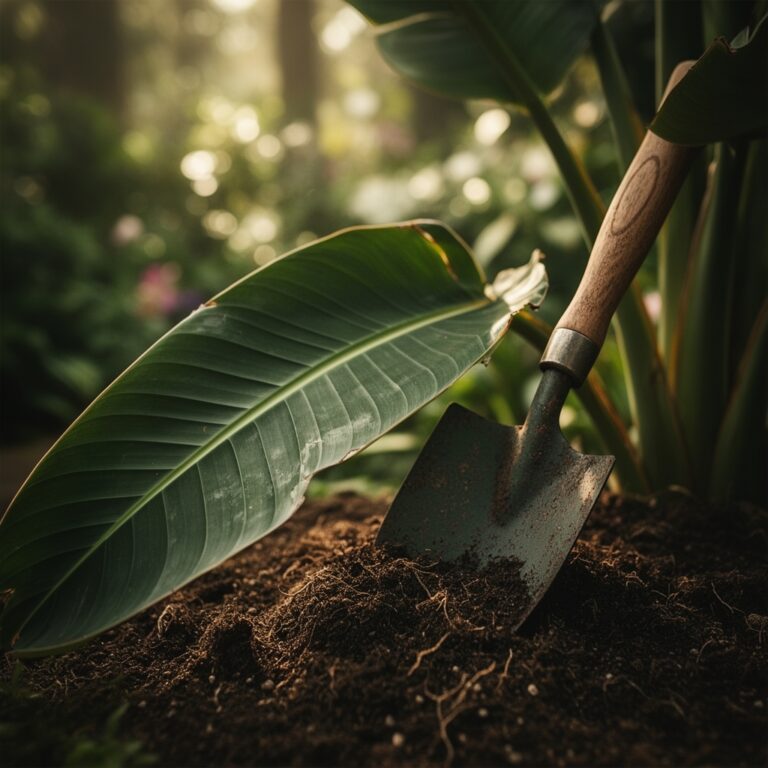
Transplanting Phase: Move seedlings when first true leaves fully expand and root systems reach tray edges. Handle seedlings by leaves rather than fragile stems to avoid vascular tissue damage. Transplant into containers 2 inches larger than root mass using medium with pH-appropriate for species. Firm substrate around roots to eliminate air pockets that desiccate fine root hairs.
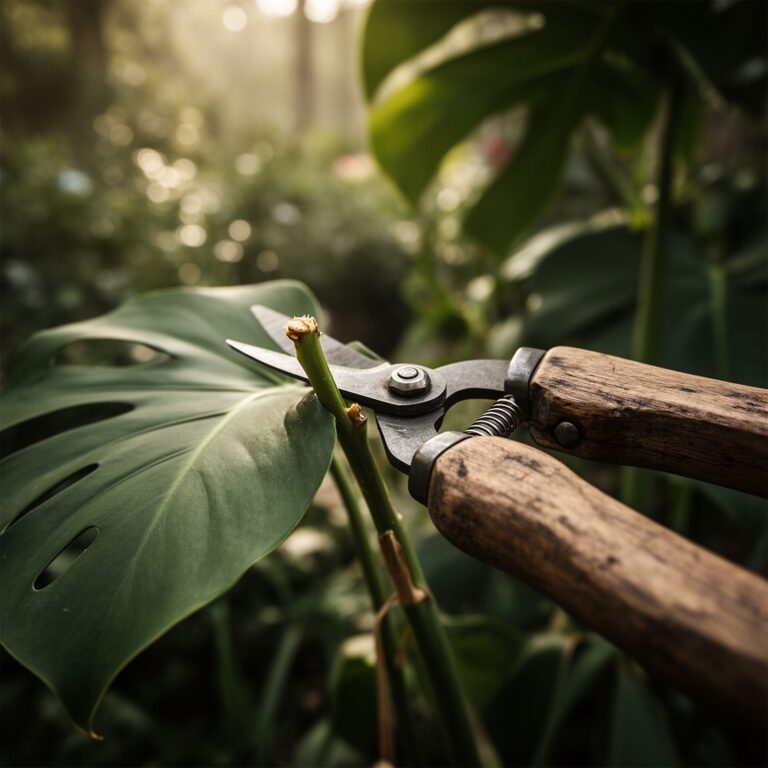
Pro-Tip: Prune taproots of woody seedlings at 45-degree angles to stimulate lateral root branching and prevent circling patterns that cause long-term structural instability.
Establishing Phase: Position newly potted plants in reduced light conditions at 50-60% of mature requirements for 7-10 days. This acclimatization period allows root systems to extend into new substrate before supporting full transpirational demand. Maintain consistent substrate moisture without waterlogging. Apply diluted fertilizer at one-quarter strength (3-1-2 ratio) after 14 days when new growth confirms root establishment.
Pro-Tip: Apply mycorrhizal fungi (Glomus species) directly to root zones during establishment to increase phosphorus uptake efficiency by 40-60% and extend drought tolerance.
Troubleshooting
Symptom: Yellowing lower leaves with green veins appearing 10-14 days after repotting.
Solution: Iron chlorosis from pH imbalance. Test substrate with calibrated meter. Adjust alkaline conditions (pH above 7.0) with chelated iron at 1 tablespoon per gallon or elemental sulfur at 1 teaspoon per 6-inch pot.
Symptom: Wilting despite adequate moisture and sudden leaf drop.
Solution: Root rot from anaerobic substrate conditions. Remove plant from container. Prune brown, mushy roots with sterilized shears. Repot in fast-draining mix with 30% perlite content. Reduce watering frequency by 40%.
Symptom: White cottony masses on stems and leaf axils.
Solution: Mealybug infestation. Isolate affected plants. Apply 70% isopropyl alcohol directly to insects using cotton swabs. Follow with horticultural oil at 2% concentration every 7 days for three applications.
Symptom: Leaf edges brown and crispy with curled margins.
Solution: Fertilizer salt accumulation from excessive feeding. Leach containers with distilled water at three times pot volume. Reduce fertilizer concentration to half-strength and extend intervals to monthly applications.
Maintenance
Water established container plants when the top 1 inch of substrate feels dry to touch. Apply water until 10-15% drains from bottom holes to flush accumulated salts. Empty drainage saucers within 30 minutes to prevent reabsorption.
Clean bench surfaces weekly with 10% bleach solution to prevent fungal spore accumulation. Scrub work surfaces with stiff brushes to remove organic debris. Rinse thoroughly and air dry before next use.
Fertilize actively growing plants every 14 days with water-soluble 20-20-20 NPK at half the label rate. Reduce to monthly applications during shortened winter photoperiods when growth rates decline 50-70%.
Replace potting bench surfaces every 5-7 years when water damage compromises structural integrity. Inspect galvanized hardware annually for rust development. Apply zinc-rich primer to affected areas.
FAQ
What bench height prevents back strain during extended potting sessions?
Position work surfaces 36-38 inches from floor level for users of average height. This measurement allows forearms to rest parallel to the ground while manipulating pots and tools.
Do folding benches provide adequate stability for mixing heavy substrate?
Quality folding models with cross-braced legs support 150-200 pounds safely. Lock mechanisms must engage fully before beginning work to prevent collapse during vigorous mixing operations.
How much storage space should benches include for indoor operations?
Allocate 2 cubic feet of shelving per 20 container plants in your collection. Store frequently used items at waist level. Position heavy bags of substrate on lower shelves.
Can potting benches accommodate sterile technique for propagation work?
Yes. Clean work surfaces with quaternary ammonium compounds before taking cuttings. Designate separate tool sets for propagation to prevent pathogen transmission from mature plants.
What lighting conditions work best above indoor potting stations?
Install 4000-5000K LED shop lights 24-30 inches above work surface. This color temperature reveals true foliage colors for accurate pest and disease diagnosis during maintenance operations.