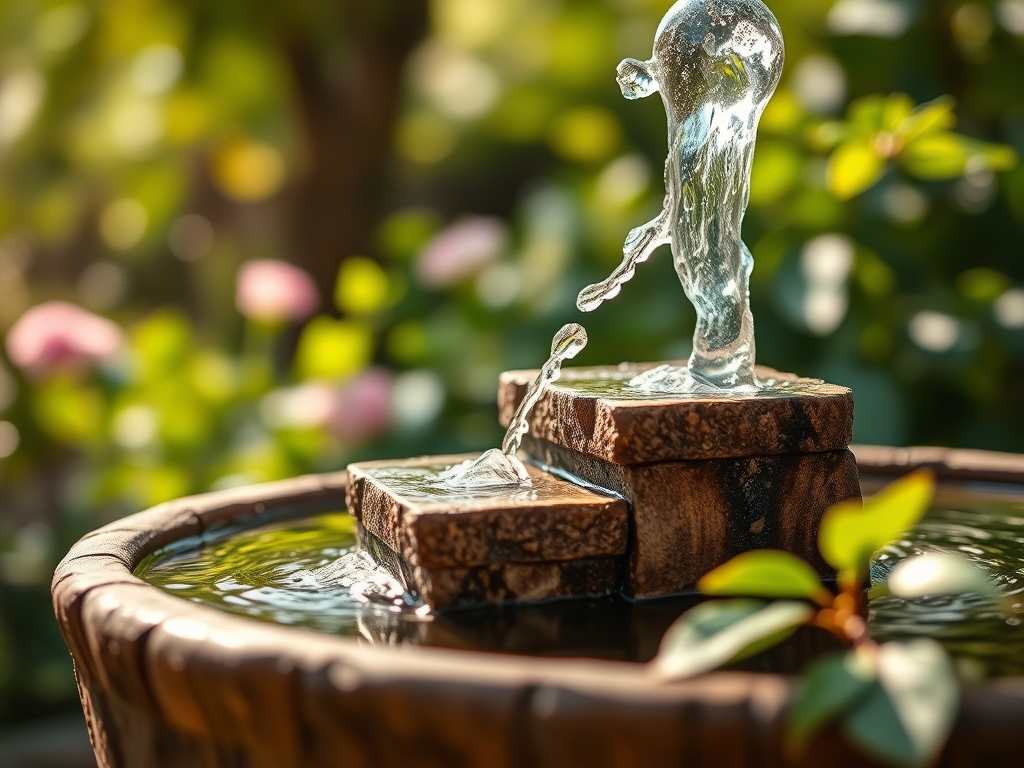
6 Steps to Install a Self-Contained Garden Water Fountain
The smell of disturbed earth and the tactile resistance of high turgor pressure in a well-hydrated leaf define the baseline of a successful horticultural environment. Integrating a water feature into this ecosystem is not merely an aesthetic choice; it is a functional modification of the microclimate. The evaporation from a surface reservoir increases local humidity, which can mitigate transpiration stress in sensitive understory species. Mastering the steps for installing a garden fountain requires a technical understanding of site topography and soil mechanics. A self-contained unit operates on a closed-loop hydraulic system, yet its placement dictates the health of the surrounding rhizosphere. Proper installation ensures that the moisture plume benefits the local flora without compromising the structural integrity of the soil or promoting anaerobic conditions. By following a rigorous protocol, you transform a static landscape into a dynamic hydrological zone. This process demands precision in excavation, leveling, and electrical integration to maintain long term system stability and plant health.
Materials:

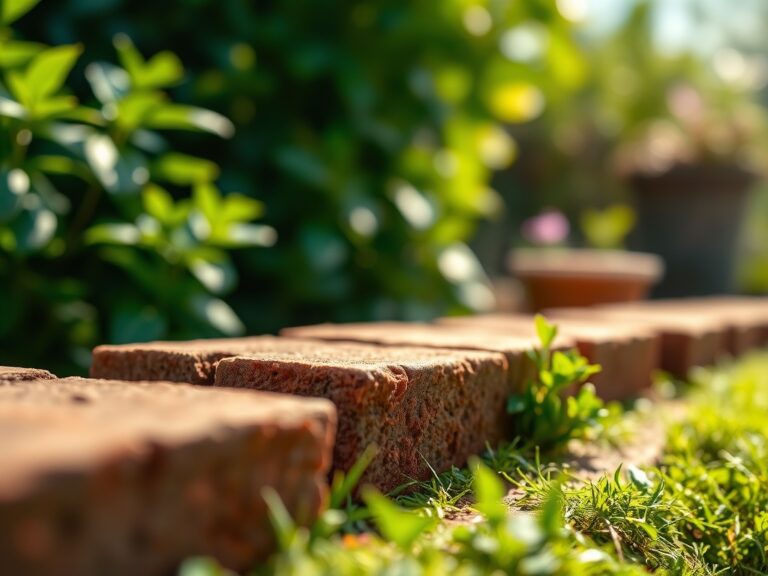
Before excavation, analyze the substrate. The ideal environment for surrounding vegetation is a **friable loam** with a **pH between 6.0 and 7.0**. This range ensures optimal nutrient bioavailability for the root systems bordering the feature. If the soil is heavy clay, the Cation Exchange Capacity (CEC) will be high, but drainage will be poor; sandy soils offer low CEC and require more frequent irrigation.
To support the flora around the fountain, maintain a baseline NPK ratio of 10-10-10 for balanced vegetative growth. If you are planting flowering species nearby, shift to a 5-10-5 ratio to prioritize phosphorus for root development and bloom production. You will need a level, industrial-grade pond liner, a submersible pump rated for the fountain's total head height, and washed river stone. Avoid limestone if you intend to keep the water pH neutral, as it will leach carbonates into the system.
Timing:
Installation should occur during the dormant season or early spring, specifically between Hardiness Zones 4 and 9. In Zone 7, the ideal window opens after the last frost date, typically mid-April, when the soil temperature reaches a consistent 55 degrees Fahrenheit. This timing aligns with the "Biological Clock" of most temperate perennials.
As plants transition from the vegetative stage to the reproductive stage, their demand for stable moisture increases. Installing the fountain before the summer solstice ensures that the increased ambient humidity is available during peak transpiration periods. Avoid installation during the heat of late July; the high ambient temperatures increase the risk of transplant shock for any vegetation relocated during the digging process.
Phases:

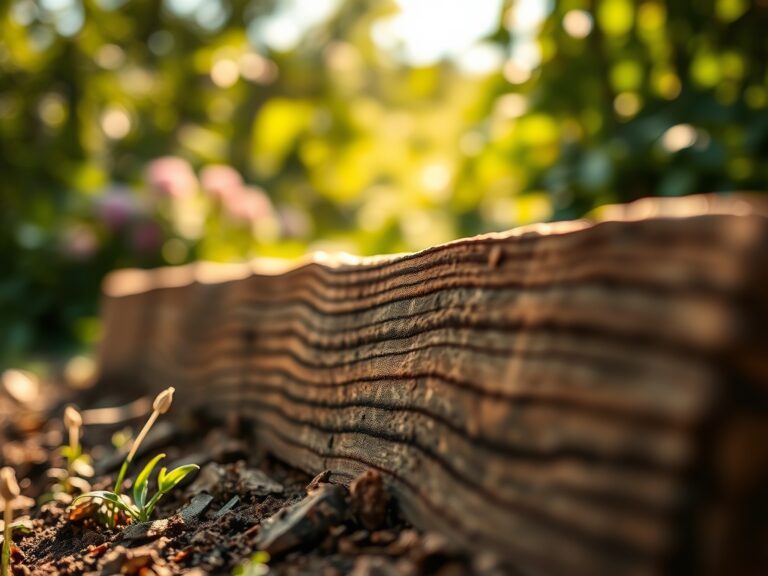
Sowing and Site Preparation
Clear a diameter 12 inches wider than the fountain base. Excavate to a depth of 6 to 8 inches for the foundation. Use a hand tamper to compact the subsoil to prevent settling, which can lead to hydraulic imbalance.
Pro-Tip: Ensure the site is away from large deciduous trees to prevent leaf litter from altering the water chemistry. Decomposing organic matter increases nitrogen levels, which can trigger algal blooms through a process known as eutrophication.
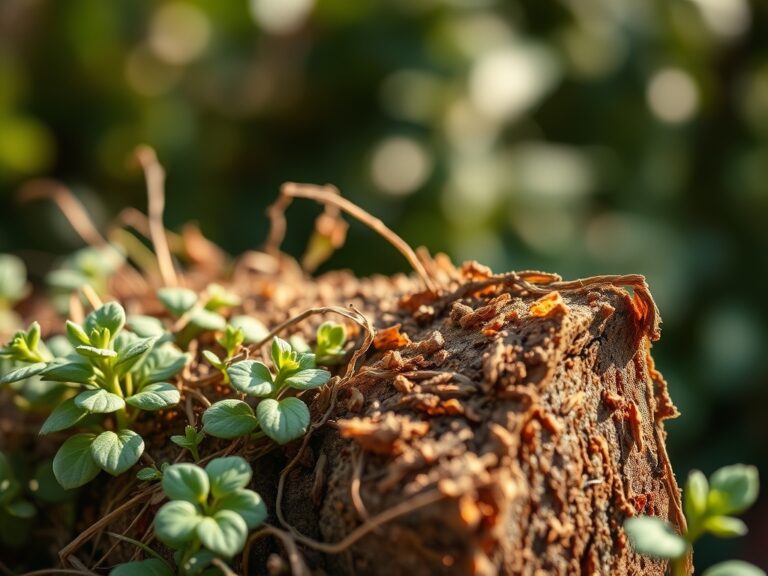
Transplanting and Leveling
Place the reservoir in the pit and verify it is level on both the X and Y axes. Backfill the perimeter with a mix of 70% native soil and 30% organic compost. This encourages mycorrhizal symbiosis, where fungal filaments extend the reach of plant roots to better utilize the increased moisture.
Pro-Tip: When backfilling, do not bury the root flare of surrounding plants. Covering the flare inhibits gas exchange at the base of the trunk, leading to tissue necrosis and fungal infection.
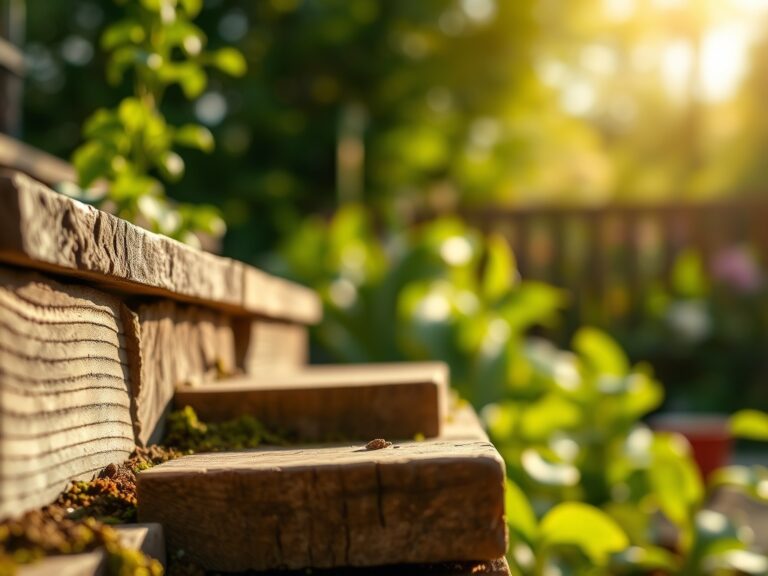
Establishing the Hydrological Loop
Install the pump and connect the hosing. Fill the reservoir with dechlorinated water. Monitor the flow rate; it should be sufficient to break the surface tension without causing excessive splash-out, which leads to soil erosion.
Pro-Tip: Position the fountain to utilize natural light patterns. Strategic shading prevents rapid evaporation and protects the pump from overheating, while also managing the photoperiod requirements of nearby shade-loving plants like Hosta or Heuchera.
The Clinic:
Physiological disorders in the fountain-side garden often stem from moisture imbalances. Monitor your plants for these specific indicators:
- Symptom: Interveinal chlorosis (yellowing leaves with green veins).
- Solution: This often indicates Iron deficiency caused by high pH water splashing into the soil. Apply chelated iron and check the water's alkalinity.
- Symptom: Marginal leaf scorch or browning edges.
- Solution: This is a sign of transpiration stress or salt buildup. Increase deep watering at the drip line to leach excess salts from the root zone.
- Symptom: Stunted growth and dark purple foliage.
- Solution: Phosphorus deficiency. This occurs in cold, wet soils often found near poorly drained water features. Improve drainage with expanded shale.
- Fix-It for Nitrogen Chlorosis: If the entire leaf turns pale yellow, the plant lacks nitrogen. Apply a liquid fertilizer with a 20-0-0 ratio for immediate uptake through the xylem.
Maintenance:
Precision is the hallmark of a master horticulturist. Provide exactly 1.5 inches of water per week at the drip line of surrounding plants, adjusted for rainfall. Use a soil moisture meter to ensure the substrate remains at 40% to 60% field capacity.
Prune any encroaching vegetation using sharp bypass pruners to maintain a 6-inch air gap between foliage and the water surface. This prevents the "wicking" of water away from the fountain and reduces the risk of foliar pathogens. Use a hori-hori knife to remove weeds by the root, ensuring you do not disturb the fountain's underground electrical conduit or liner. Every 30 days, scrub the pump intake to remove biofilm and mineral deposits.
The Yield:
If your fountain is surrounded by edible herbs like Mentha (mint) or Nasturtium, harvest during the early morning when turgor pressure is at its peak. This ensures the cell walls are fully distended, providing the crispest texture. Use sterilized snips to cut just above a node to encourage branching.
Post-harvest, submerge the stems in 40-degree Fahrenheit water immediately. This rapid cooling slows the rate of senescence (biological aging) and preserves the volatile oils. For floral yields, such as Iris or Calla Lilies grown in the moist periphery, cut the stems at a 45-degree angle to maximize the surface area for water uptake in the vase.
FAQ:
How deep should I bury the fountain reservoir?
Bury the reservoir so the rim sits 1 inch above the soil grade. This prevents runoff from carrying mulch, silt, and fertilizers into the water, which can clog the pump and alter the chemical balance of the feature.
What type of pump is best for a small fountain?
Use a submersible mag-drive pump rated for at least 1.5 times the volume of your reservoir per hour. Mag-drive pumps are more energy-efficient and lack the oil seals that could leak and contaminate the surrounding rhizosphere.
How do I prevent algae without harming my plants?
Maintain water movement to prevent stagnation. If algae persists, use barley straw extract or beneficial bacteria treatments. Avoid copper-based algaecides, as these can be toxic to certain plant species and beneficial soil microbes if splashing occurs.
Can I run my fountain during the winter?
In zones where the ground freezes, drain the pump and reservoir before the first hard frost. Water expansion during freezing will crack plastic basins and destroy pump impellers. Store the pump in a bucket of water in a frost-free area.