6 Steps to Install a Low-Voltage Garden Accent Light
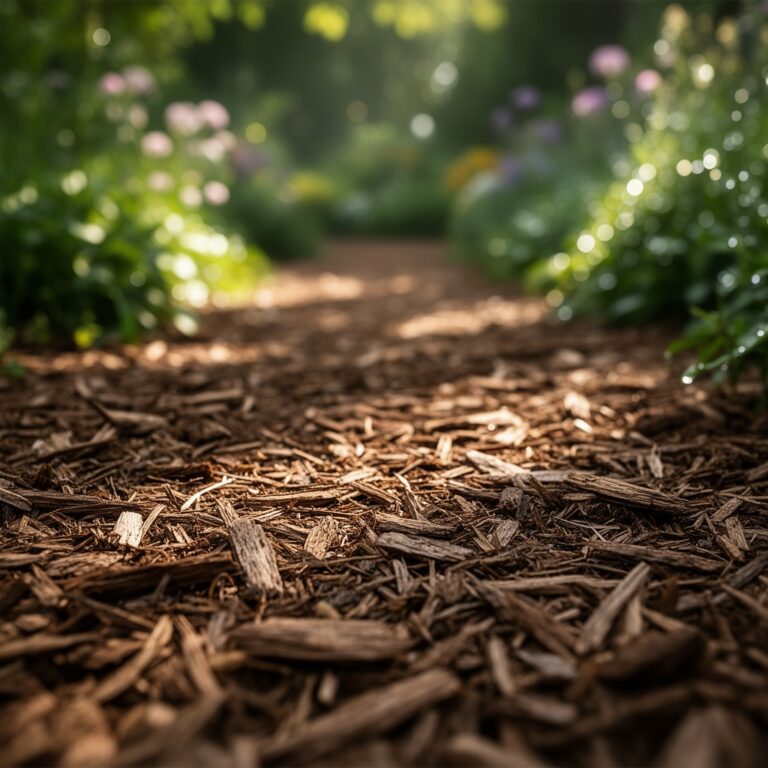
Damp earth releases a distinct petrichor as the spade cuts through the rhizosphere; this scent indicates active microbial life and healthy gas exchange within the soil pores. Maintaining the turgor pressure of your specimen plants requires precision when disturbing the root zone. Proper illumination ensures these botanical details remain visible after sunset while providing safety along garden paths. Mastery of the steps for installing a garden light allows a horticulturist to highlight specific architectural features of a specimen tree or the delicate venation of a hosta leaf without compromising the integrity of the planting bed.
A successful installation demands an understanding of the physical environment. You are not merely placing a fixture; you are integrating hardware into a living biological system. Low voltage systems, typically operating at 12 volts, are the standard for residential landscapes because they provide safety in damp conditions and allow for easy adjustment as the garden matures. The process requires a systematic approach to trenching, wiring, and fixture placement to avoid damaging the delicate network of mycorrhizal fungi and fine feeder roots that occupy the upper 6 to 12 inches of the soil profile.
Materials:

The ideal substrate for a garden installation is a friable loam with a pH between 6.0 and 7.0. This acidity level ensures that nutrients like phosphorus and iron remain bioavailable to the plants surrounding your lighting fixtures. Before digging, confirm your soil has a high Cation Exchange Capacity (CEC), which indicates its ability to hold onto essential minerals.
For the installation, you require a weatherproof transformer rated for the total wattage of your fixtures plus a 20 percent buffer. Use 12-gauge or 14-gauge direct-burial landscape wire to minimize voltage drop over long distances. Fixtures should be constructed of heavy-duty brass or copper to withstand the corrosive effects of soil moisture and fertilizers. If your soil is lean, consider amending the immediate area with a balanced 10-10-10 NPK ratio fertilizer to support root recovery after the minor disturbance of trenching.
Timing:
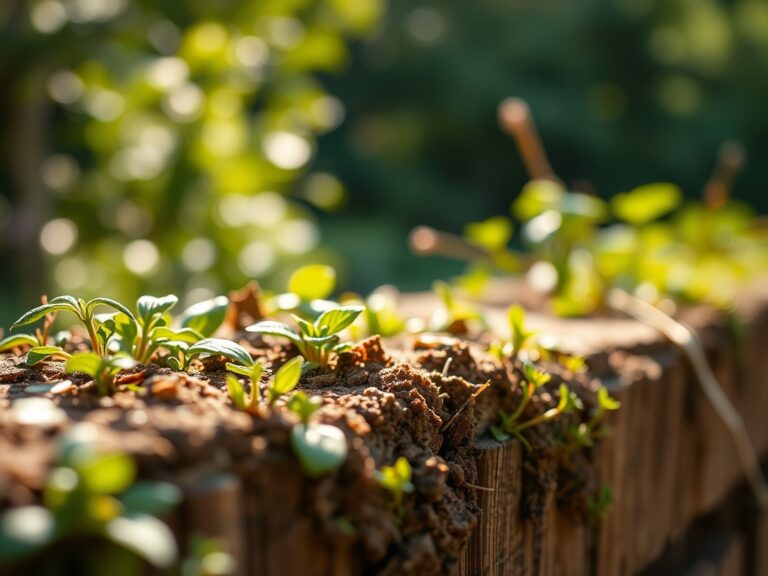
Installation should occur when the soil is workable but not saturated. In Hardiness Zones 4 through 7, the ideal window is late spring after the final frost date or early autumn before the ground freezes. Performing work during the plant's vegetative stage is preferable to the reproductive stage; disturbing the soil while a plant is diverted into heavy flowering can cause unnecessary physiological stress.
Avoid installation during the peak of summer heat when transpiration rates are highest. High temperatures increase the risk of desiccation if roots are exposed. By timing your work with the biological clock of the garden, you ensure that the plants have sufficient energy reserves to repair any minor root pruning that occurs during the trenching phase.
Phases:

Sowing the Layout
Begin by placing your fixtures on the soil surface to visualize the beam spread. Account for the mature size of your plantings to prevent foliage from blocking the light source within one growing season. Space path lights approximately 6 to 8 feet apart to create a continuous pool of light without over-illuminating the space.
Pro-Tip: Account for phototropism by placing lights so they do not mimic the sun's position too closely. Constant directional light can occasionally influence the growth habit of sensitive understory plants, causing them to lean toward an artificial light source if the intensity is high enough.
Transplanting the Wire
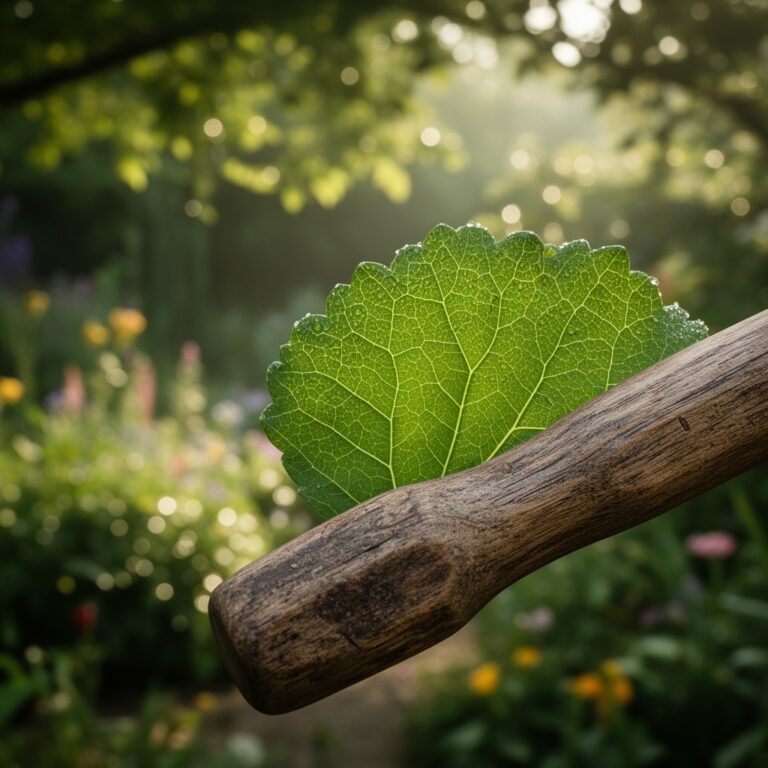
Use a hori-hori knife to cut a narrow slit in the turf or mulch. Trench to a depth of 6 inches to protect the wire from aeration equipment or decorative edging tools. Lay the cable loosely in the trench to allow for soil expansion and contraction during freeze-thaw cycles.
Pro-Tip: Deep trenching can disrupt mycorrhizal symbiosis, the symbiotic relationship between fungi and roots. To mitigate this, minimize the width of your trench and avoid cutting large structural roots. Intact fungal networks are essential for phosphorus uptake and drought resistance.
Establishing the Connection
Connect the fixtures to the main line using waterproof wire nuts filled with silicone sealant. This prevents moisture from wicking into the copper strands, which causes oxidation and eventual circuit failure. Mount the transformer at least 12 inches above the ground level to prevent water ingress during heavy rain events.
Pro-Tip: Ensure all connections are secure to prevent flickering, which can interfere with the photoperiod of certain short-day plants. While low-intensity landscape lighting rarely triggers a full reproductive shift, consistent flickering can cause minor stress in highly sensitive species.
The Clinic:
Physical and physiological issues often arise during landscape modifications. Monitor your plants for these specific symptoms:
Symptom: Interveinal chlorosis (yellowing leaves with green veins).
Solution: This often indicates a Nitrogen or Iron deficiency caused by soil compaction during installation. Use a soil probe to check for compaction and apply a chelated iron supplement if the pH has drifted above 7.5.
Symptom: Wilting despite adequate soil moisture.
Solution: This suggests root damage. The plant cannot maintain turgor pressure. Prune back 10 to 15 percent of the canopy with bypass pruners to reduce the transpirational load on the compromised root system.
Symptom: Leaf scorch or marginal necrosis.
Solution: Check the proximity of the light fixture. High-output halogen or poorly ventilated LED housings can generate heat. Move the fixture 12 inches further from the foliage to prevent thermal tissue damage.
Maintenance:
A garden is a dynamic system requiring consistent calibration. Use a soil moisture meter weekly to ensure the areas around your new fixtures receive 1.5 inches of water per week at the drip line. This moisture is critical for settling the soil back around the trenched wire and re-establishing root contact.
Every six months, inspect the fixtures for "heaving" caused by frost. Use your hori-hori knife to clear away encroaching groundcovers that might shade the lens. Clean the glass with a mild acetic acid solution to remove calcium deposits from irrigation overspray. This ensures maximum lumen output and maintains the aesthetic intent of your design.
The Yield:
While lighting does not produce a harvestable crop, the "yield" is measured in the extended utility of the landscape and the health of the specimens. A well-installed system highlights the structural integrity of the garden without causing senescence (premature aging) of the plants. If you are lighting an edible garden, ensure the light does not attract nocturnal insects that may deposit larvae on your leafy greens.
FAQ:
How deep should I bury the low-voltage wire?
Bury the wire at least 6 inches deep. This depth protects the cable from standard gardening tools like hoes and aerators while remaining above most deep structural root systems.
Can I use LED bulbs in old halogen fixtures?
Yes, provided the transformer output is compatible. LEDs significantly reduce energy consumption and generate less heat, which prevents thermal damage to nearby foliage and maintains better turgor pressure in delicate leaves.
What is the best way to prevent wire corrosion?
Use UL-rated waterproof connectors pre-filled with silicone grease. This creates an airtight seal that prevents oxygen and moisture from oxidizing the copper, ensuring long-term conductivity in damp rhizosphere conditions.
How do I calculate the transformer size I need?
Sum the total wattage of all fixtures and multiply by 1.2. This 20 percent safety margin accounts for voltage drop and allows for future expansion without overloading the circuit.
Will garden lights affect my plants' growth cycles?
Low-voltage landscape lights typically lack the intensity to disrupt the photoperiod. However, keep high-intensity lights away from "short-day" plants like chrysanthemums to ensure they flower according to their natural biological clock.