6 Steps to Build a Heavy-Duty Shade Garden Pergola
Damp earth releases geosmin as you break the surface to set your first post; a scent that signals a healthy rhizosphere ready for structural integration. Building a shade garden pergola requires more than carpentry. It demands an understanding of how light interception and soil compaction affect the flora beneath the rafters. Following the correct steps for building a garden pergola ensures that your vertical support does not compromise the turgor pressure of delicate understory plants through root zone disturbance or improper drainage.
Materials:
Construction begins with the substrate. The ideal soil for a shade garden surrounding a pergola is a **friable loam** with a **pH range of 5.5 to 6.5**. This acidity level optimizes the availability of micronutrients like iron and manganese. For heavy-duty structures, you must account for the Cation Exchange Capacity (CEC) of the soil; a higher CEC, typically found in soils with **20 to 30 percent clay content**, provides the stability needed for post footings while retaining essential ions.
To support the climbing taxa that will eventually scale the pergola, incorporate a pre-planting fertilizer with an NPK ratio of 10-10-10. This balanced delivery of nitrogen, phosphorus, and potassium ensures that the initial vegetative growth has the caloric density required for rapid cell division. The physical texture of the soil should be crumbly; if the soil forms a hard ribbon when squeezed, the bulk density is too high for delicate shade-loving root systems.
Timing:
Timing the installation is critical to minimize transplant shock for the surrounding vegetation. In Hardiness Zones 5 through 8, the primary construction window opens in late winter or early spring, at least three weeks before the local average last frost date. This allows the soil to settle before the biological clock of the plants triggers the transition from dormancy to the vegetative stage.
As the photoperiod increases, plants move from root-centric growth to foliar expansion. Installing the pergola during this transition ensures that climbers, such as Hydrangea anomala subsp. petiolaris, can utilize the new structure immediately upon breaking bud. If you delay until the reproductive stage (flowering), the plant will divert energy away from the adventitious roots needed to grip the wood, resulting in poor structural attachment.
Phases:
Sowing and Site Preparation
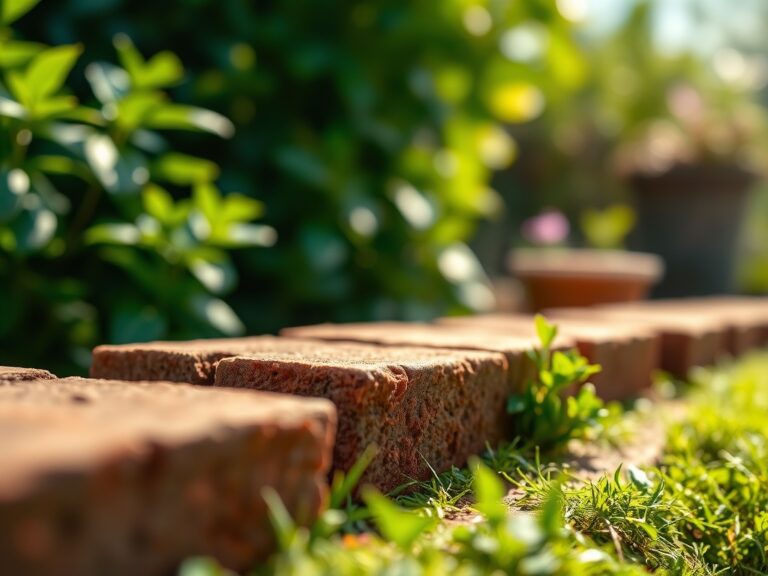
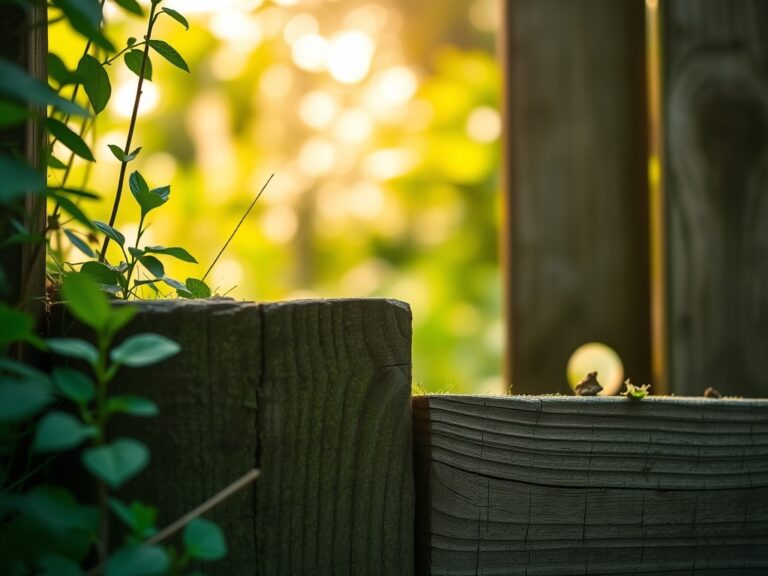
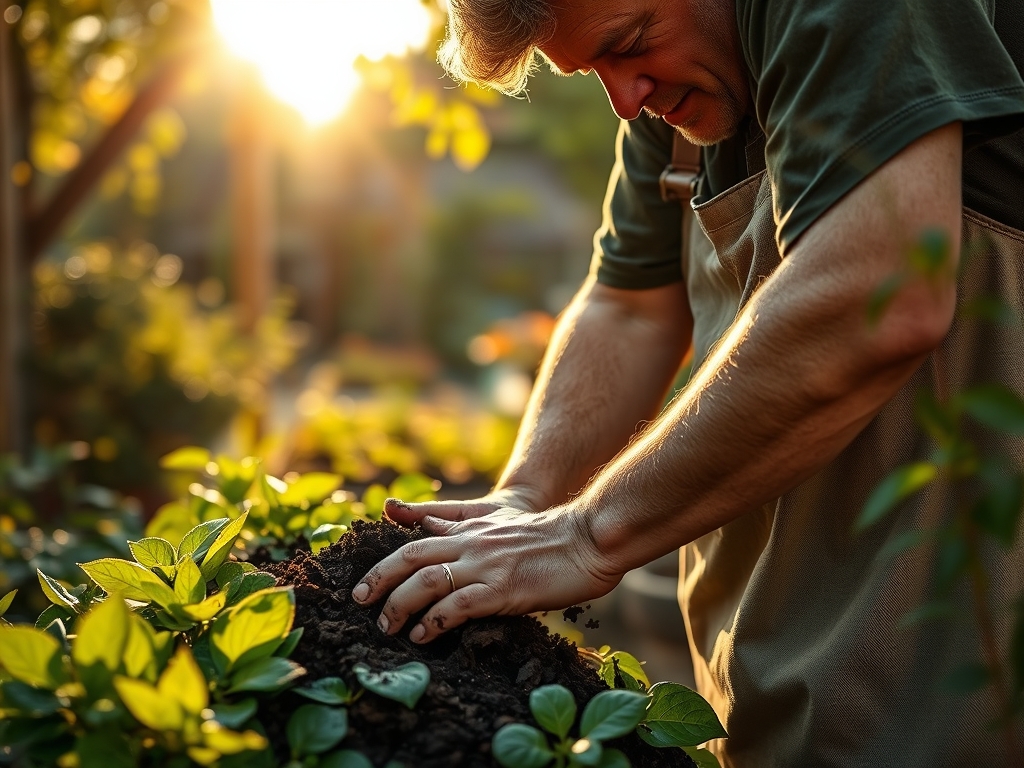
Before the first post is set, clear the footprint of all competitive weeds. Digging the post holes to a depth of 36 inches (or below the frost line) prevents heaving. When backfilling, avoid using pure concrete to the surface. Leave the top 8 inches for a mixture of native soil and organic compost to maintain the continuity of the rhizosphere.
Pro-Tip: Utilize mycorrhizal inoculants in the backfill. This fosters a mycorrhizal symbiosis where fungal hyphae extend the reach of the plant's root system, increasing water uptake efficiency by up to 25 percent.
Transplanting Climbers
Once the structure is stable, position your shade-tolerant climbers at the base of each post. Dig a hole twice the width of the root ball. Ensure the crown of the plant sits exactly at the soil line to prevent stem rot. Firm the soil to remove air pockets, which can cause root desiccation.
Pro-Tip: Angle the root ball slightly toward the post. This utilizes phototropism, the plant's natural tendency to grow toward light or structural cues, ensuring the primary leader finds the pergola without excessive manual training.
Establishing the Canopy
As the plants begin to ascend, provide supplemental irrigation. The first 12 months are critical for establishment. Use a soil moisture meter to ensure the root zone remains at a consistent 60 to 70 percent field capacity.
Pro-Tip: Practice auxin suppression by occasionally pinching the terminal buds of the climbers. This redirects growth hormones to lateral buds, creating a denser, more robust canopy that provides better shade for the plants located underneath the pergola.
The Clinic:
Physiological disorders often manifest when a new structure changes the microclimate. Monitor your shade garden for these specific symptoms:
- Nitrogen Chlorosis: Symptoms include the yellowing of older leaves while veins remain green. Fix-It: Apply a liquid kelp or fish emulsion with a high nitrogen count to restore chlorophyll production.
- Leaf Scorch: Symptoms appear as brown, crispy edges on leaves. This occurs if the pergola does not provide enough shade during peak solar radiation. Fix-It: Increase irrigation to 2 inches per week to maintain leaf turgor.
- Iron Deficiency: Symptoms include interveinal chlorosis in new growth, common in soils with a pH above 7.0. Fix-It: Amend the soil with elemental sulfur to lower the pH and unlock iron ions.
- Root Hypoxia: Symptoms include wilting despite wet soil. This is caused by soil compaction during construction. Fix-It: Use a hori-hori knife to gently aerate the soil around the drip line.
Maintenance:
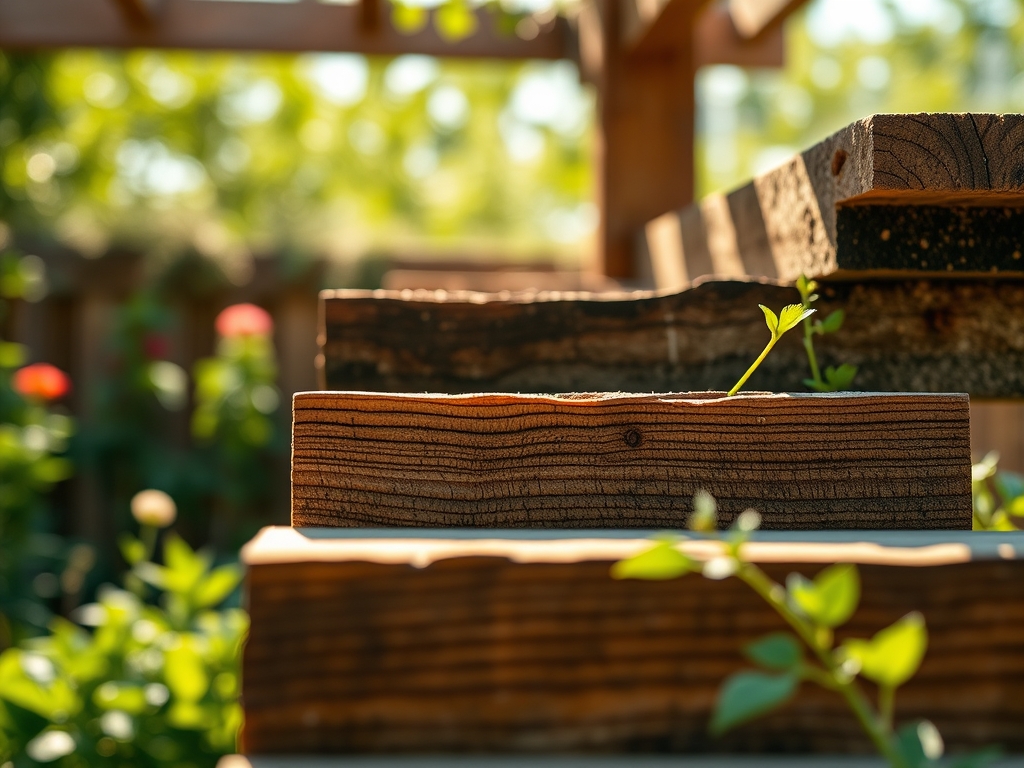
A heavy-duty pergola requires precise horticultural maintenance to remain an asset rather than a liability. Provide 1.5 inches of water per week at the drip line, rather than at the base of the posts, to encourage outward root expansion. Use bypass pruners to remove any dead, damaged, or diseased wood (the "three Ds") every spring.
Check the structural integrity of the wood annually. If the climbers become too heavy, they can cause the rafters to sag. Thin out the vine biomass by 20 percent every three years to reduce weight and improve air circulation, which prevents fungal pathogens from colonizing the shaded interior. Always use a soil moisture meter before watering to avoid over-saturation, which can lead to anaerobic conditions in the soil.
The Yield:
For those growing shade-tolerant edibles like Wasabia japonica or shade-loving flowers like Helleborus beneath the pergola, harvest timing is paramount. Harvest flowers in the early morning when turgor pressure is at its peak. This ensures the stems are turgid and will last longer in a vase.
For edible roots or leaves, use a hori-hori knife to slice cleanly through the soil, minimizing disturbance to the surrounding root systems. Immediately submerge harvested greens in 40-degree Fahrenheit water to arrest senescence and maintain "day-one" freshness.
FAQ:
How deep should pergola posts be buried?
Posts must reach below the local frost line, typically 36 to 48 inches. This prevents soil heaving from damaging the structure and ensures the weight of the canopy does not cause the pergola to lean or collapse over time.
What is the best NPK ratio for pergola vines?
A balanced 10-10-10 or 20-20-20 formula is ideal during the establishment phase. This provides the nitrogen needed for leaf production, phosphorus for root development, and potassium for overall cellular health and disease resistance.
How do I fix yellowing leaves on my shade plants?
Yellowing, or chlorosis, usually indicates a nitrogen deficiency or pH imbalance. Test the soil pH first; if it is above 7.0, iron is locked away. Lower the pH with sulfur or add a nitrogen-rich organic fertilizer to restore greening.
How much water does a shade garden need?
Most shade-tolerant species require 1.5 inches of water per week. Use a rain gauge or a soil moisture meter to track levels. Ensure the water reaches the drip line where the active feeder roots are located for maximum absorption.