6 Easy Steps to Grow White Onions
Crushing a handful of damp, friable loam reveals the metallic scent of active microbes and the promise of a successful harvest. Success depends on the turgor pressure within the cellular walls of the Allium cepa. When you master the steps to grow white onions, you transition from a casual observer to a manager of botanical systems. White onions require precise environmental inputs to trigger the physiological shift from leaf production to bulb expansion. This process demands a rigorous adherence to soil chemistry and photoperiod requirements.
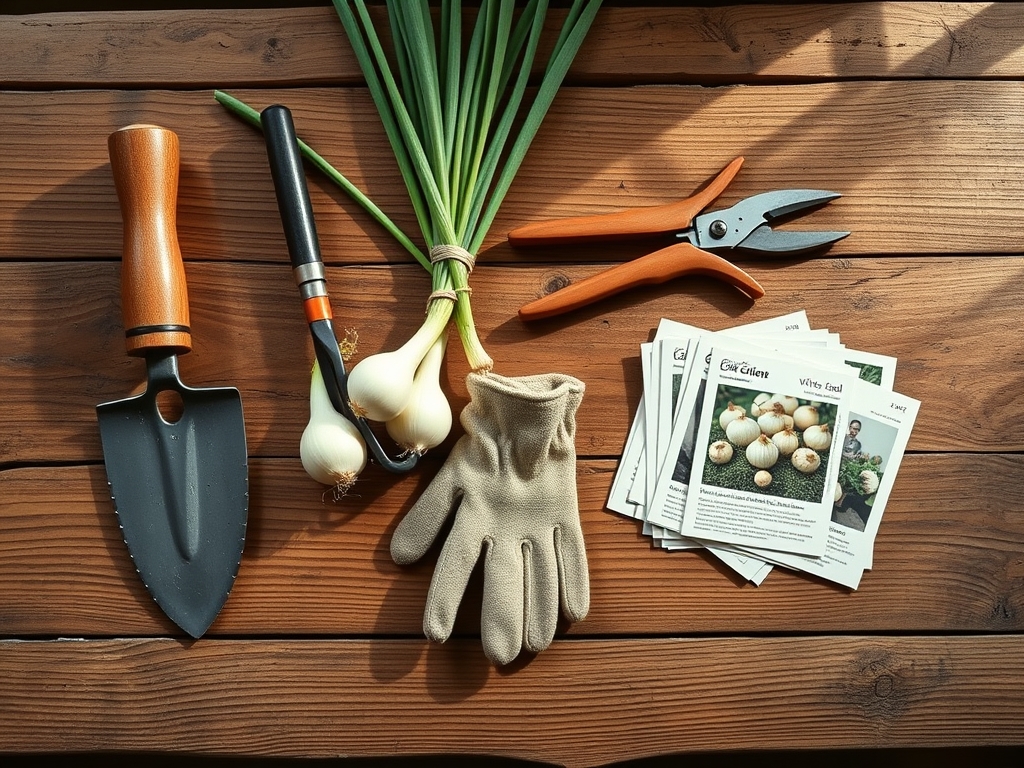
Materials:
The foundation of onion cultivation is the Cation Exchange Capacity (CEC) of your substrate. White onions thrive in a friable loam with a pH between 6.0 and 6.8. If your soil pH falls below 6.0, phosphorus becomes chemically bound and unavailable to the roots.
Prepare your bed with an initial NPK ratio of 10-20-10. The high phosphorus content encourages rapid root elongation during the first 30 days of growth. You will need a soil moisture meter to ensure the rhizosphere remains consistently hydrated without becoming anaerobic. Organic matter should comprise at least 5 percent of the soil volume to facilitate drainage while retaining essential nutrients. Avoid heavy clay; it physically restricts bulb expansion and leads to misshapen crops.
Timing:
White onions are sensitive to the photoperiod, which is the number of daylight hours that trigger bulb formation. Most white varieties are either "short-day" (requiring 10 to 12 hours of light) or "long-day" (requiring 14 to 16 hours). In Hardiness Zones 3 through 6, plant long-day varieties in early spring as soon as the soil is workable. In Zones 7 through 10, short-day onions are typically planted in autumn for a spring harvest.
The "Biological Clock" of the onion is governed by temperature and light. Onions must reach a specific vegetative mass before the critical day-length threshold is met. If the plant is too small when the photoperiod shifts, the resulting bulb will be undersized. Conversely, if exposed to temperatures below 45 degrees Fahrenheit for extended periods after the stem is thicker than a pencil, the plant may undergo vernalization. This causes the plant to bolt, or produce a flower stalk, which ruins the bulb for storage.
Phases:
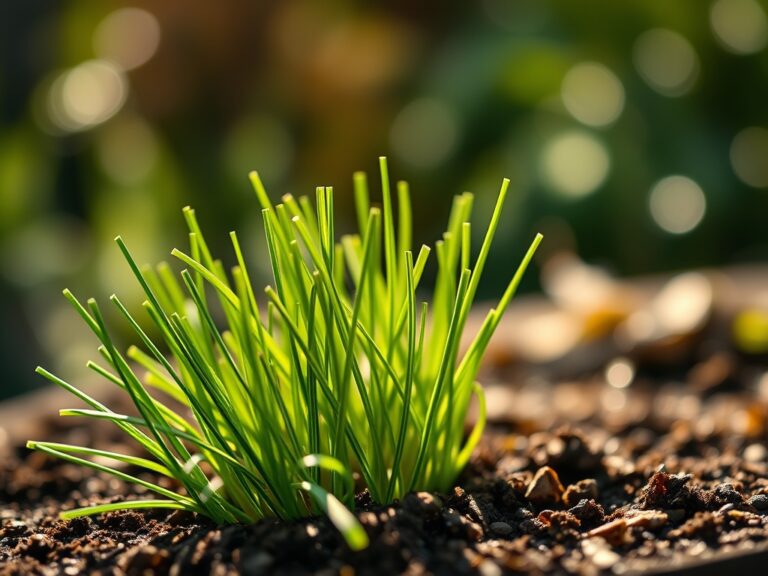
Sowing and Germination
Start seeds indoors 8 to 10 weeks before the last frost date. Maintain a consistent soil temperature of 65 to 75 degrees Fahrenheit. Sow seeds at a depth of 0.25 inches in sterile seed-starting mix. Once the seedlings reach 5 inches in height, trim them to 3 inches to prevent them from becoming top-heavy.
Pro-Tip: Trimming the tops forces the plant to redirect auxins to the root system. This hormonal shift strengthens the root base, ensuring the plant can support the heavy vascular demands of later growth stages.
Transplanting
Hardening off is mandatory. Gradually expose seedlings to outdoor conditions over 7 to 10 days. Use a hori-hori knife to create a trench. Space plants 4 inches apart with 12 inches between rows. Set the transplants no deeper than 1 inch into the soil. Deep planting inhibits bulb expansion and increases the risk of neck rot.
Pro-Tip: Inoculating the roots with mycorrhizal fungi during transplanting creates a symbiotic relationship. The fungi extend the reach of the root system, increasing the uptake of water and poorly mobile nutrients like phosphorus.
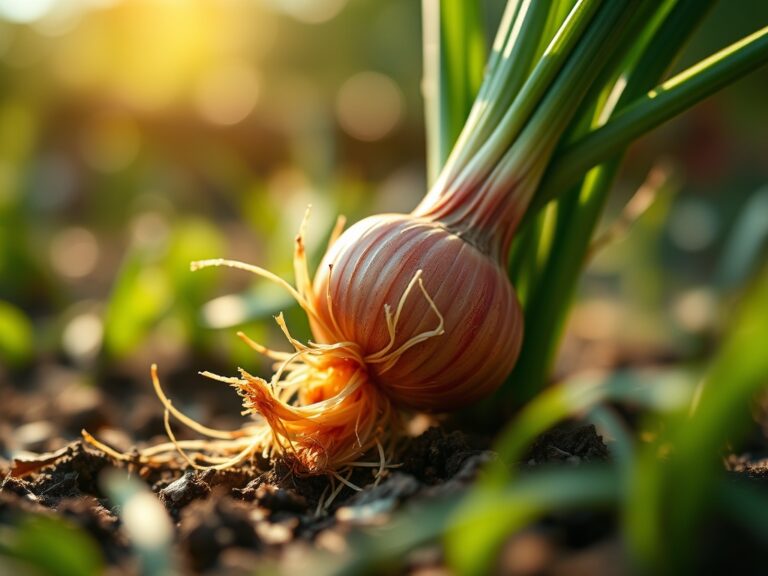
Establishing and Bulbing
As the plant enters the vegetative stage, it requires high nitrogen levels. Apply a side-dressing of 21-0-0 (Ammonium Sulfate) at a rate of 1 cup per 20 feet of row every three weeks. Stop fertilization once the soil at the base of the plant begins to crack; this indicates the bulb is expanding and the plant is shifting toward senescence.
Pro-Tip: Onions exhibit strong phototropism. Ensure the area is free of weeds that could shade the onion "flags." Even partial shading can trick the plant into thinking the day length is shorter than it is, delaying bulb initiation.
The Clinic:
Monitoring the physiological health of the onion requires a keen eye for cellular changes.
- Symptom: Tip Burn (Nitrogen Chlorosis). The oldest leaves turn yellow and die back from the tips.
- Fix-It: Apply a water-soluble nitrogen fertilizer immediately. Maintain consistent moisture to help the plant transport the nitrogen via xylem flow.
- Symptom: Bulbing at the Surface. The bulb is pushing out of the dirt.
- Solution: This is normal. Do not cover the bulb with soil. Covering the bulb can lead to fungal infections in the outer tunics.
- Symptom: Premature Bolting. A thick, hollow flower stalk emerges from the center.
- Solution: Cut the stalk immediately to save what is left of the bulb. Use these onions first; they will not store well because the central core has become woody.
- Symptom: Soft Neck/Mushy Base. This indicates a calcium deficiency or poor drainage.
- Fix-It: Add Gypsum (Calcium Sulfate) to the soil to improve cellular wall strength without altering the pH.
Maintenance:
Precision irrigation is the difference between a pungent, small onion and a crisp, large one. Onions have a shallow, inefficient root system. They require 1.5 inches of water per week delivered at the drip line. Avoid overhead watering to prevent moisture from sitting in the leaf axils, which invites bacterial pathogens.
Use bypass pruners only to remove dead or diseased tissue. Weed control must be manual and frequent. Because onion roots are shallow, use a hand tool carefully to avoid mechanical damage to the bulb. A soil moisture meter should be used daily during the bulbing phase to ensure the top 4 inches of soil do not dry out completely. If the soil dries and then receives a deluge of water, the bulbs may split.
The Yield:
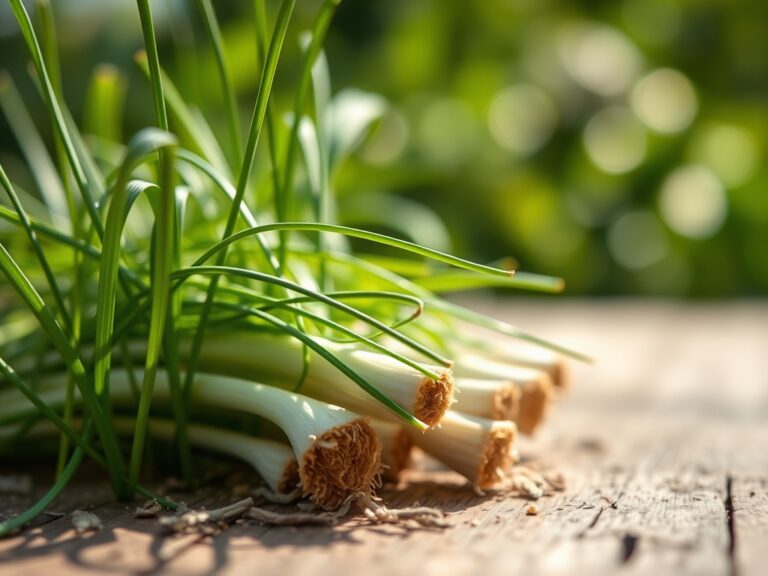
Harvesting begins when the "neck" of the onion weakens and the tops fall over. This indicates that the plant has stopped moving sugars to the bulb and has entered the final stage of its life cycle. Once 50 to 75 percent of the tops have fallen, use a garden fork to gently lift the bulbs from the soil.
Curing is the most critical post-harvest step. Lay the onions in a shaded, well-ventilated area for 2 to 3 weeks. The outer skins must become dry and papery, and the neck must be completely shriveled and hard. This process seals the bulb against pathogens. Once cured, trim the roots and cut the tops to 1 inch. Store in a cool, dry location at 32 to 40 degrees Fahrenheit with 60 percent humidity.
FAQ:
How long does it take to grow white onions?
Most white onion varieties require 100 to 120 days from seed to reach full maturity. Using sets or transplants can reduce this window to 60 to 80 days depending on the specific cultivar and local climate conditions.
Why are my white onions so small?
Small bulbs usually result from late planting, nitrogen deficiency, or weed competition. If the plant does not produce enough "flags" or leaves before the photoperiod triggers bulbing, the onion will lack the energy to expand the bulb significantly.
Can I grow white onions in containers?
Yes. Use a container at least 12 inches deep with excellent drainage. Space plants 4 inches apart. Because containers dry out faster and nutrients leach quickly, you must monitor soil moisture and nitrogen levels more frequently than in-ground beds.
What is the best fertilizer for white onions?
Start with a high-phosphorus fertilizer like 10-20-10 at planting. Switch to a high-nitrogen source like Ammonium Sulfate (21-0-0) every three weeks during the vegetative stage. Stop all fertilization once the bulbs begin to swell and the soil cracks.