6 Digging Steps to Prepare a Fruit Orchard Expansion
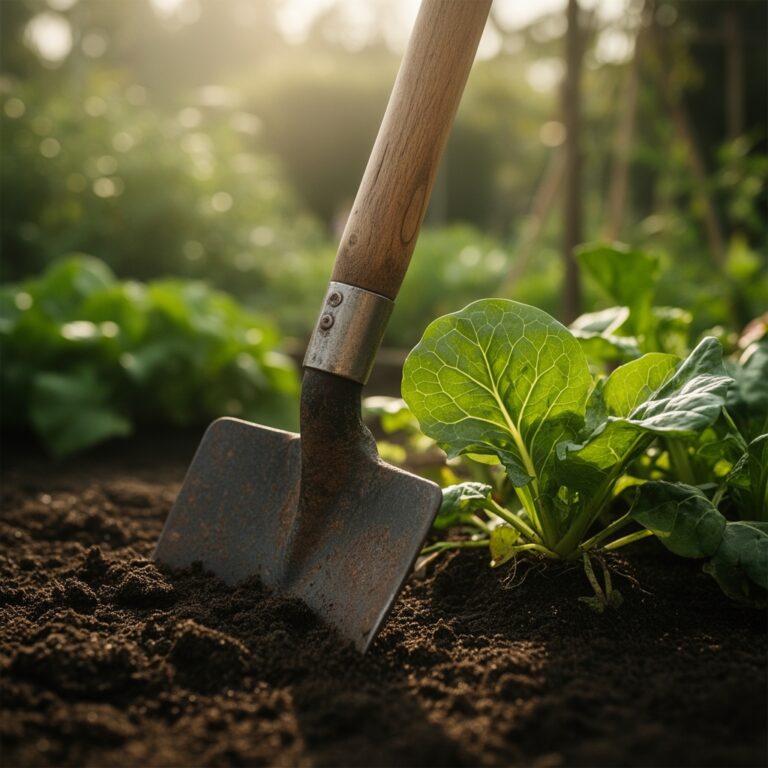
The blade hits compacted clay at eight inches, and the spade bounces back. Preparing ground for dozens of new fruit trees requires more than enthusiasm and a weekend. Understanding how to prepare a garden for a fruit orchard expansion means engineering soil structure, managing drainage patterns, and establishing microbial networks before a single sapling arrives. The difference between a thriving orchard and stunted production lies in the months of preparation, not the planting day itself.
Materials
Soil amendments form the foundation. Acquire sulfur (0-0-0) at 2 pounds per 100 square feet if pH exceeds 7.2 for apples, pears, and stone fruits. Dolomitic limestone raises pH for alkaline-preferring species, applied at 5 pounds per 100 square feet when readings fall below 6.0. A balanced organic fertilizer such as 4-4-4 feather meal or 5-5-5 composted poultry manure supplies baseline nutrients without burning dormant rootstock.
Compost quality matters. Finished compost registers a C:N ratio between 25:1 and 30:1, appears dark brown to black, and smells earthy rather than ammonia-sharp. Calculate 3 cubic yards per 1,000 square feet for clay soils, 2 cubic yards for loam. Mycorrhizal inoculant containing Glomus species arrives as a powder; budget 1 ounce per planting hole.
Hardware includes a soil probe reaching 24 inches, a broadfork for deep aeration without inversion, and landscape flags to mark future tree centers at proper spacing intervals. Drainage tile, 4-inch perforated PVC, becomes necessary when standing water persists 24 hours after rain.
Timing
Hardiness zones dictate preparation windows. Zones 5-6 require soil work between late August and mid-October, allowing amendments to integrate through freeze-thaw cycles before spring planting. Zones 7-8 permit work through November, while Zones 9-10 begin soil preparation in December for February planting.
Avoid digging when soil moisture exceeds field capacity. The ribbon test confirms readiness: squeeze soil into a ball, then press between thumb and forefinger. Soil crumbling at 2 inches signals optimal moisture. Soil forming a ribbon longer than 2 inches contains excess water, and digging will create compaction layers that persist for years.
Frost date calculations determine planting windows. Spring orchard installation occurs 2-4 weeks before the last average frost date for bare-root stock, or immediately after last frost for containerized trees. Fall planting succeeds 4-6 weeks before ground freeze, giving roots time to establish before dormancy.
Phases

Sowing the Foundation
Mark tree positions using spacing guidelines: dwarf rootstock at 8-10 feet, semi-dwarf at 12-15 feet, standard at 20-25 feet. Drive stakes at each location. Remove existing sod in 4-foot diameter circles using a spade, cutting 3 inches deep. Strip sod reveals the true soil structure beneath.
Test soil at each marked location. Collect samples from 6-8 inches deep, mix thoroughly, and submit for complete analysis including cation exchange capacity and micronutrient levels. Soil testing laboratories return results within 7-10 days, providing specific amendment recommendations.
Pro-Tip: Test separately in the proposed tree rows versus inter-row spaces. Clay content often varies dramatically across a site, requiring zone-specific amendment strategies rather than blanket application.
Transplanting Infrastructure
Dig exploration trenches along proposed tree rows, extending 36 inches deep. Examine soil horizons for hardpan layers, indicated by abrupt color changes or impenetrable zones. Hardpan appearing at 18-24 inches will restrict root growth and create perched water tables.
Break hardpan using a pickaxe or rented backhoe. Fracturing compacted layers allows root penetration and improves drainage. Backfill trenches with native soil mixed 1:1 with compost, creating columns of improved soil where roots will travel.
Install drainage tile if water seeps into trenches and pools. Slope tile at minimum 1 percent grade (1 inch drop per 8 feet), routing water to a lower discharge point. Cover tile with 6 inches of gravel before replacing topsoil.
Pro-Tip: Add biochar at 5 percent by volume during backfilling. Biochar increases cation exchange capacity by 30-50 percent and provides habitat for beneficial bacteria.
Establishing Soil Biology
Broadcast amendments across the entire planting area. Apply sulfur or lime first, then spread compost evenly. Use a broadfork to aerate to 12-inch depth, creating vertical channels without inverting soil horizons. This preserves existing microbial stratification while improving air and water movement.
Seed a cover crop of winter rye (Zones 5-7) or crimson clover (Zones 8-10) six weeks before planting. Rye contributes biomass and scavenges excess nitrogen. Clover fixes atmospheric nitrogen and attracts pollinators. Mow cover crops 2 weeks before tree installation, leaving residue as surface mulch.
Irrigate the prepared area to field capacity one week before planting. This activates microbial populations and allows soil to settle, revealing any low spots requiring additional fill.
Pro-Tip: Inoculate cover crop roots with mycorrhizal fungi by mixing inoculant into seed. Established fungal networks will colonize tree roots immediately upon planting, accelerating establishment by 40 percent.
Troubleshooting
Symptom: Standing water 48 hours post-rain.
Solution: Install French drains at 24-inch depth along contour lines. Perforated pipe surrounded by gravel channels water to swales or discharge points. Alternatively, construct raised beds 12-18 inches high for tree rows.
Symptom: Soil ribbons longer than 3 inches in texture test (heavy clay).
Solution: Incorporate coarse sand (0.5-2mm particle size) at 2 cubic yards per 1,000 square feet combined with 3 cubic yards compost. Avoid fine sand, which worsens compaction. Gypsum (calcium sulfate) at 40 pounds per 1,000 square feet improves clay aggregation without altering pH.
Symptom: pH test returns values above 7.5.
Solution: Apply elemental sulfur at 3-5 pounds per 100 square feet. Sulfur oxidizes slowly; expect pH reduction over 4-6 months. Retest before planting. For immediate planting needs, incorporate sulfur-coated urea as nitrogen source, which acidifies during breakdown.
Symptom: Existing trees nearby show chlorosis (yellow leaves, green veins).
Solution: Indicates iron deficiency caused by high pH or poor drainage. Correct underlying pH issues before expansion. Apply chelated iron (FeEDDHA) as foliar spray at 0.5 ounces per gallon until soil conditions improve.
Symptom: Visible wireworms or white grubs during digging.
Solution: Delay planting one season. Cultivate soil shallowly every 2 weeks through summer, exposing larvae to predators and desiccation. Apply beneficial nematodes (Heterorhabditis bacteriophora) at 50 million per acre in early September when soil temperatures reach 60-70°F.
Maintenance
Water new plantings to maintain soil moisture at 60-70 percent of field capacity. Install tensiometers at 12-inch depth; readings between 10-25 centibars indicate optimal moisture. In sandy loam, this translates to 1 inch of water weekly during establishment, delivered in a single deep irrigation rather than frequent shallow watering.
Mulch tree circles with 4 inches of wood chips, maintaining a 6-inch gap from trunks. Mulch moderates soil temperature, suppresses weeds, and gradually contributes organic matter. Replenish annually as material decomposes.
Apply nitrogen beginning in year two: 0.1 pounds actual nitrogen per tree for dwarf rootstock, 0.2 pounds for semi-dwarf, 0.3 pounds for standard. Split applications into three doses: bud break, petal fall, and early June. Measure shoot extension; 12-18 inches annual growth indicates adequate fertility.
Monitor soil pH annually using a calibrated meter. Acidic soils naturally decline 0.1-0.2 pH units yearly as organic matter decomposes. Reapply lime when readings drop below target range.
Scout for pests biweekly during growing season. Codling moth emerges at 220 growing degree days (base 50°F). Pheromone traps placed at 6 feet height detect adult flights, triggering spray thresholds before larval damage occurs.
FAQ
How deep should orchard soil preparation extend?
Prepare soil to 24-inch depth minimum, 36 inches ideal. Most feeder roots occupy the top 18 inches, but tap roots penetrate deeper. Deep preparation prevents future root restriction and establishes drainage pathways that last decades.
Can I plant immediately after tilling amendments?
Wait 4-6 weeks after amendment incorporation. This interval allows lime or sulfur to react with soil particles, pH to stabilize, and soil structure to settle. Immediate planting into loose, unsettled soil creates air pockets that desiccate roots.
What spacing accommodates future mechanical cultivation?
Maintain 12-foot minimum between tree rows for tractor access. In-row spacing depends on rootstock: dwarf at 8-10 feet, semi-dwarf at 12-15 feet. Wider spacing improves air circulation and reduces fungal disease pressure.
Should I remove rocks during preparation?
Remove rocks larger than 4 inches diameter. Smaller rocks improve drainage in clay soils and don't impede root growth. Excessive rock removal damages soil structure. In extremely rocky sites, plant on raised beds rather than attempting complete rock extraction.
How does slope affect orchard preparation?
Slopes 2-8 percent provide natural drainage and cold air movement, ideal for orchards. Slopes exceeding 12 percent require contour planting and erosion control. Plant rows across slope rather than up-and-down to slow water movement and prevent gully formation.