6 Cutting Techniques to Use a Garden Saw for Fruit Trees
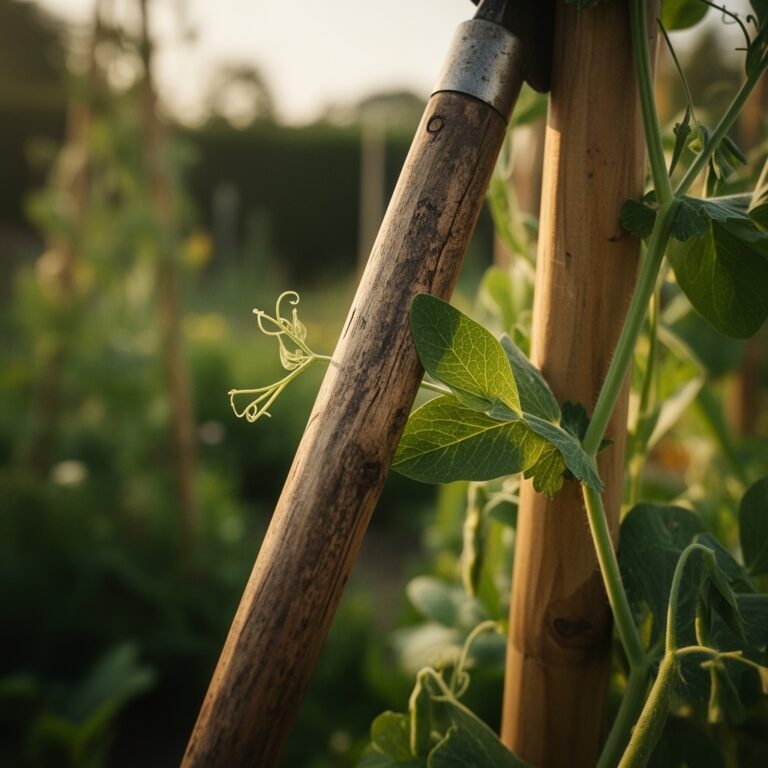
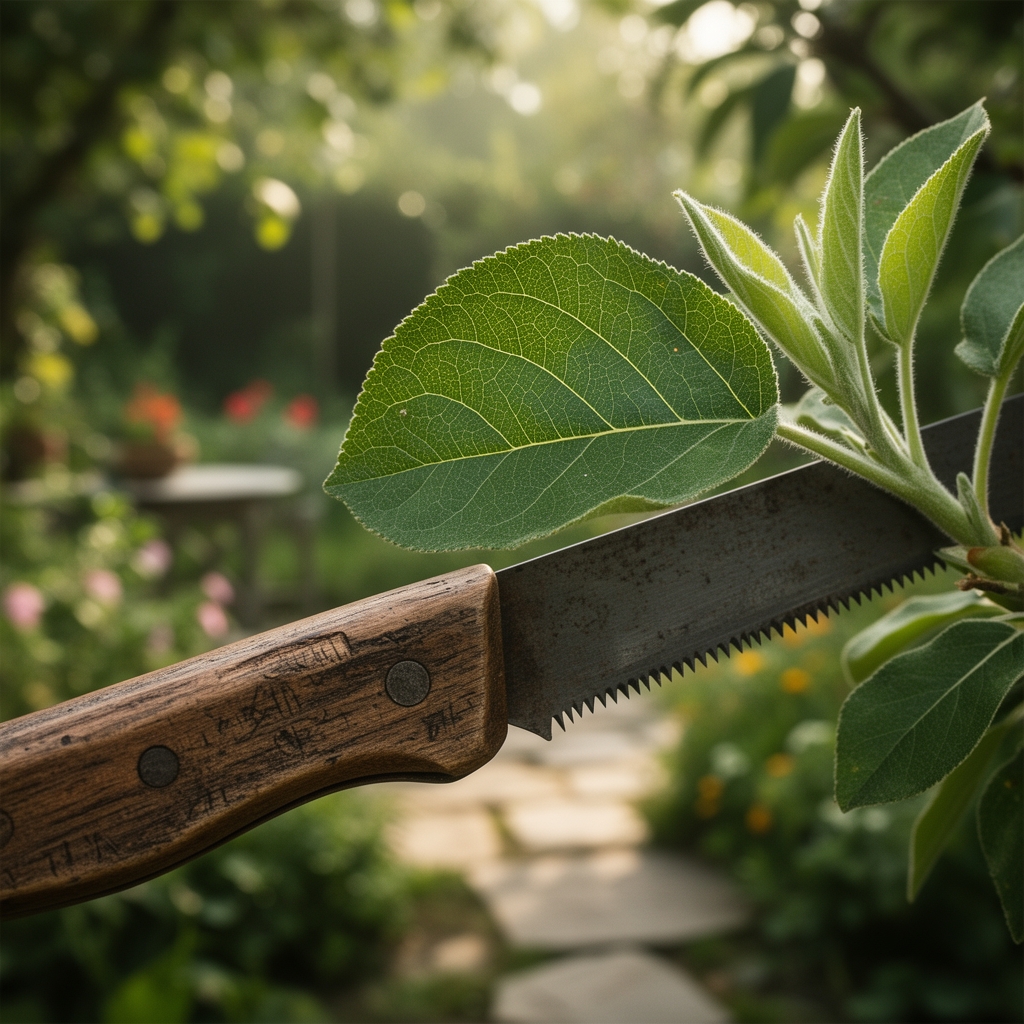
The curved teeth of a garden saw bite into the cambium layer of an overgrown apple branch, releasing the sharp scent of fresh sap into cold morning air. Using a garden saw for fruit tree maintenance demands precision that secateurs cannot provide. Branches thicker than 1.5 inches require the controlled aggression of a saw blade, where each stroke removes wood fibers without tearing bark or crushing vascular tissue. The right cutting technique preserves auxin distribution patterns and prevents pathogen entry points that compromise tree health for seasons to come.
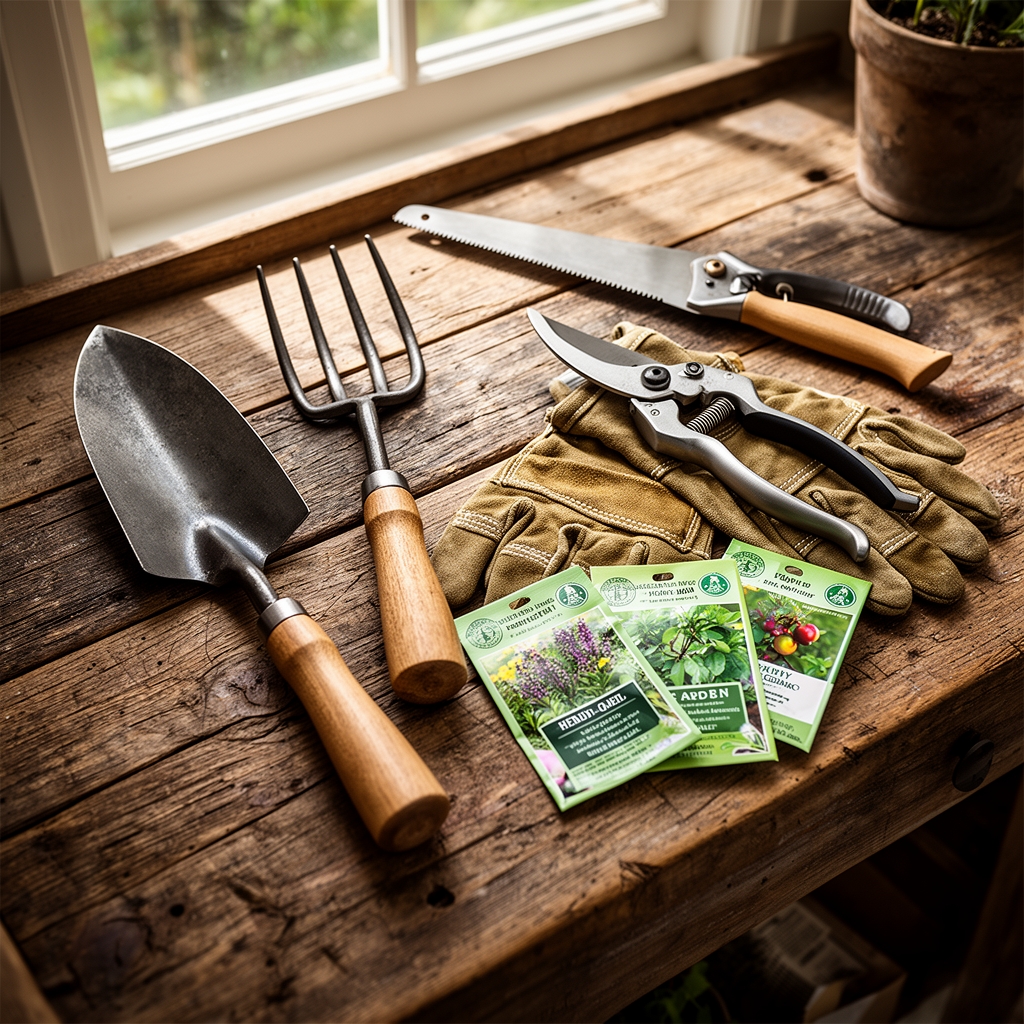
Materials
A curved pruning saw with 6-7 teeth per inch handles green wood efficiently. Straight-blade saws work best for seasoned wood and precise joinery cuts. Folding models with triple-ground teeth create smooth cuts that callus rapidly.
Wound sealant remains controversial, but copper-based formulations with NPK ratios of 0-0-0 plus trace copper at 8% concentration reduce bacterial canker on stone fruits. Avoid petroleum-based products that trap moisture. Organic bone meal at 4-12-0 applied to the drip line after major pruning supports root recovery. Kelp extract at 1-0.5-2.5 accelerates cambial growth around cut surfaces.
Soil pH between 6.0 and 6.8 optimizes calcium uptake, essential for lignification of new wound wood. Test cation exchange capacity before major renovation pruning. Soils below 10 meq/100g require compost amendment at 2 cubic feet per tree to buffer carbohydrate demands during recovery.
Timing
Winter dormancy between 20-40 accumulated chilling hours provides the optimal window for structural cuts. In Zones 5-7, prune from late January through early March before bud swell. Zones 8-9 should complete work by mid-February.
Summer renovation cuts occur during the lag phase of fruit development, typically late June in northern zones. This timing redirects auxin to wound closure rather than fruit sizing. Avoid cutting within 4 weeks of first frost, as open wounds cannot suberize before dormancy.
Stone fruits require cuts between late August and September when bacterial canker spores show lowest atmospheric concentrations. Cherry and plum need this narrow window more than apples or pears.
Phases
Structural Cuts: The three-part technique prevents bark tearing. First, cut upward from the underside 6 inches from the branch collar, penetrating one-third through the diameter. Second, cut downward 3 inches farther out until the branch drops. Third, remove the stub flush with the branch collar at a 45-degree angle. The collar contains protective zone tissue with concentrated phenolic compounds.
Pro-Tip: Score the bark in a complete ring 0.25 inches beyond your final cut location. This prevents teardown when the branch falls.
Heading Cuts: Remove terminal portions to lateral buds or branches at least one-third the diameter of the cut stem. The angle should direct water away from the remaining bud at 30 degrees from horizontal. This promotes lateral scaffold development and controls apical dominance through localized cytokinin production.
Pro-Tip: Make heading cuts 0.25 inches above outward-facing buds to create open canopy architecture. Inward-facing cuts cause crossing branches within two seasons.
Thinning Cuts: Remove entire branches at their origin point without leaving stubs. These cuts maintain natural growth hormones by preserving the existing auxin gradient. Cut parallel to the parent stem, respecting the slightly swollen branch collar that indicates the protection zone boundary.
Pro-Tip: Sterilize blades with 70% isopropyl alcohol between cuts when removing diseased wood. Fire blight requires 10% bleach solution contact for 30 seconds.
Renovation Cuts: Remove no more than 30% of canopy volume in a single season. Severe pruning triggers epicormic shoot production that depletes carbohydrate reserves. Spread major structural corrections across three seasons, prioritizing dead wood first, then crossing branches, finally height reduction.
Pro-Tip: Apply mycorrhizal inoculant at 1 tablespoon per square foot of drip line area after removing more than 20% of canopy. Glomus intraradices species colonize root tips within 6 weeks.
Espalier Maintenance: Horizontal cordons require precise cuts at 90 degrees to vertical leaders. Remove water sprouts monthly during active growth to prevent competition with fruiting spurs. Each cordon should maintain 8-10 inches spacing.
Pro-Tip: Bend rather than cut young growth under 0.5 inches diameter. Secure at desired angles with cloth ties for 8 weeks until lignification sets permanent structure.
Clearance Cuts: Maintain 24 inches minimum clearance from ground level to prevent rodent access and improve air circulation. Remove suckers at ground level by cutting below soil surface to eliminate latent buds.
Pro-Tip: Paint sucker cut sites with white latex paint mixed with 10% copper sulfate. This prevents regrowth better than repeated cutting.
Troubleshooting
Symptom: Blackened, weeping cut surfaces after 7-10 days.
Solution: Bacterial infection from dirty blades. Re-cut 2 inches below damaged tissue into healthy wood. Sterilize tools and avoid pruning during rain.
Symptom: Excessive sap flow from cuts.
Solution: Pruning occurred too late in dormancy after xylem pressure increased. Allow flow to cease naturally. Apply aluminum sulfate powder to coagulate proteins if flow persists beyond 48 hours.
Symptom: Mushroom conks developing near old pruning wounds.
Solution: Heartwood decay from flush cuts that removed protective collar tissue. Excavate soft wood and allow cavity to dry. Apply Bordeaux mixture at 10% concentration twice annually.
Symptom: Clustered shoot growth below heading cuts.
Solution: Witches' broom response from cutting too close to dormant buds. Thin to strongest single shoot and remove competitors at green stage.
Symptom: Bark splitting vertically below large cut surfaces.
Solution: Sudden exposure caused sunscald. Whitewash trunk and scaffold branches with 50% water, 50% white latex paint solution.
Maintenance
Apply 1 inch of water weekly during the first growing season after major pruning events. Deep watering to 18 inches encourages root regeneration over shoot production. Reduce nitrogen applications by 40% in the year following renovation cuts to prevent excessive vegetative growth at the expense of wound closure.
Monitor cut surfaces monthly during the first growing season. Properly executed cuts produce callus ridges within 6-8 weeks. Complete closure occurs at rates of 0.75-1.5 inches per year depending on species vigor and carbohydrate reserves.
FAQ
When should I avoid using a garden saw on fruit trees?
Never cut during active bloom or within 3 weeks of petal fall. Avoid pruning when temperatures drop below 28°F, as frozen wood splinters rather than cuts cleanly. Stone fruits should not be pruned during spring rainfall when bacterial spore loads peak.
What branch diameter requires a saw instead of pruners?
Any branch exceeding 1.5 inches diameter needs a saw. Forcing pruners through thick wood crushes vascular tissue and creates ragged wounds that invite disease. Match blade length to branch diameter at a 3:1 ratio minimum.
How do I prevent disease transmission between trees?
Sterilize blades between each tree using 70% isopropyl alcohol with 60-second contact time. For known infections like fire blight, use 10% sodium hypochlorite solution. Prune healthy trees first, diseased specimens last.
Should I seal cuts after sawing?
Research shows trees compartmentalize wounds most effectively without sealants. Exception: Apply copper-based fungicide to cherry and plum cuts in regions with high bacterial canker pressure. Let cuts air-dry for 24 hours before application.
How often should I sharpen my pruning saw?
Sharpen after every 4 hours of active cutting or when increased sawdust production indicates dull teeth. Use a triangular file matched to tooth pitch, filing at the original bevel angle of 60 degrees from perpendicular.